When you purchase through links on our site, we may earn an affiliate commission.Heres how it works.
Though I have several computers I use for my daily work and play, theyre a few years old.
That could mean only one thing: It was time to build.
One thing was clear from the outset, though.
I was going to (have to) splurge on this one.
But its never necessary you could build an outstanding system for a fraction of what I did this one.
Thats something well get into… next time.
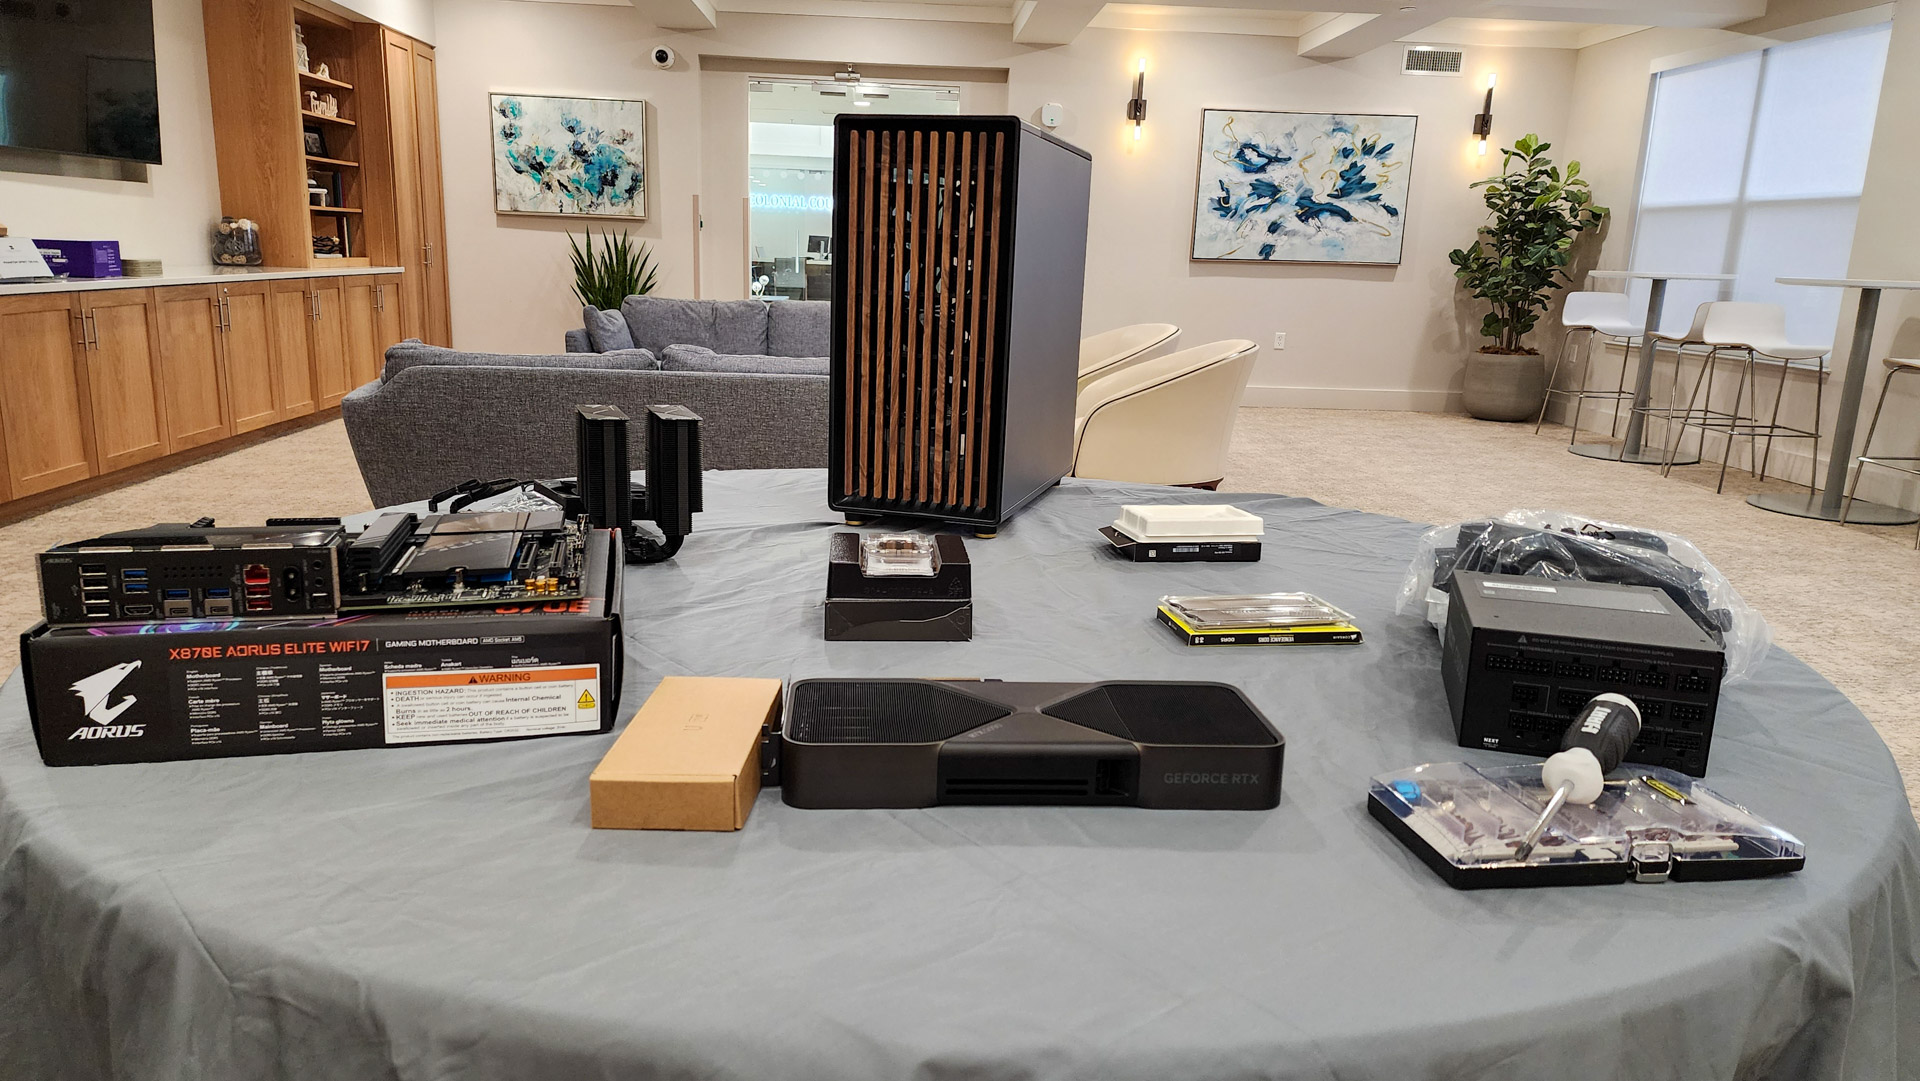
What parts did I use?
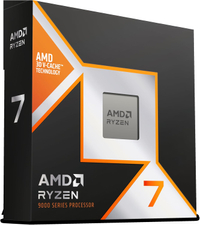
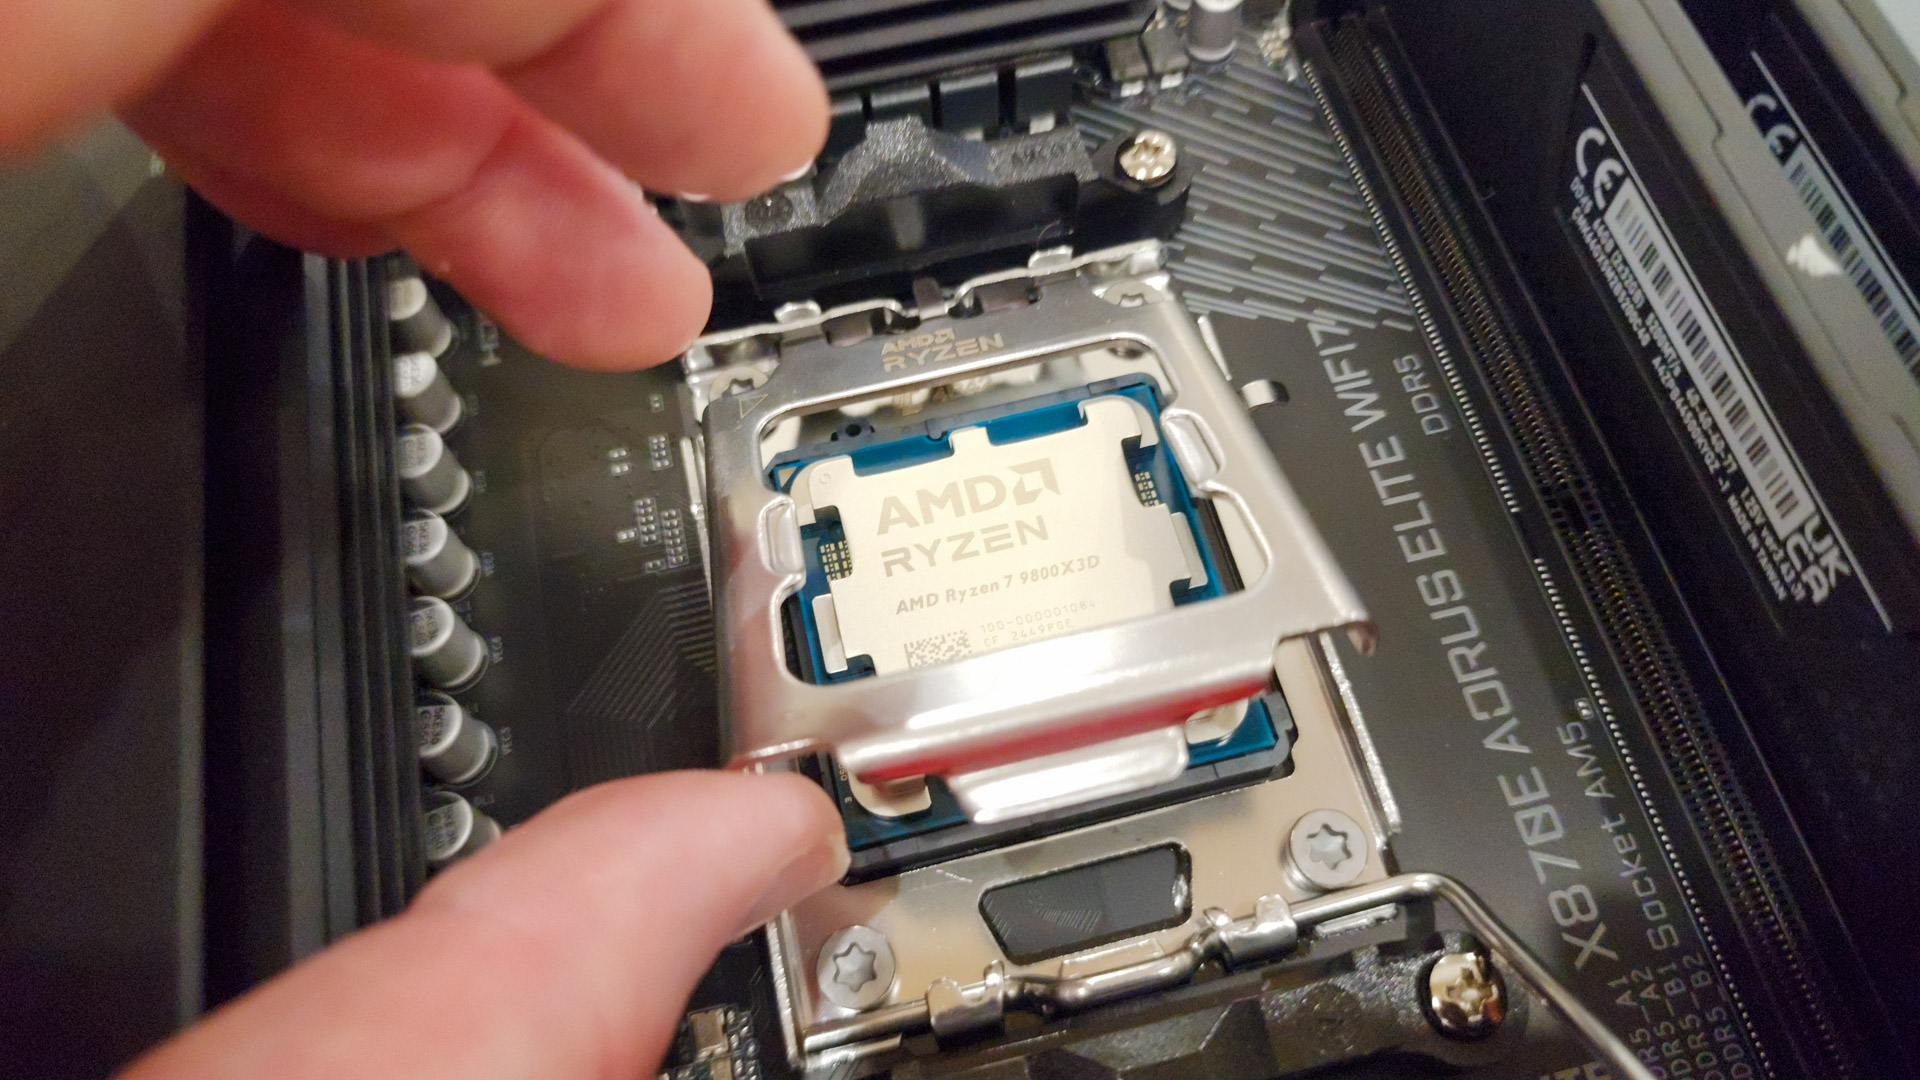
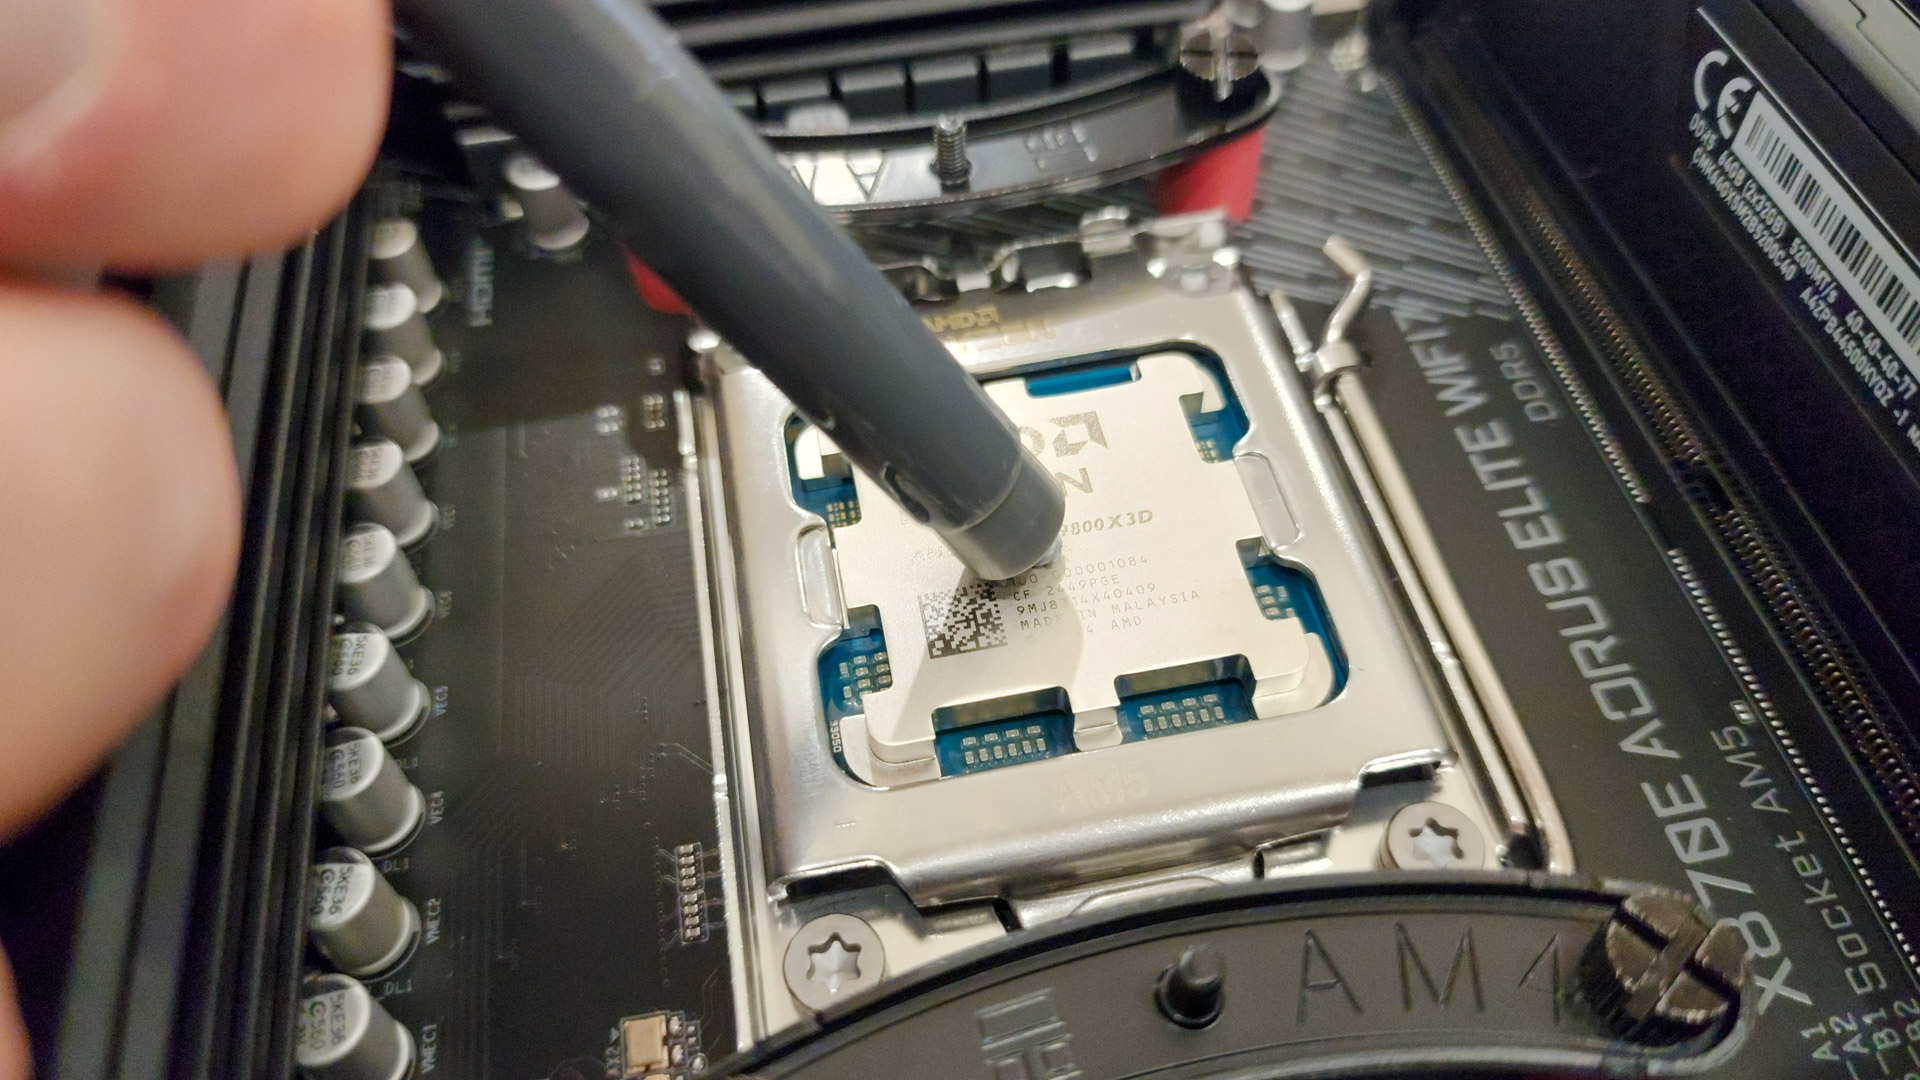
You need a 9800X3D, he said.
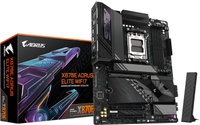
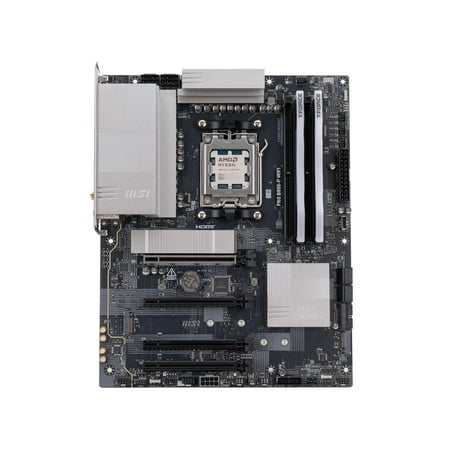
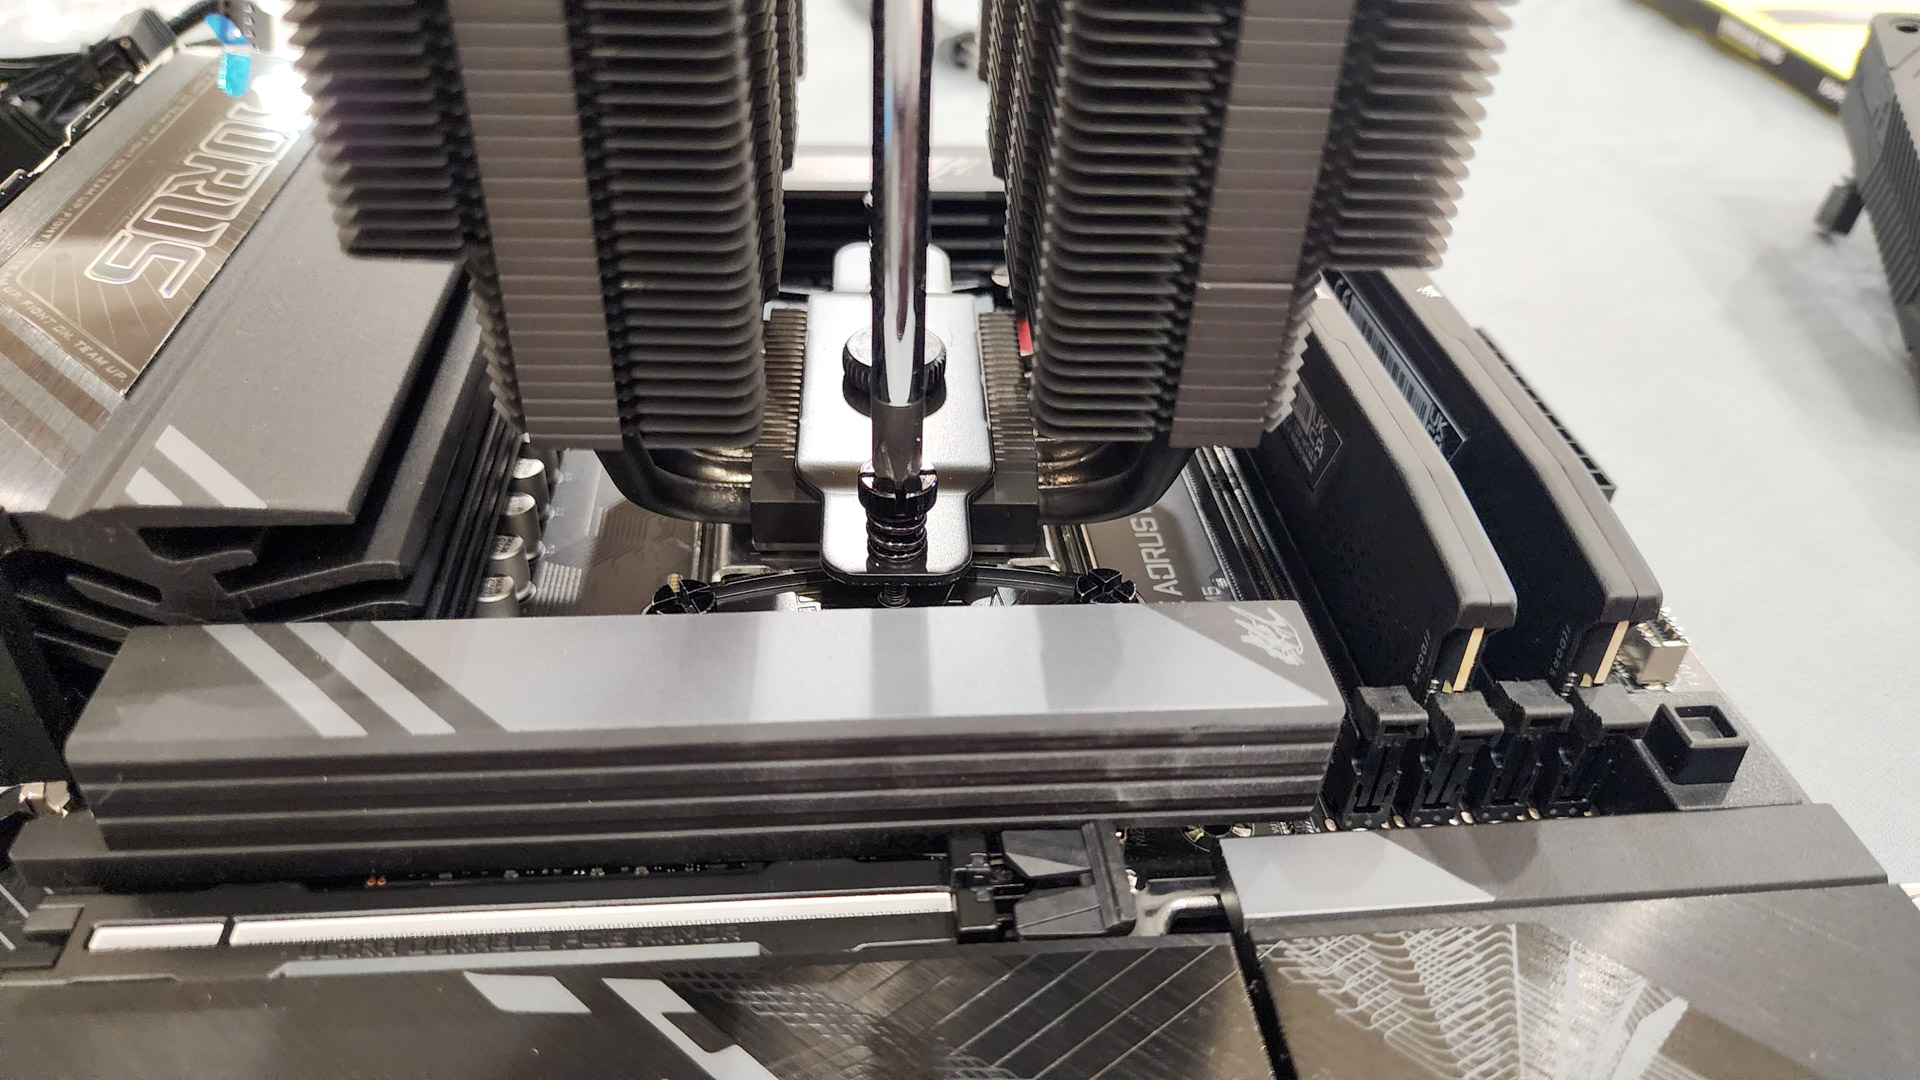
Of the options I had for my processor bundle, I went with a Gigabyte X870E Aorus Elite Wifi7.
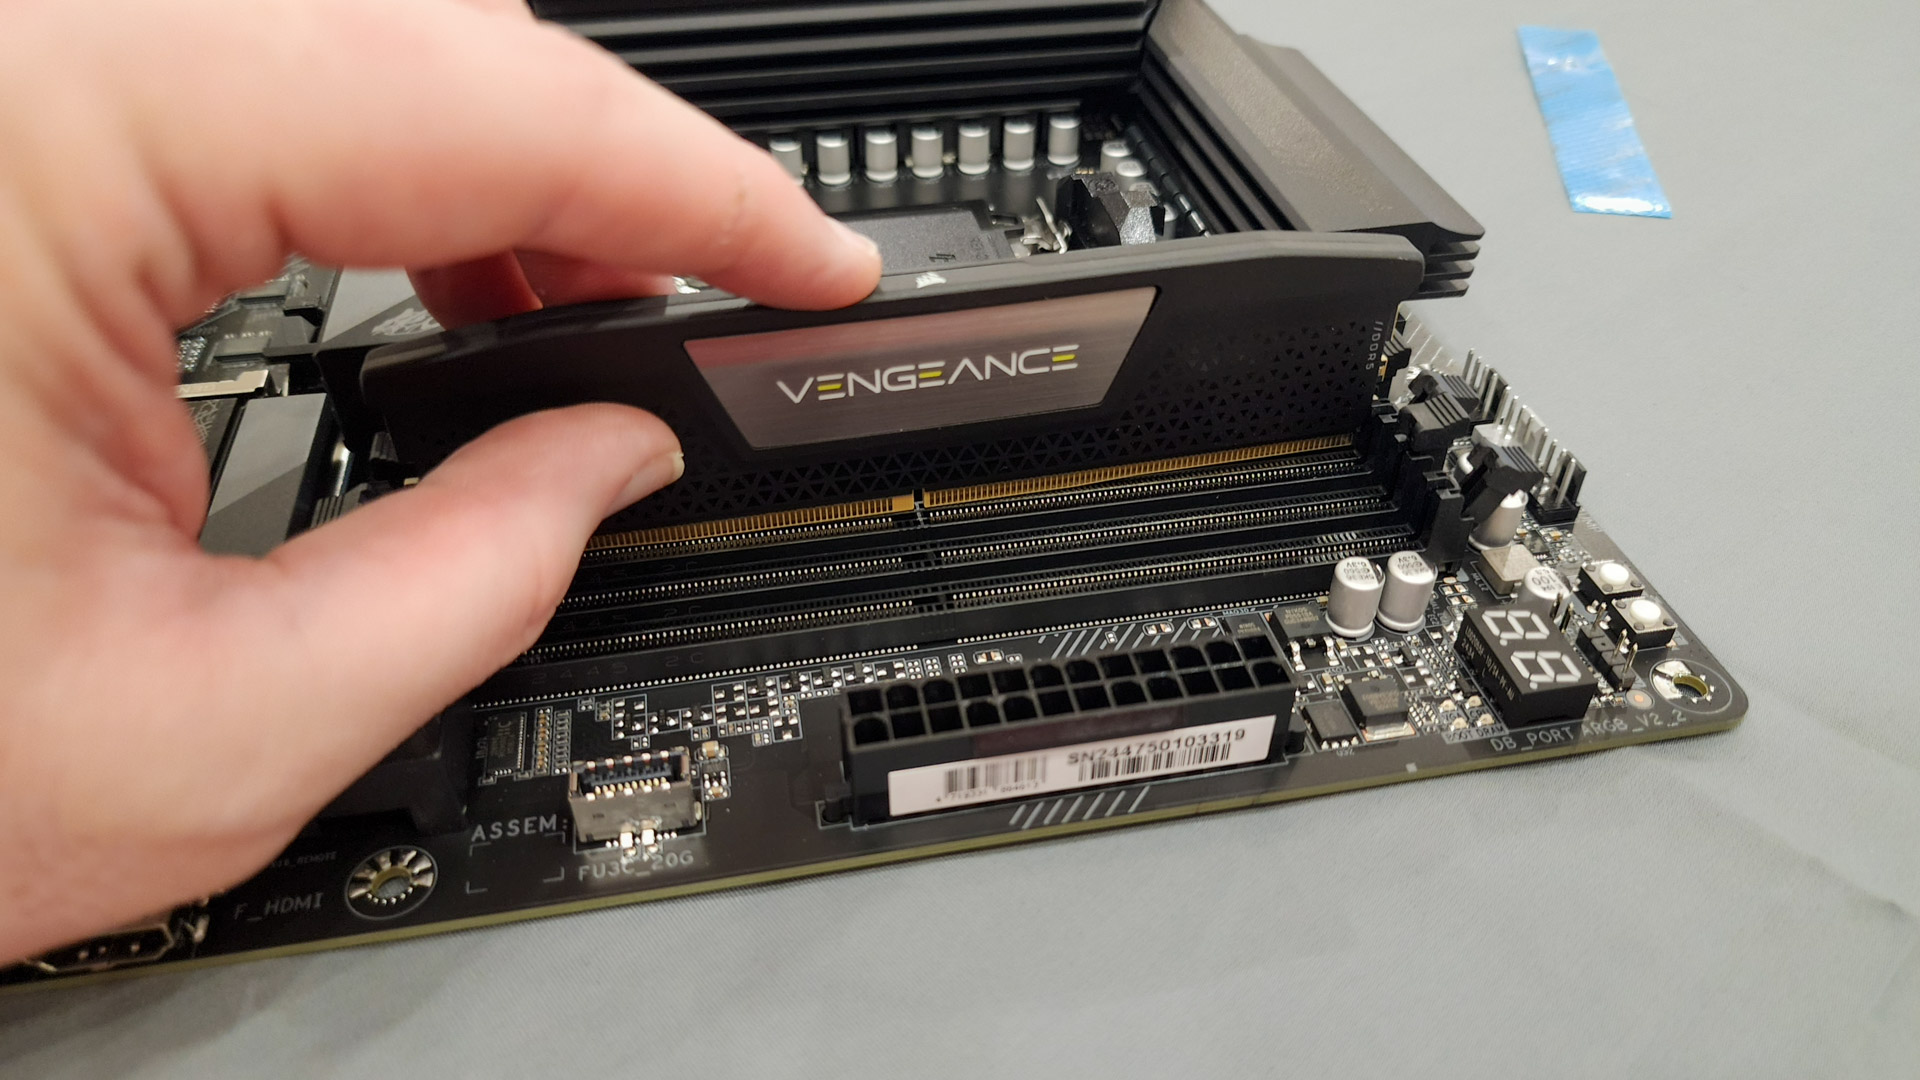
Toms Hardware recommended Corsair four-DIMM, 192GB kit, and I was going to go with that.
ut, at least at this point in my life, I dont need that much RAM.

So, I went with a mere 64GB through two chips.
I cant imagine needing more than 128GB anytime soon.
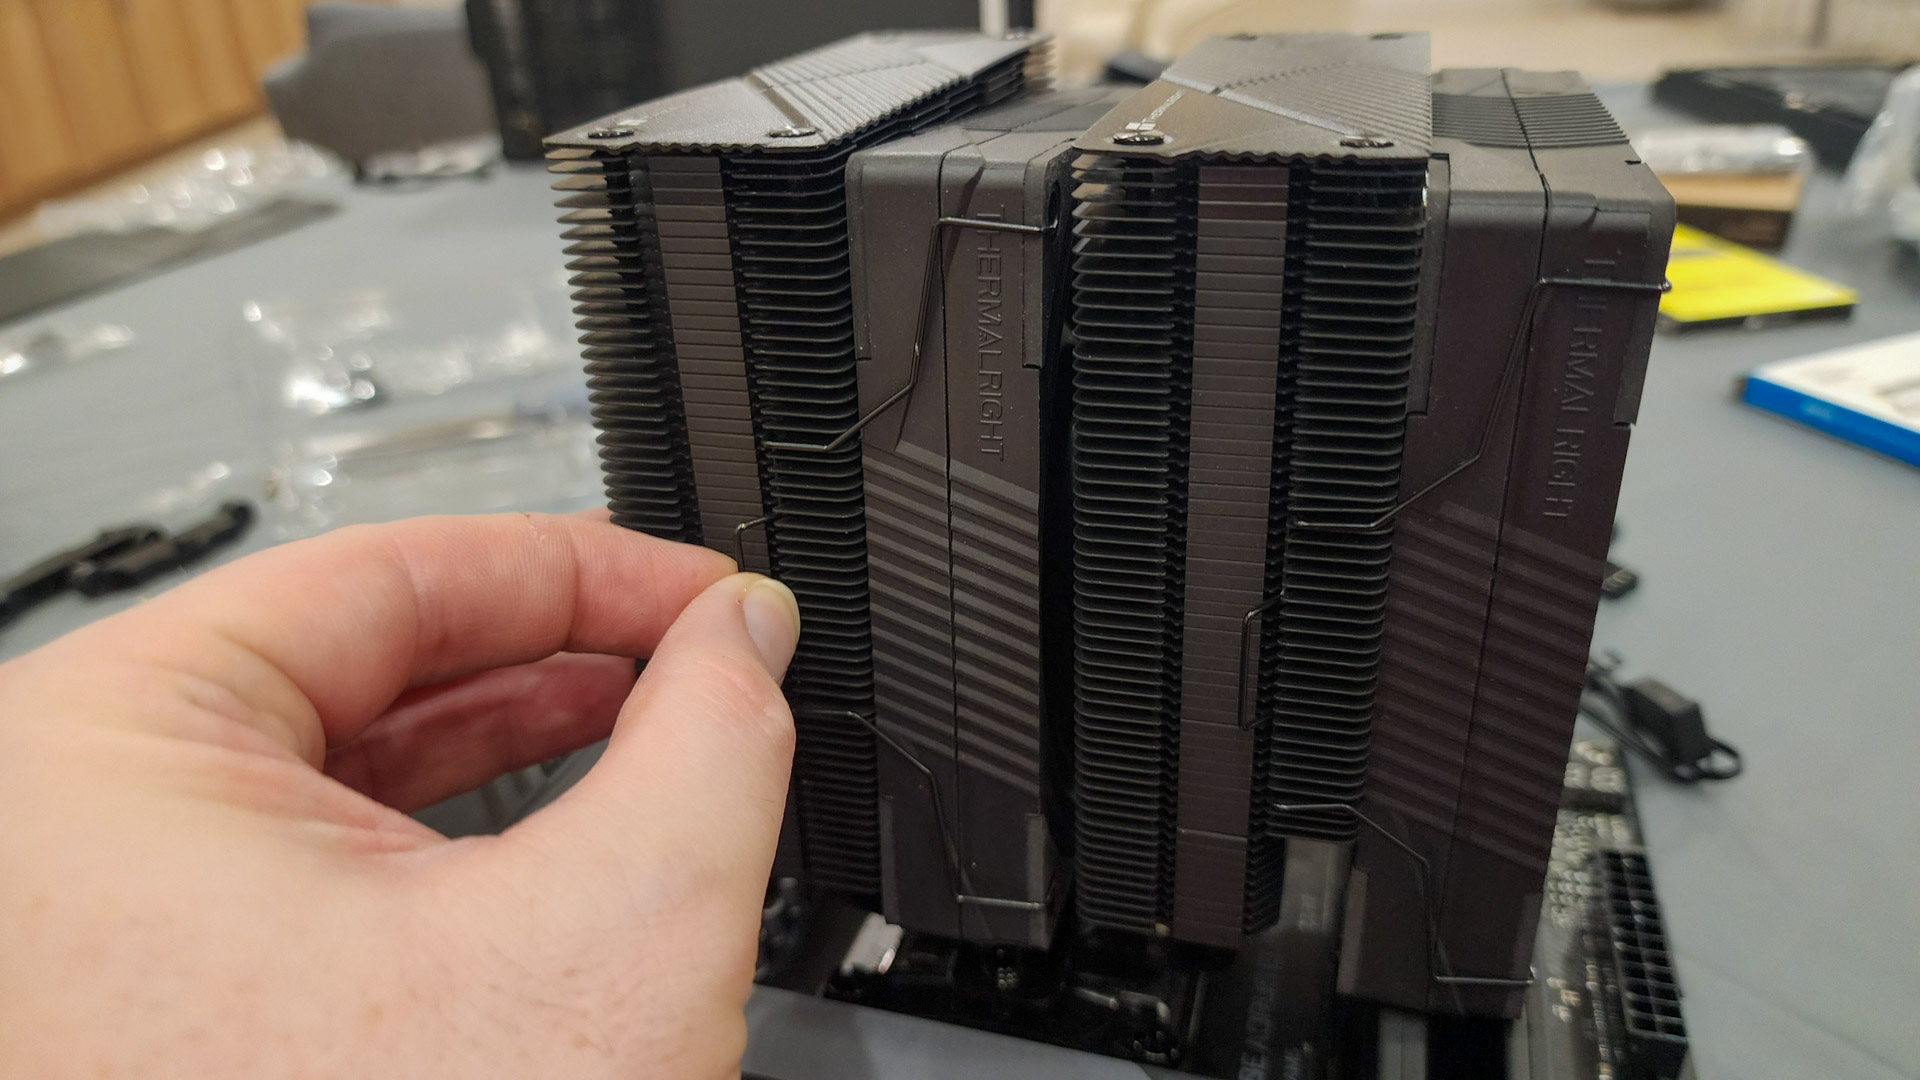
Thefive-star Toms Hardware reviewfor this air cooler was loaded with superlatives (This isnt a competition.
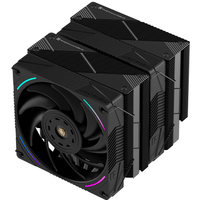
This is a massacre.)
as well as rhapsodic explanations of how it punches significantly above its price.
A cooler thats cheaper than the competitionandperforms better?

Another Toms Hardware winner, but I would have gone this route anyway.
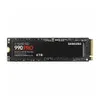
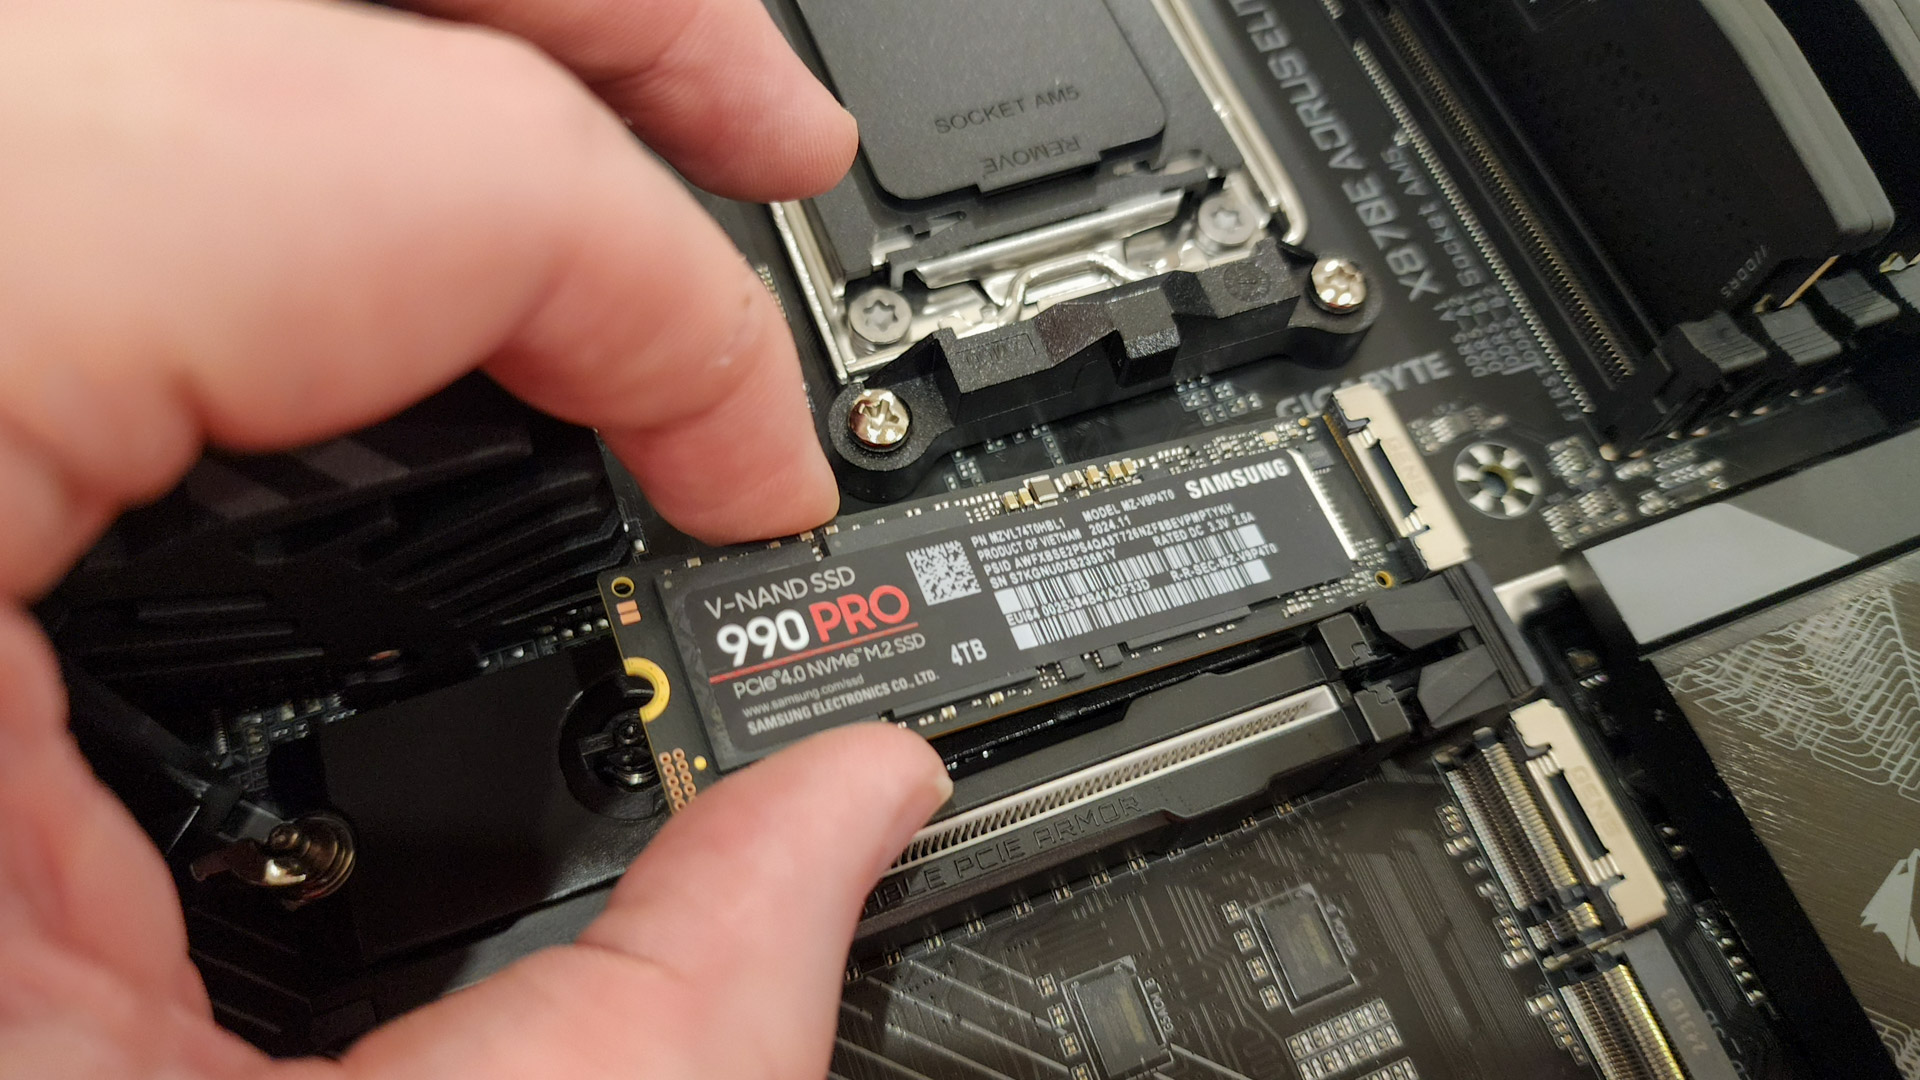
My previous testing and personal experience has shown Samsung makes some of the fastest storage on the market.
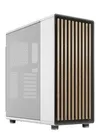
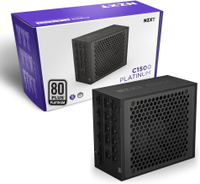
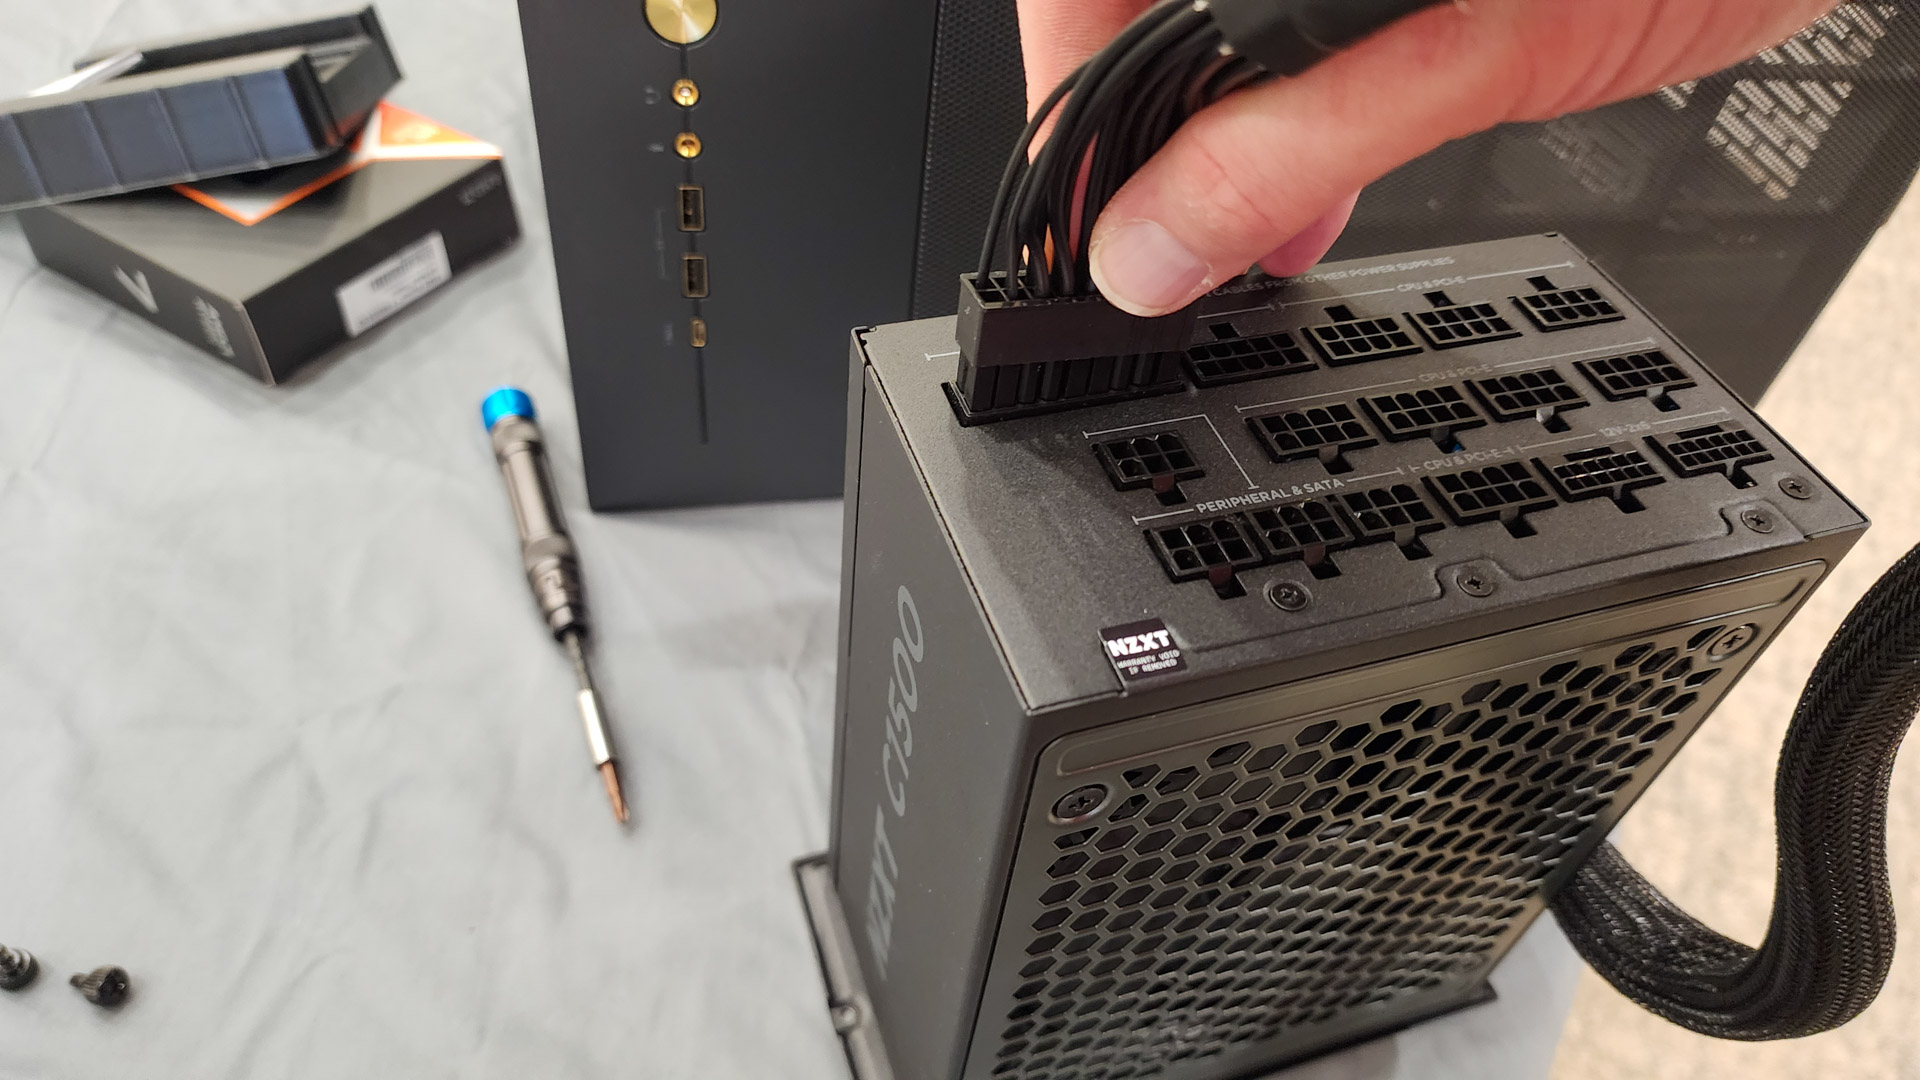
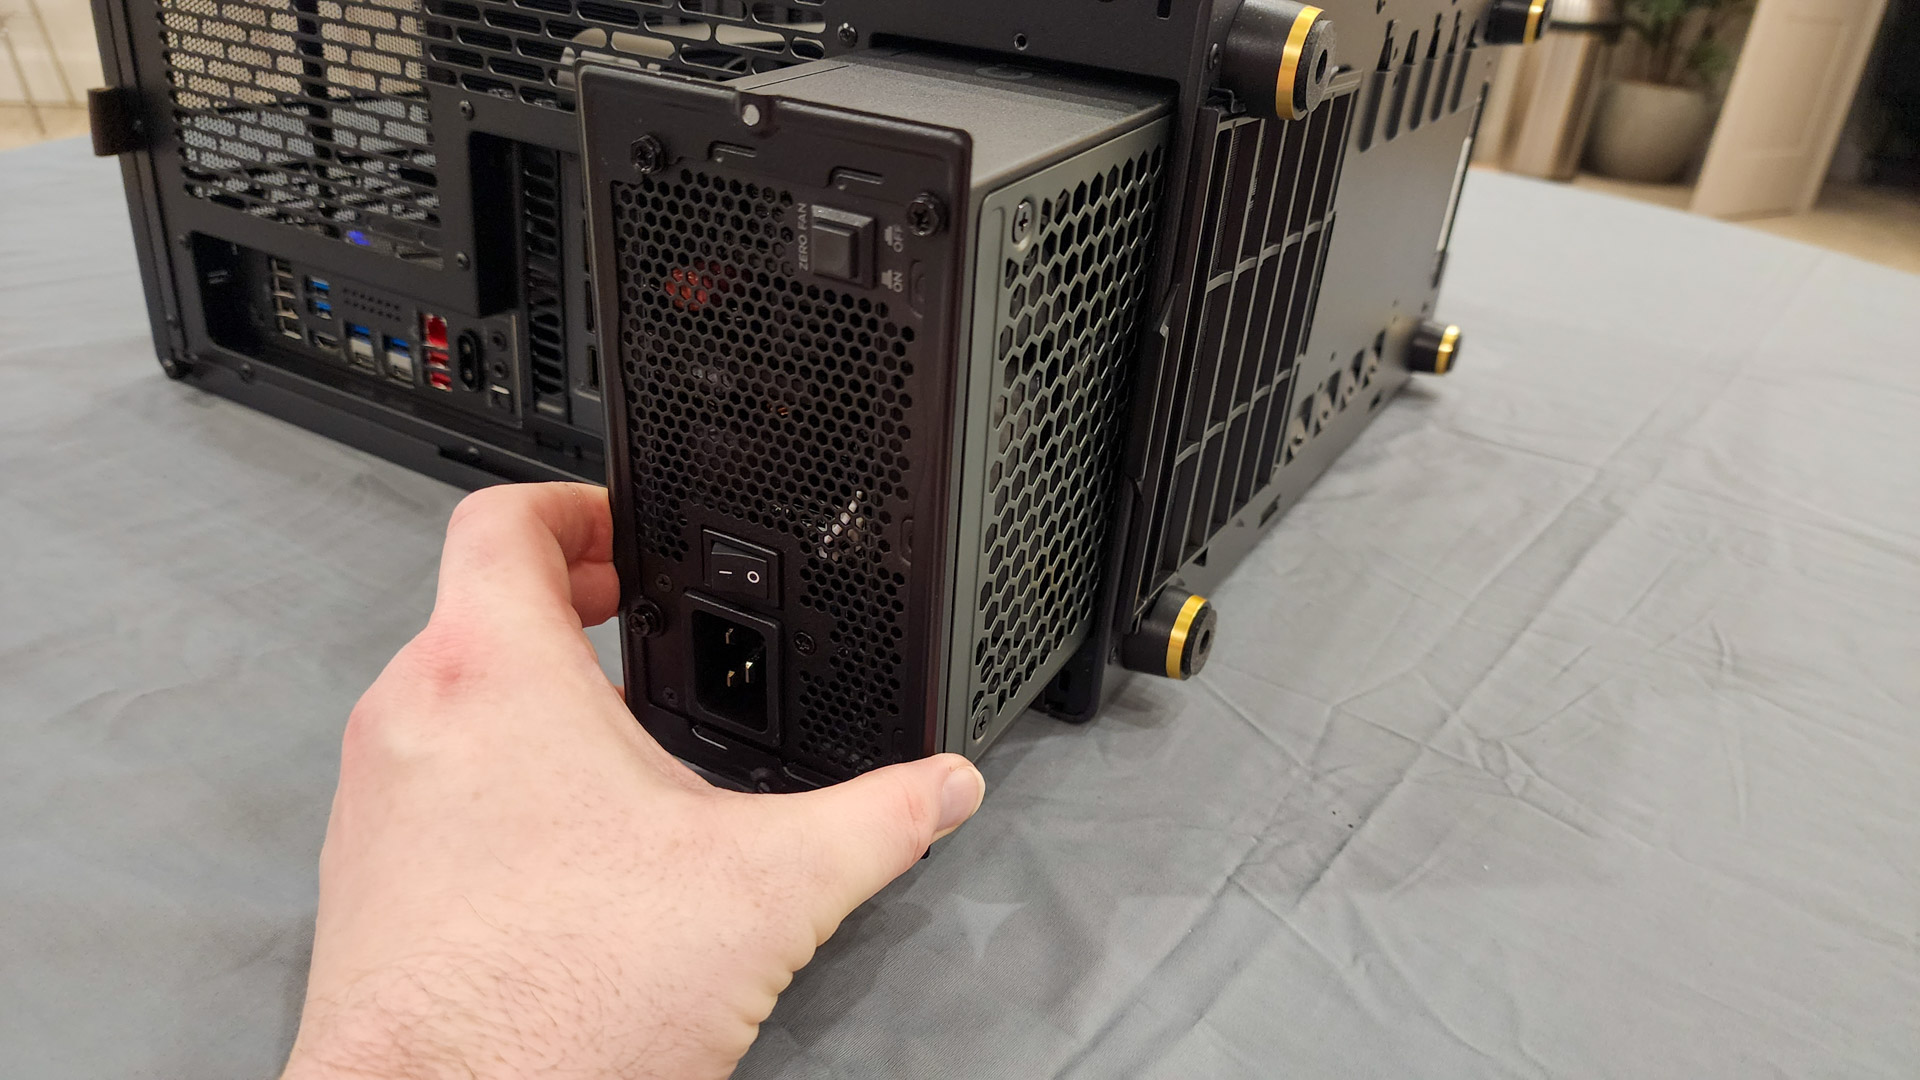
Toms Hardware had just the recommendation with this modular NZXT beauty.
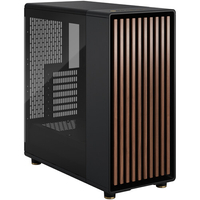
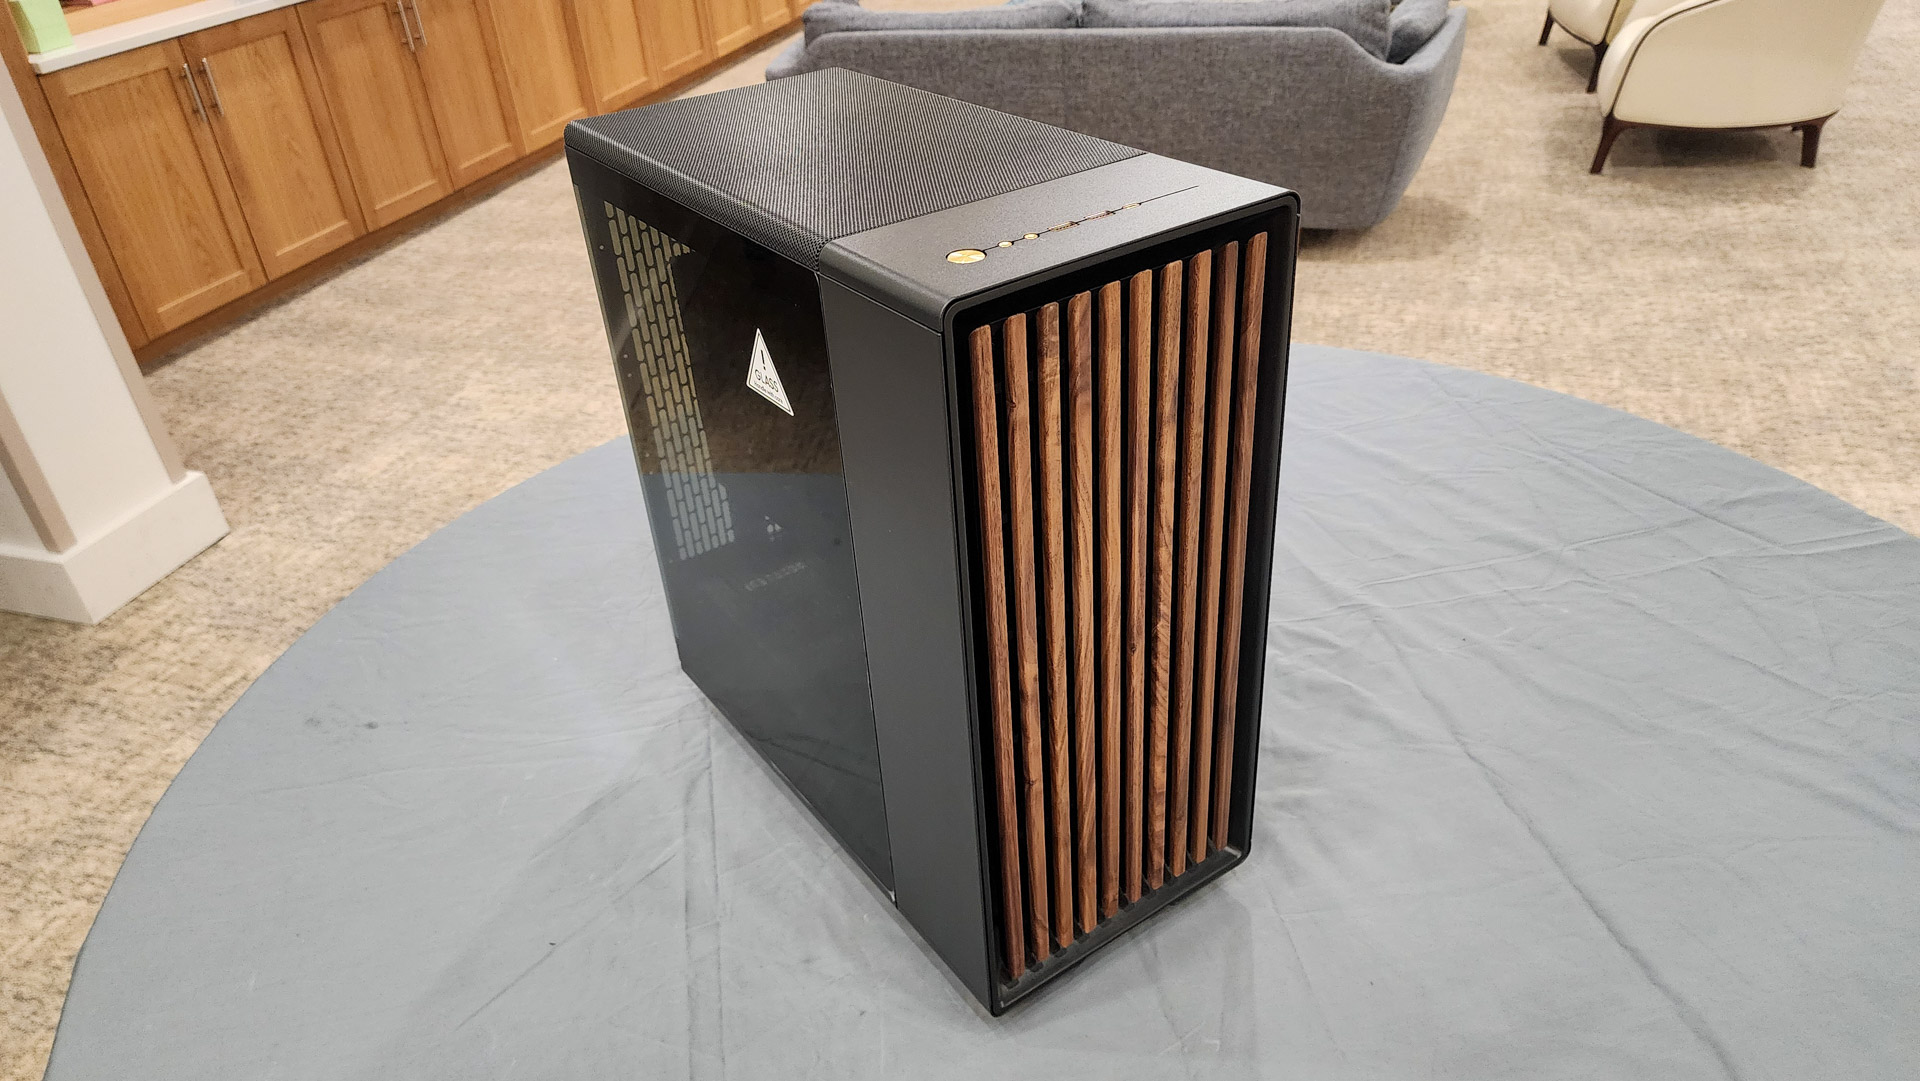
A case houses all your components, yes, but its also nice if it looks good.
), and theres plenty of ventilation and construction space.
And it was priced under $150, making it an easy win-win.
Here are our build steps.
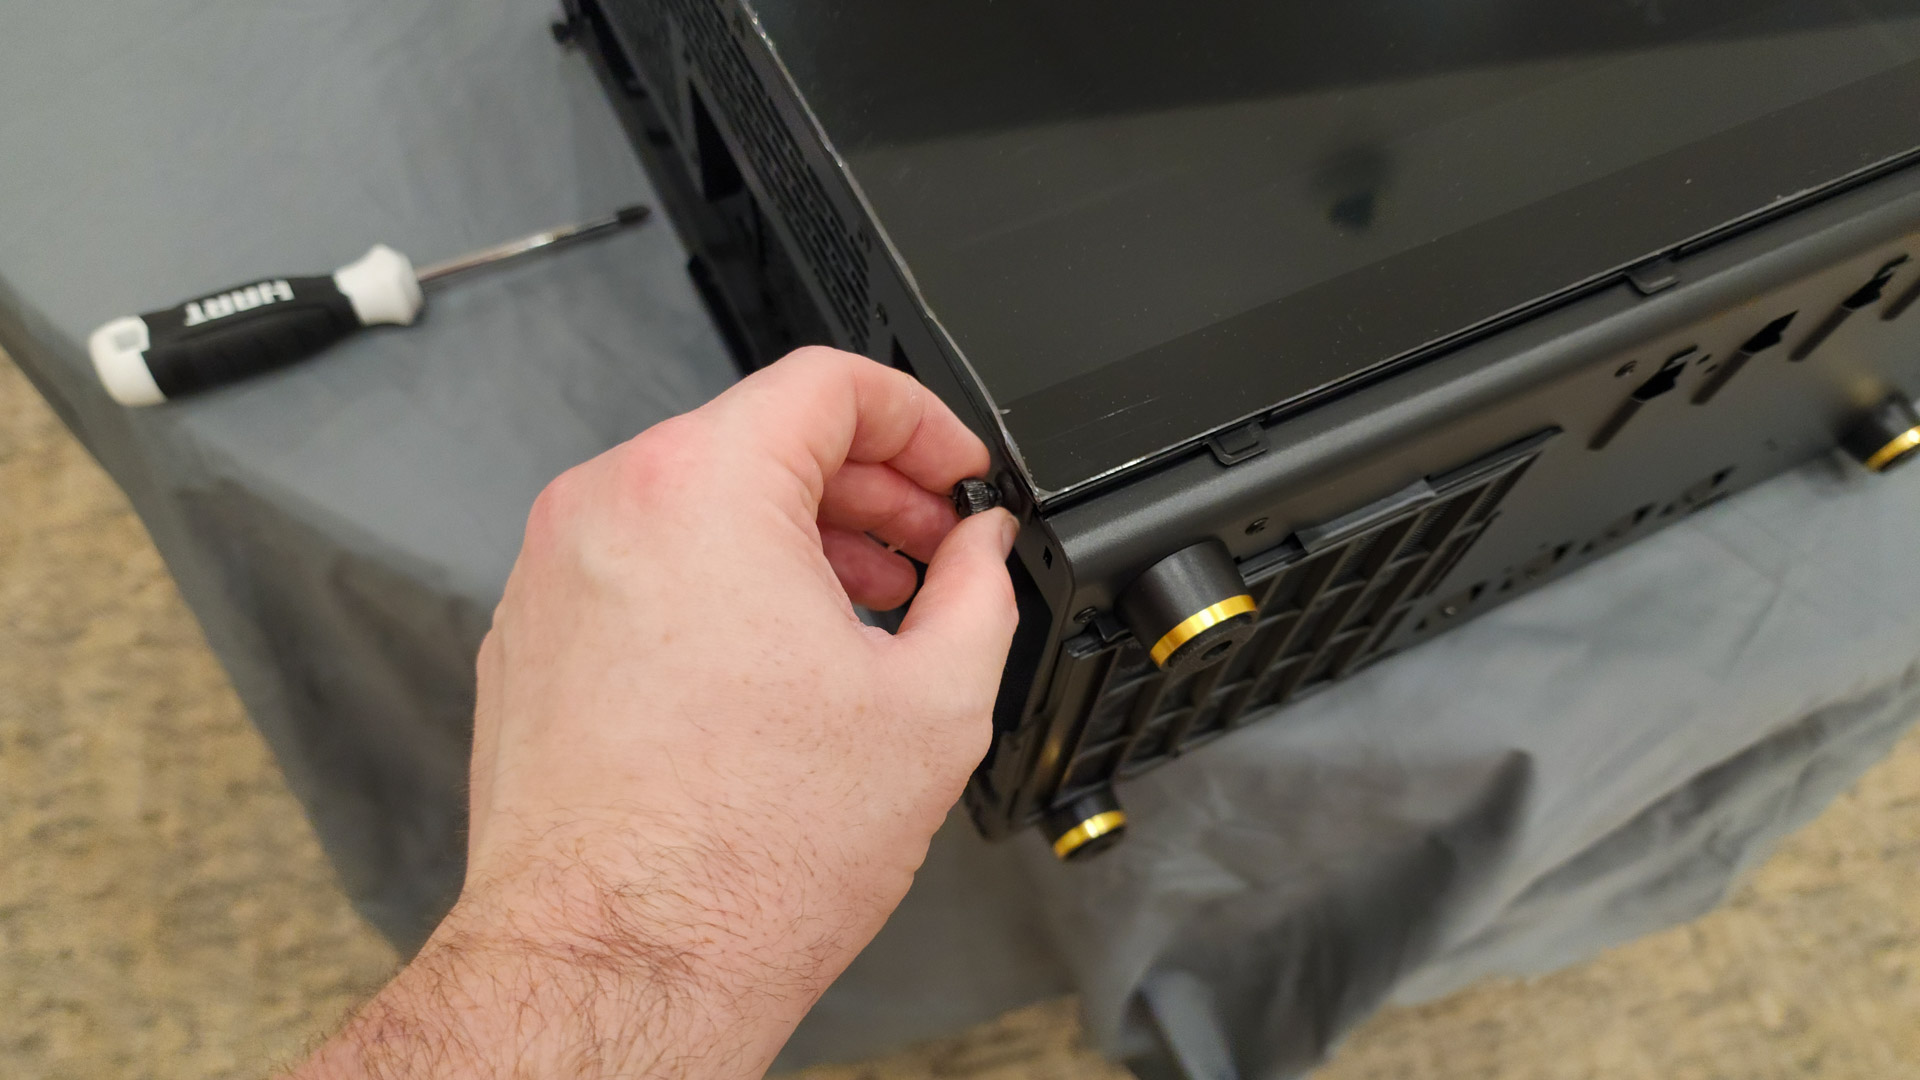
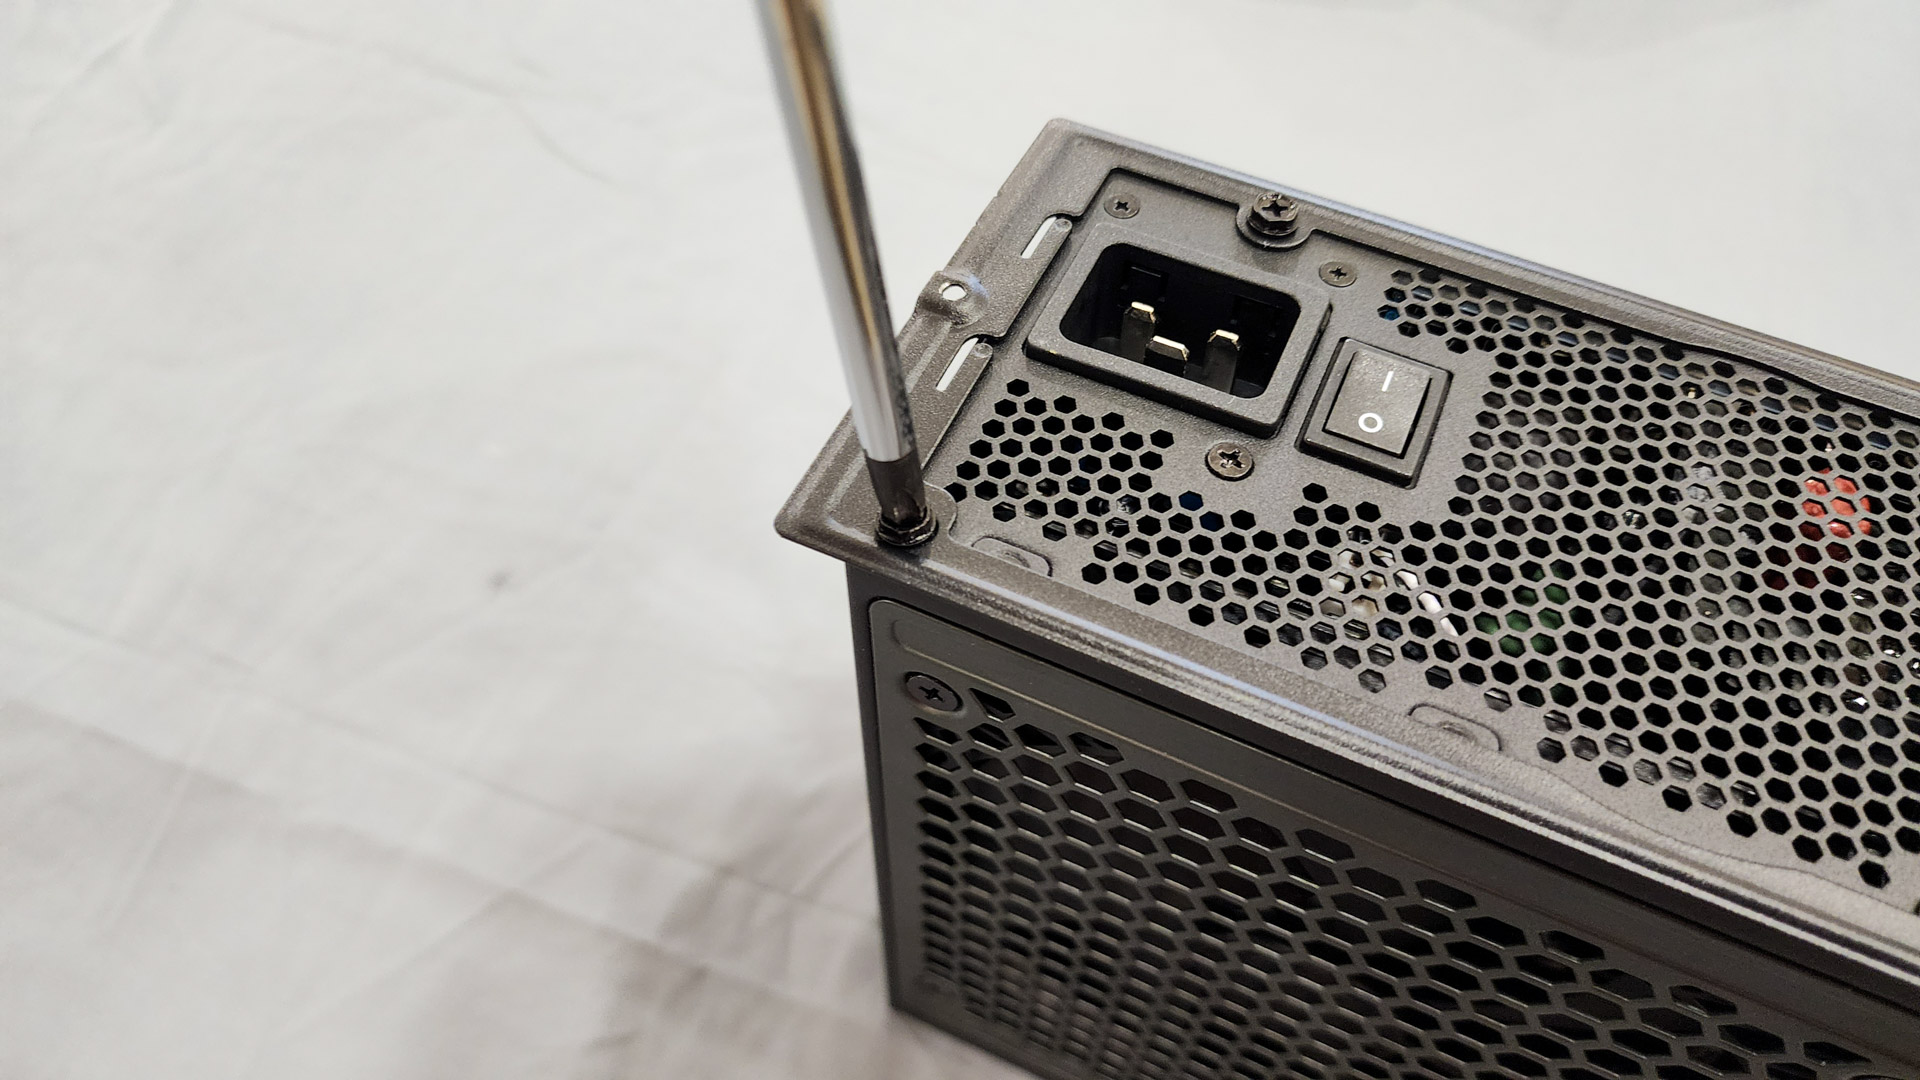
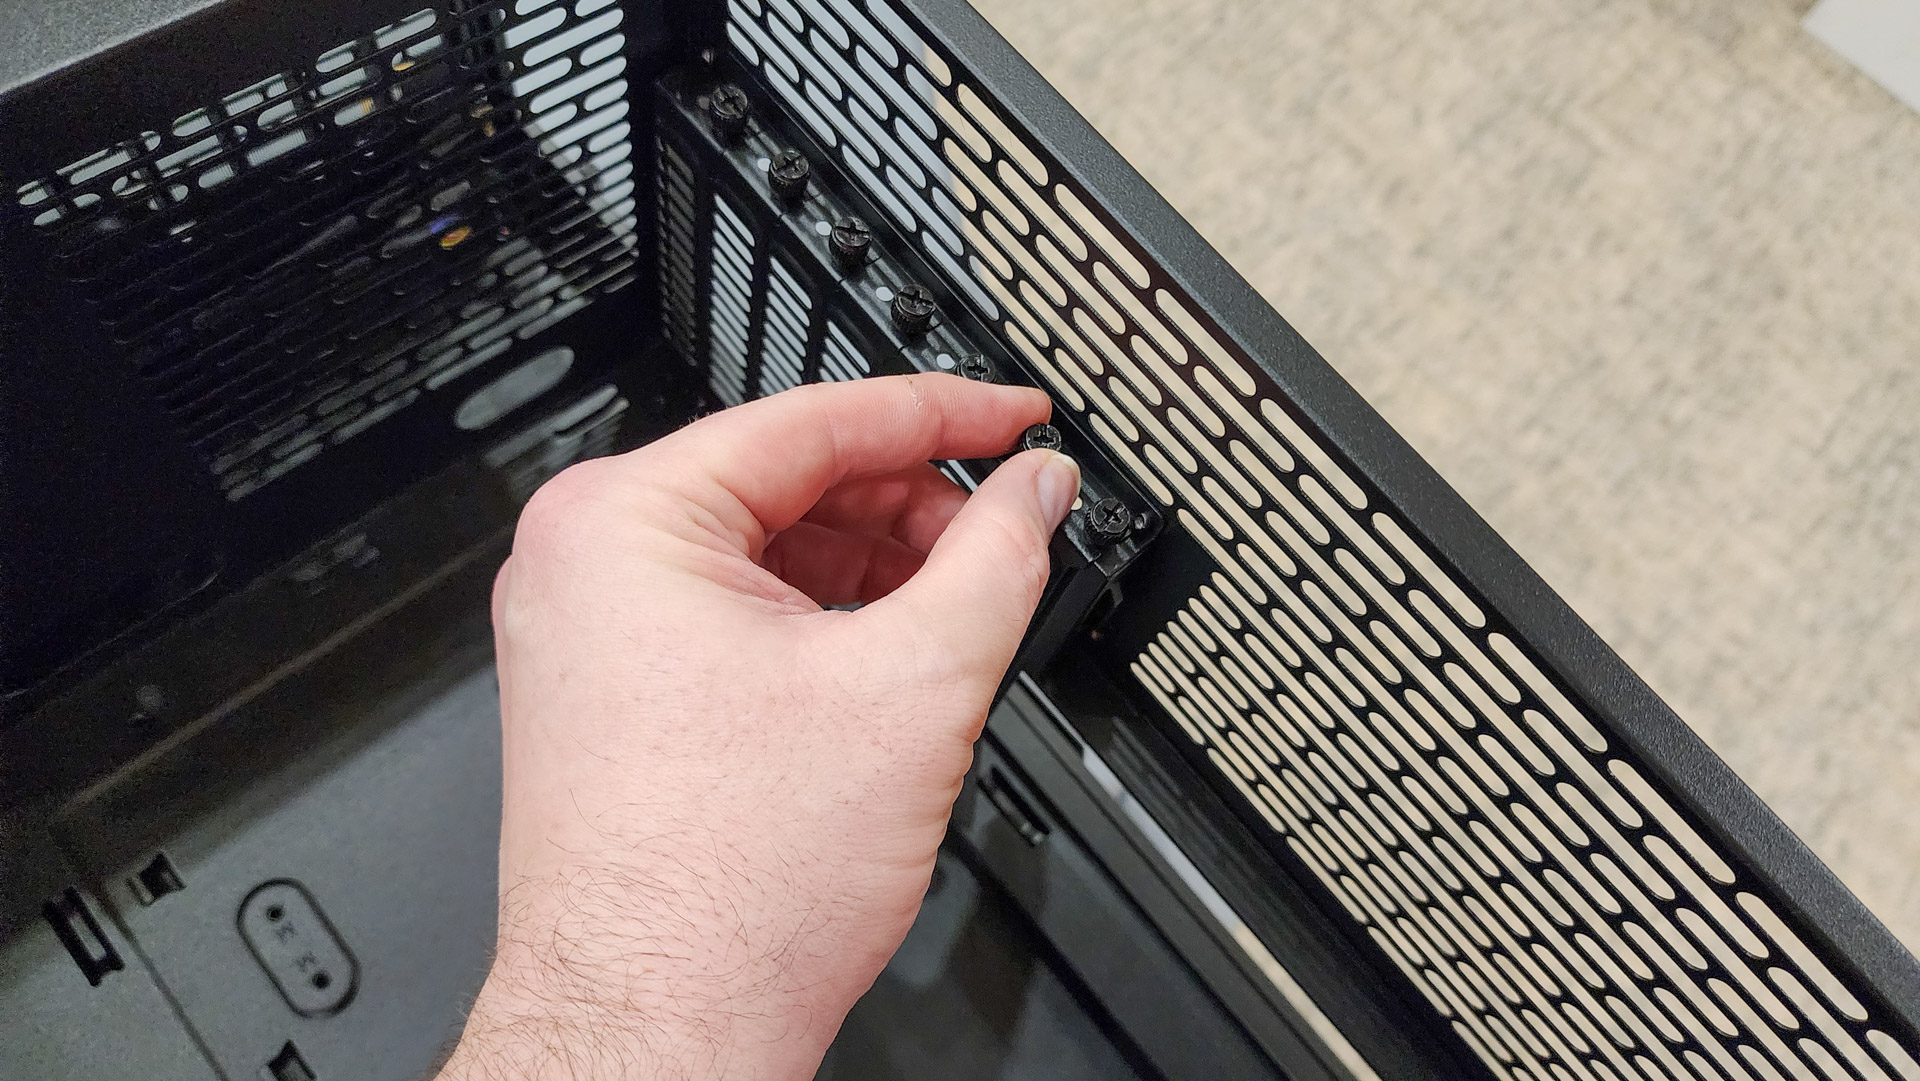
It opens by removing the thumb screws and pulling off the bracket.
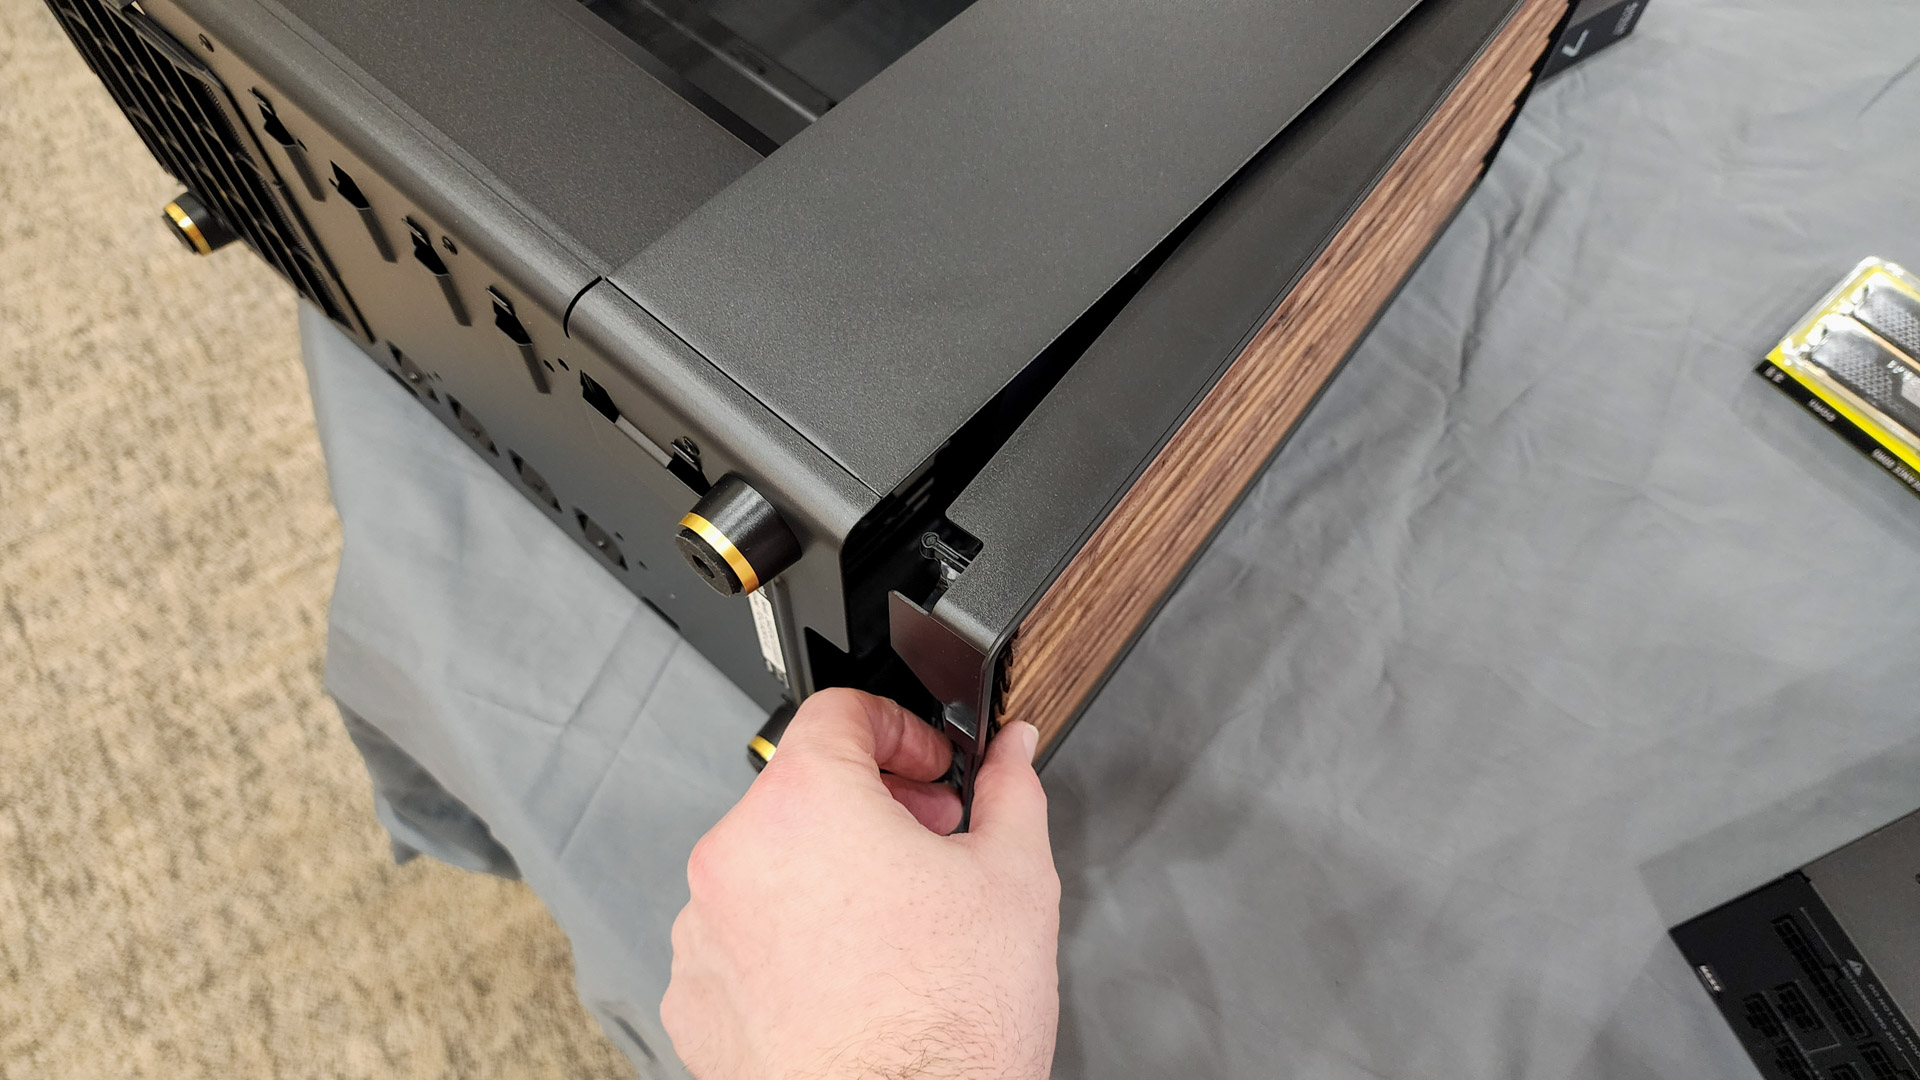
Removing them and pulling the panels back towards the rear panel gets them out of the way.
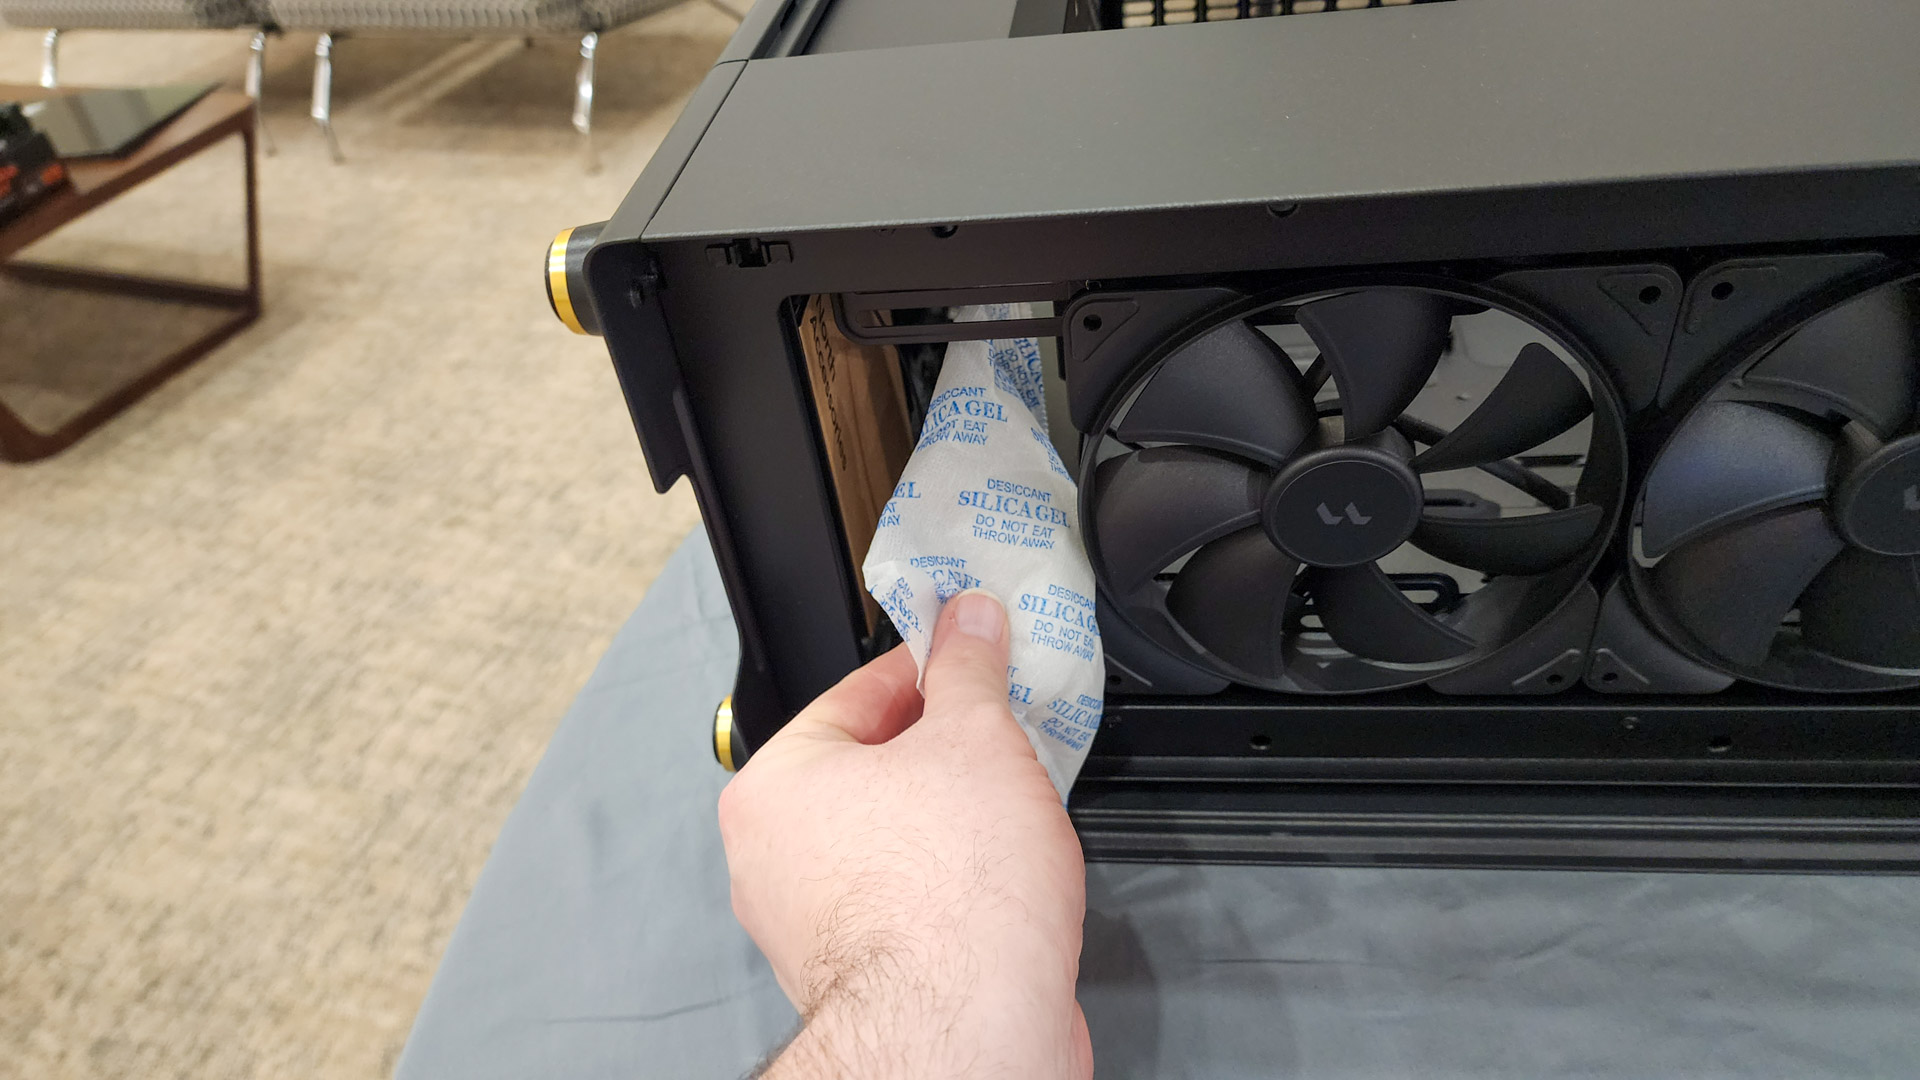
…and anything inside
5.
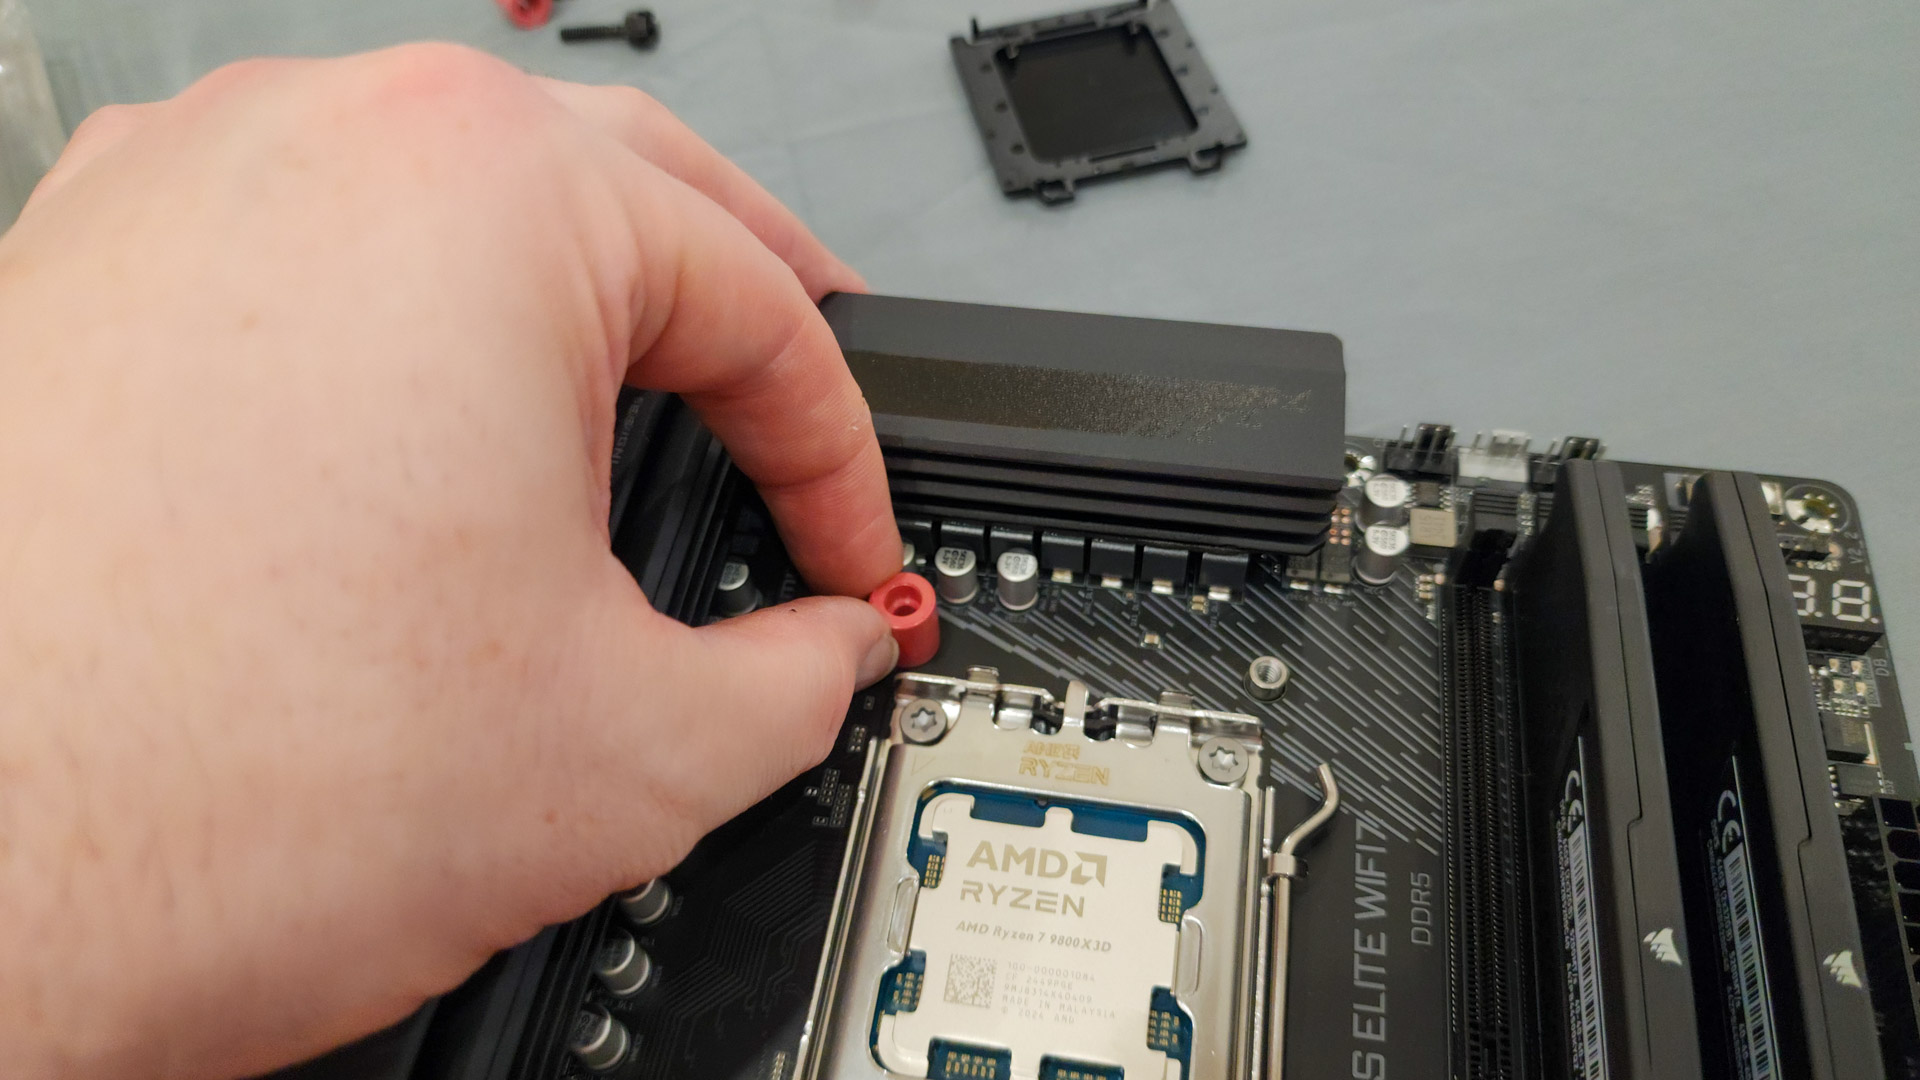
Fractal Design has provided four screws in the cases accessory kit for this.
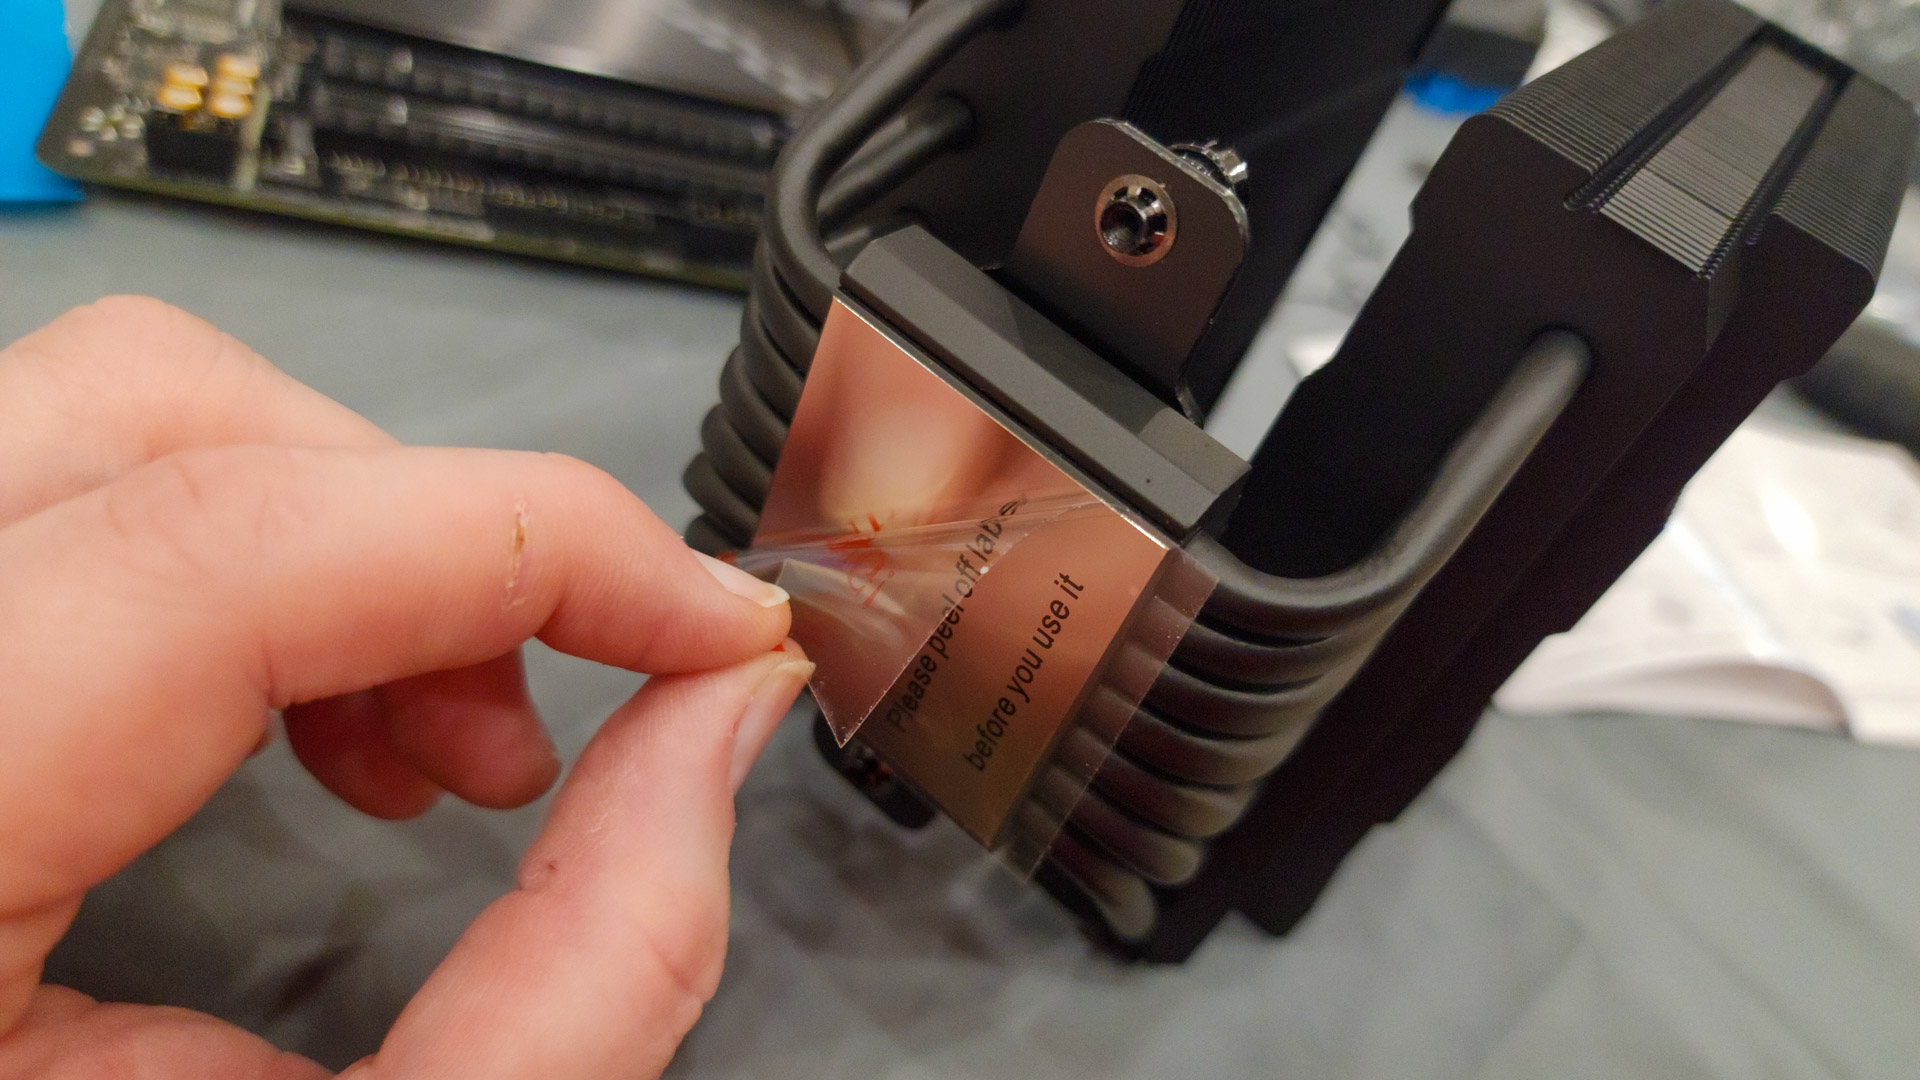
First, though, is removing the plastic covering from the thermal pad attached to it.
This is a good time to install any other drives you may have.
Are they both in the same corner and facing the same direction?
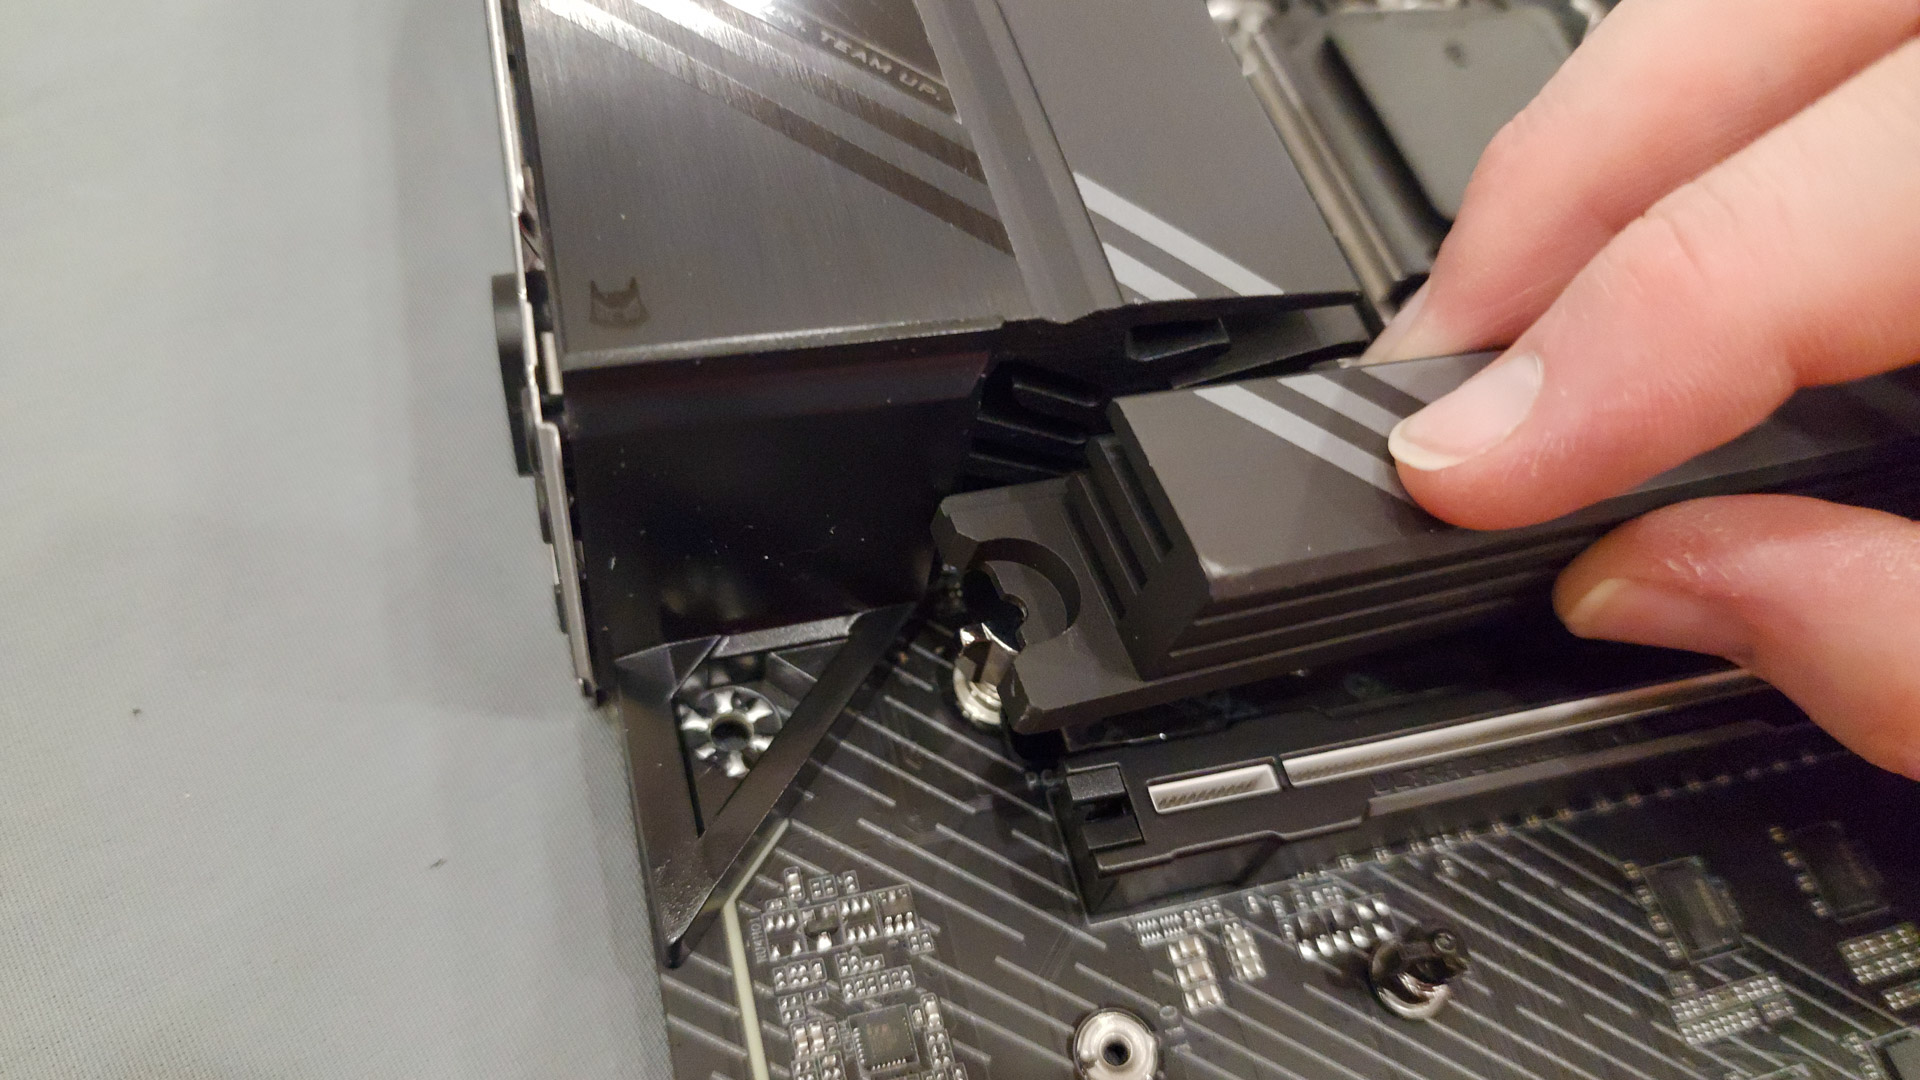
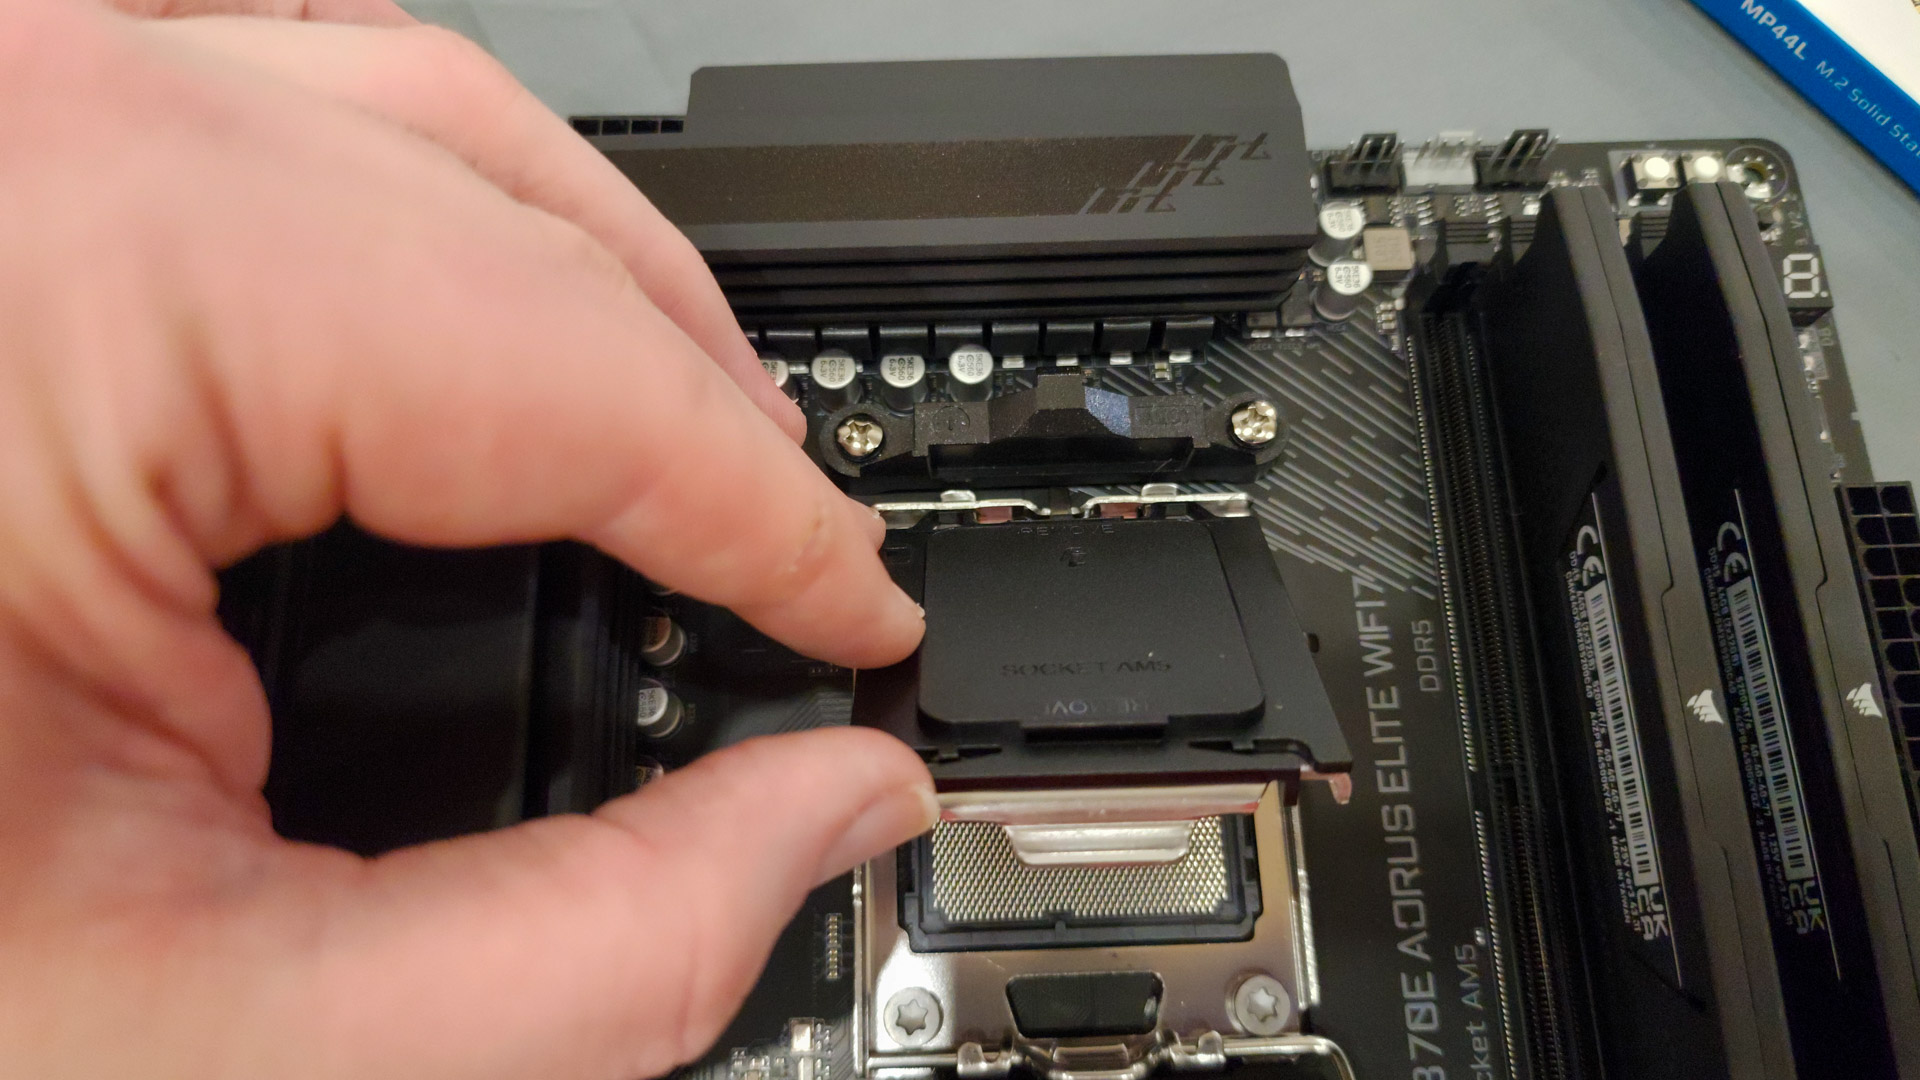
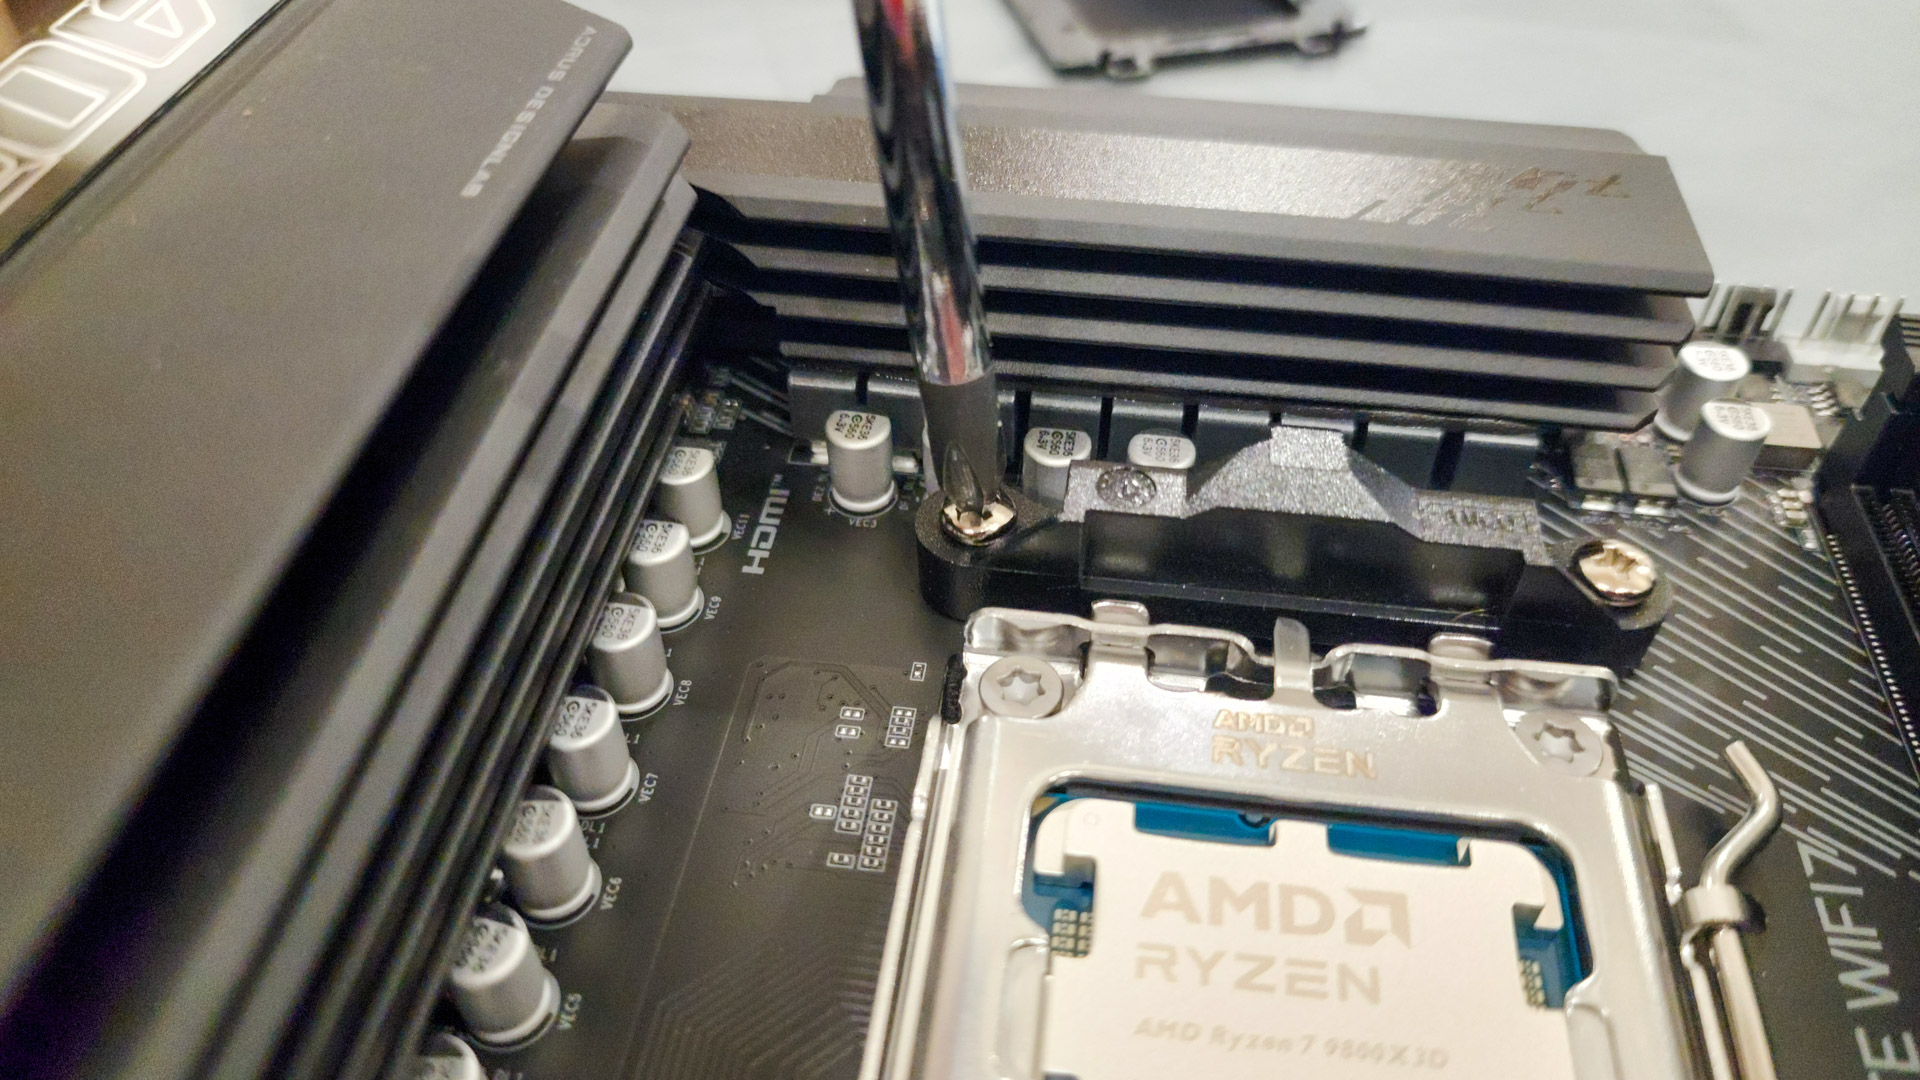
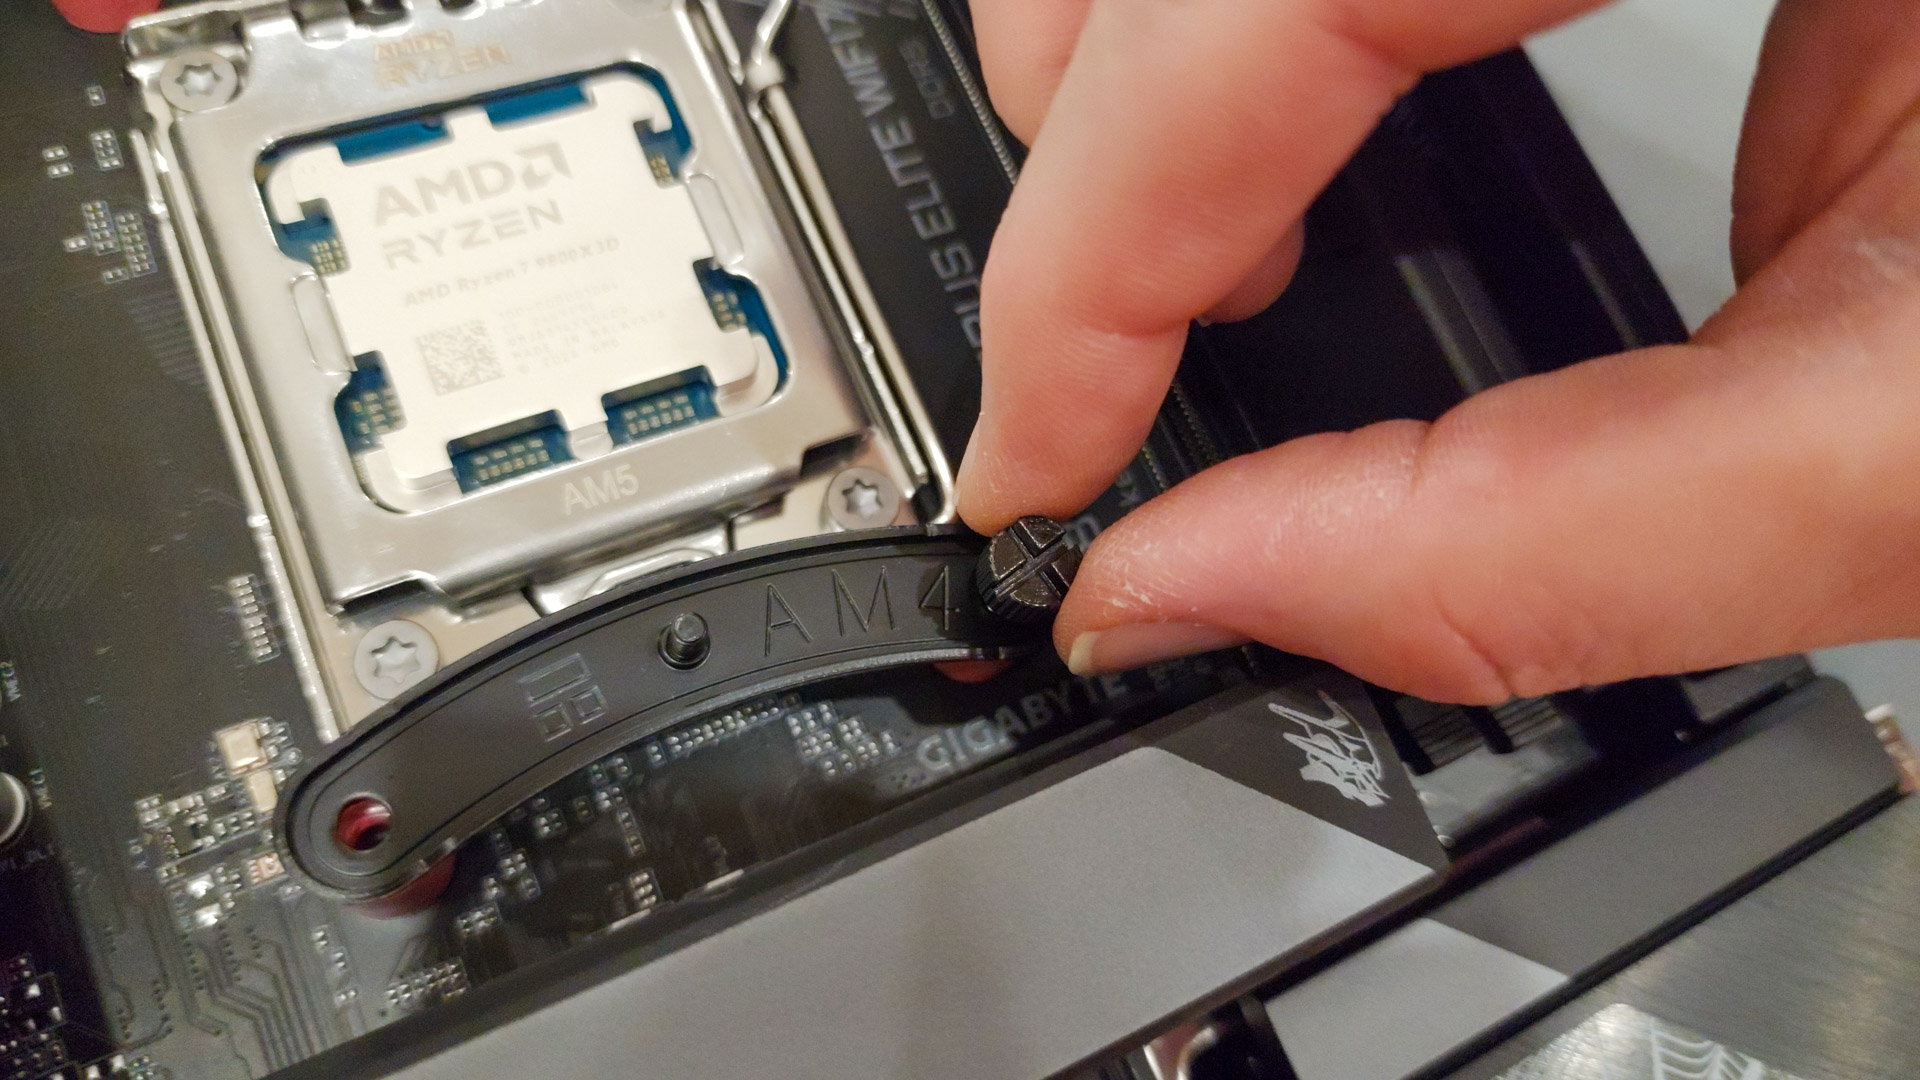
Ours begins by removing the two plastic brackets around the CPU slot using our screwdriver.
The upward-facing screws on the brackets which well use in a minute are built in.
Squeeze on a small amount before continuing.
you could improve its performance by spreading it out thinly and evenly with a thin plastic wedge.
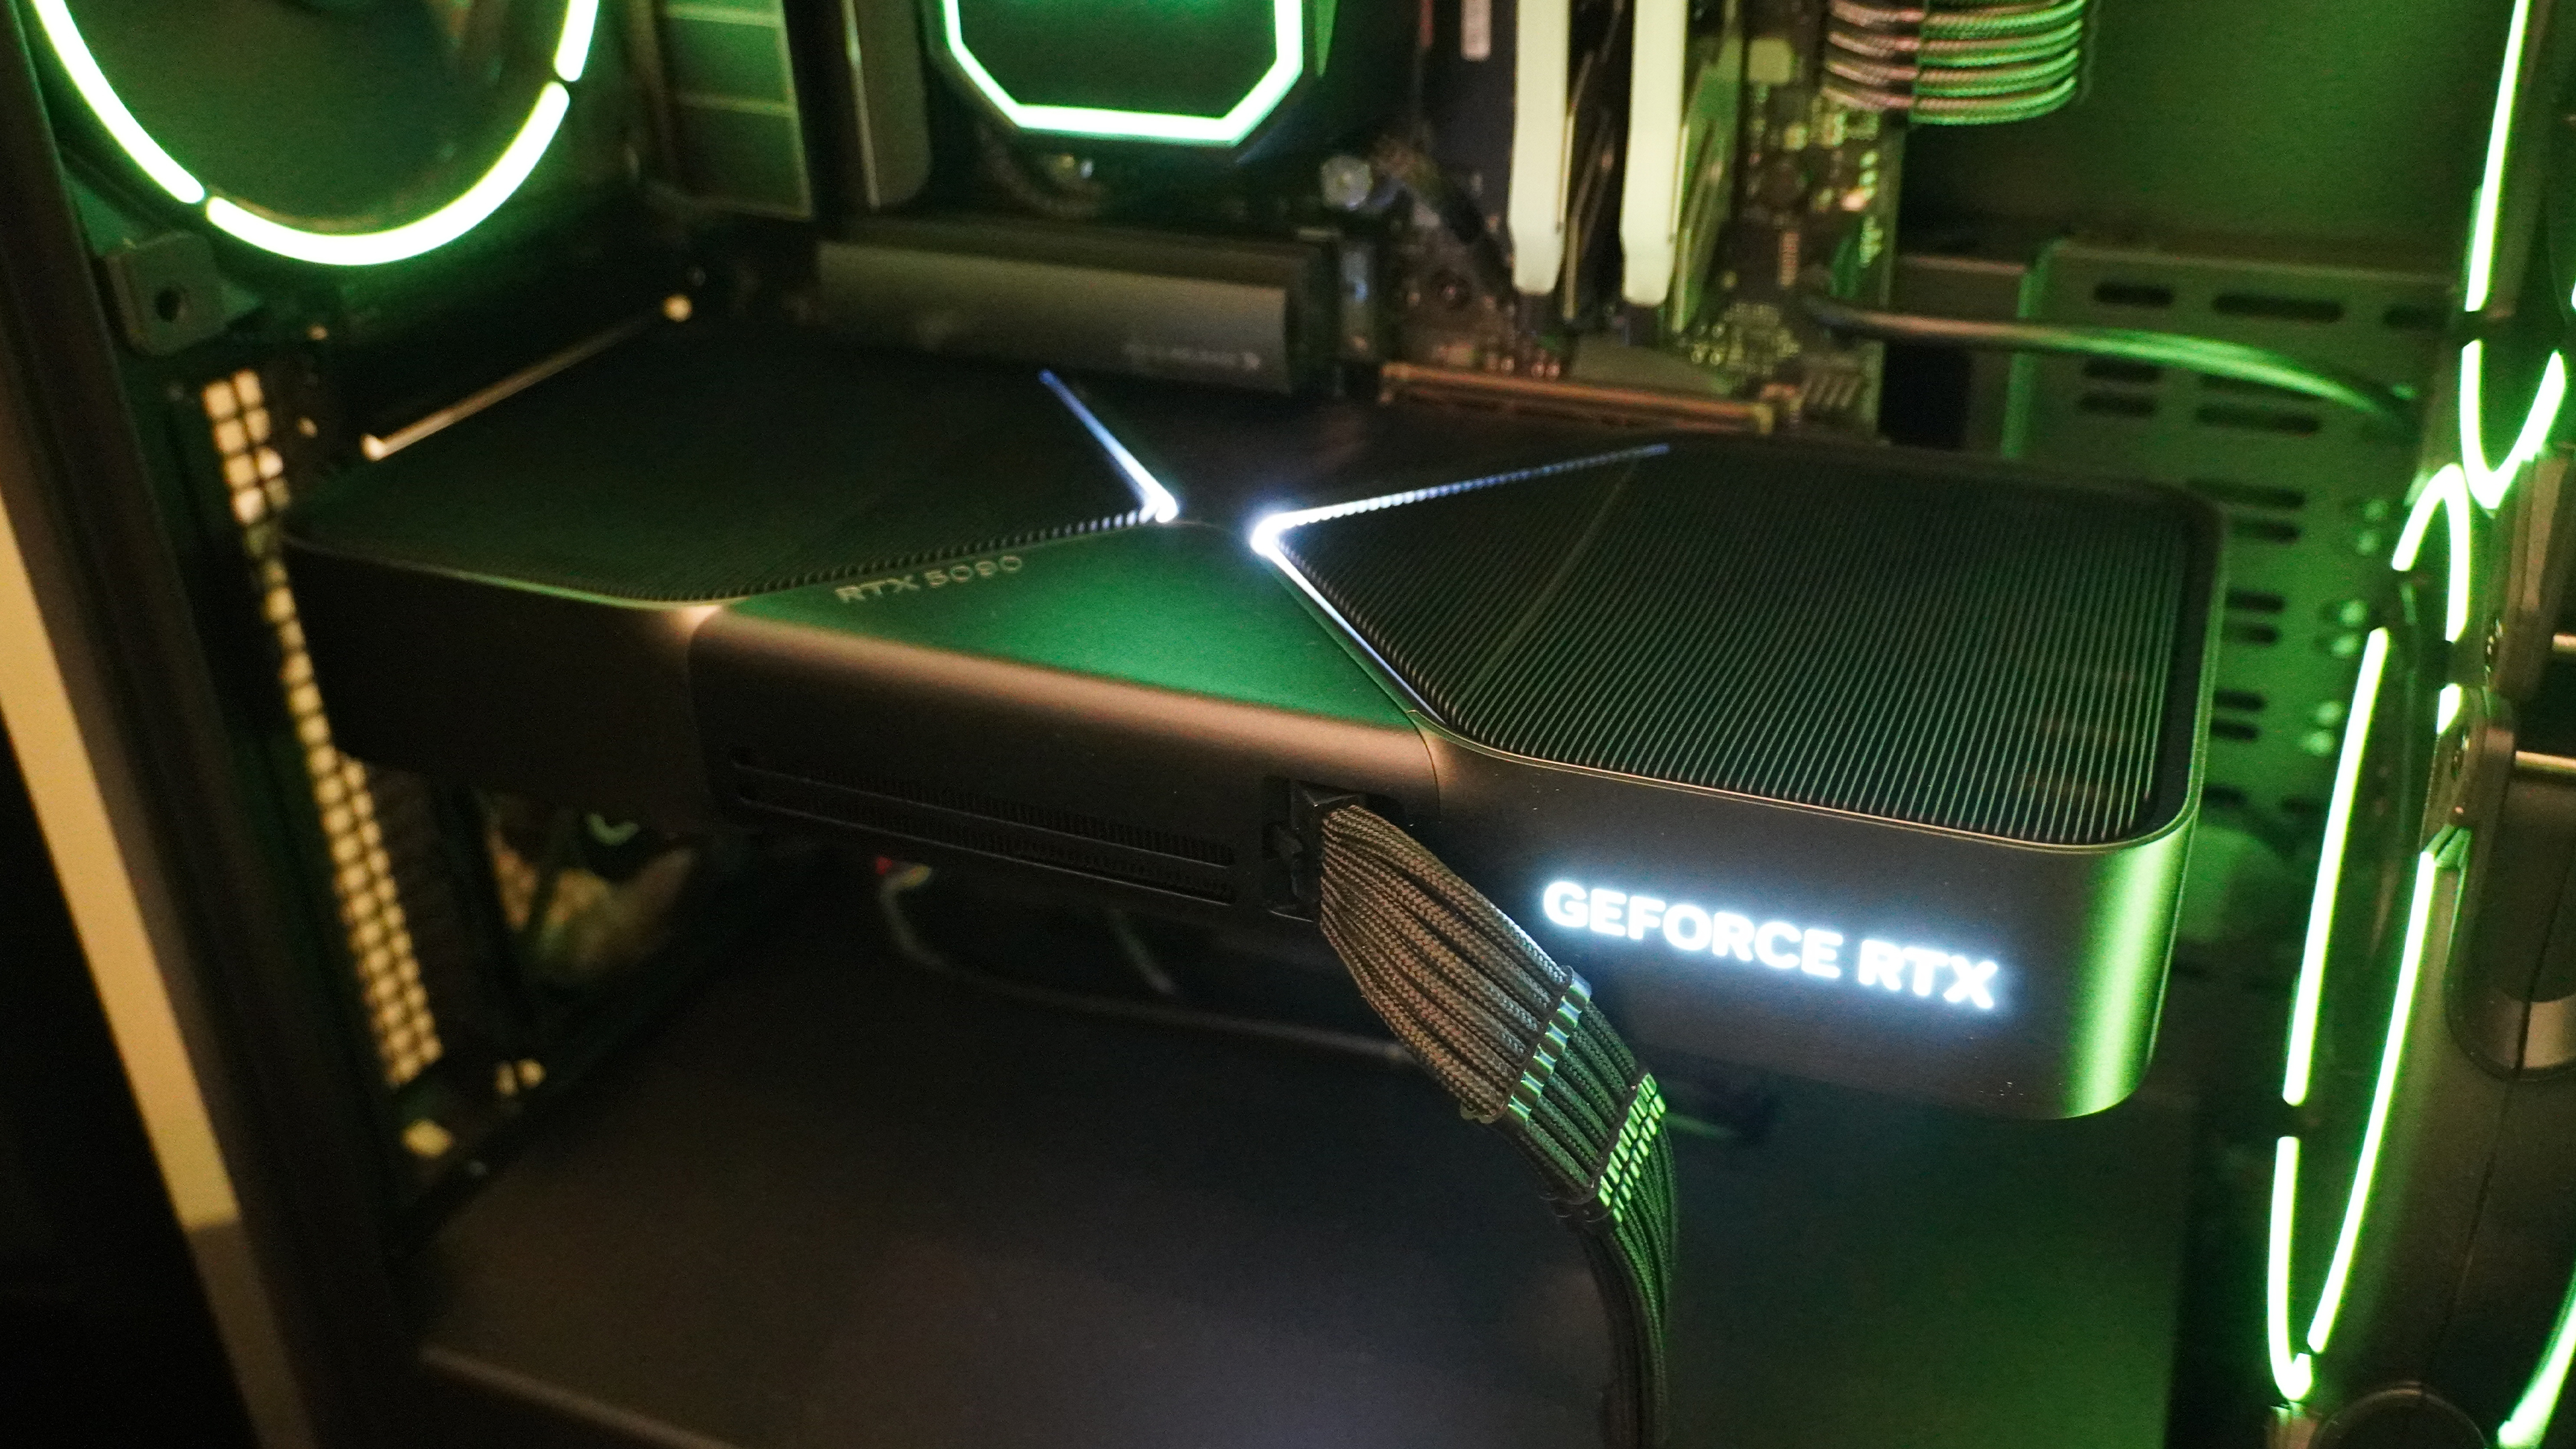
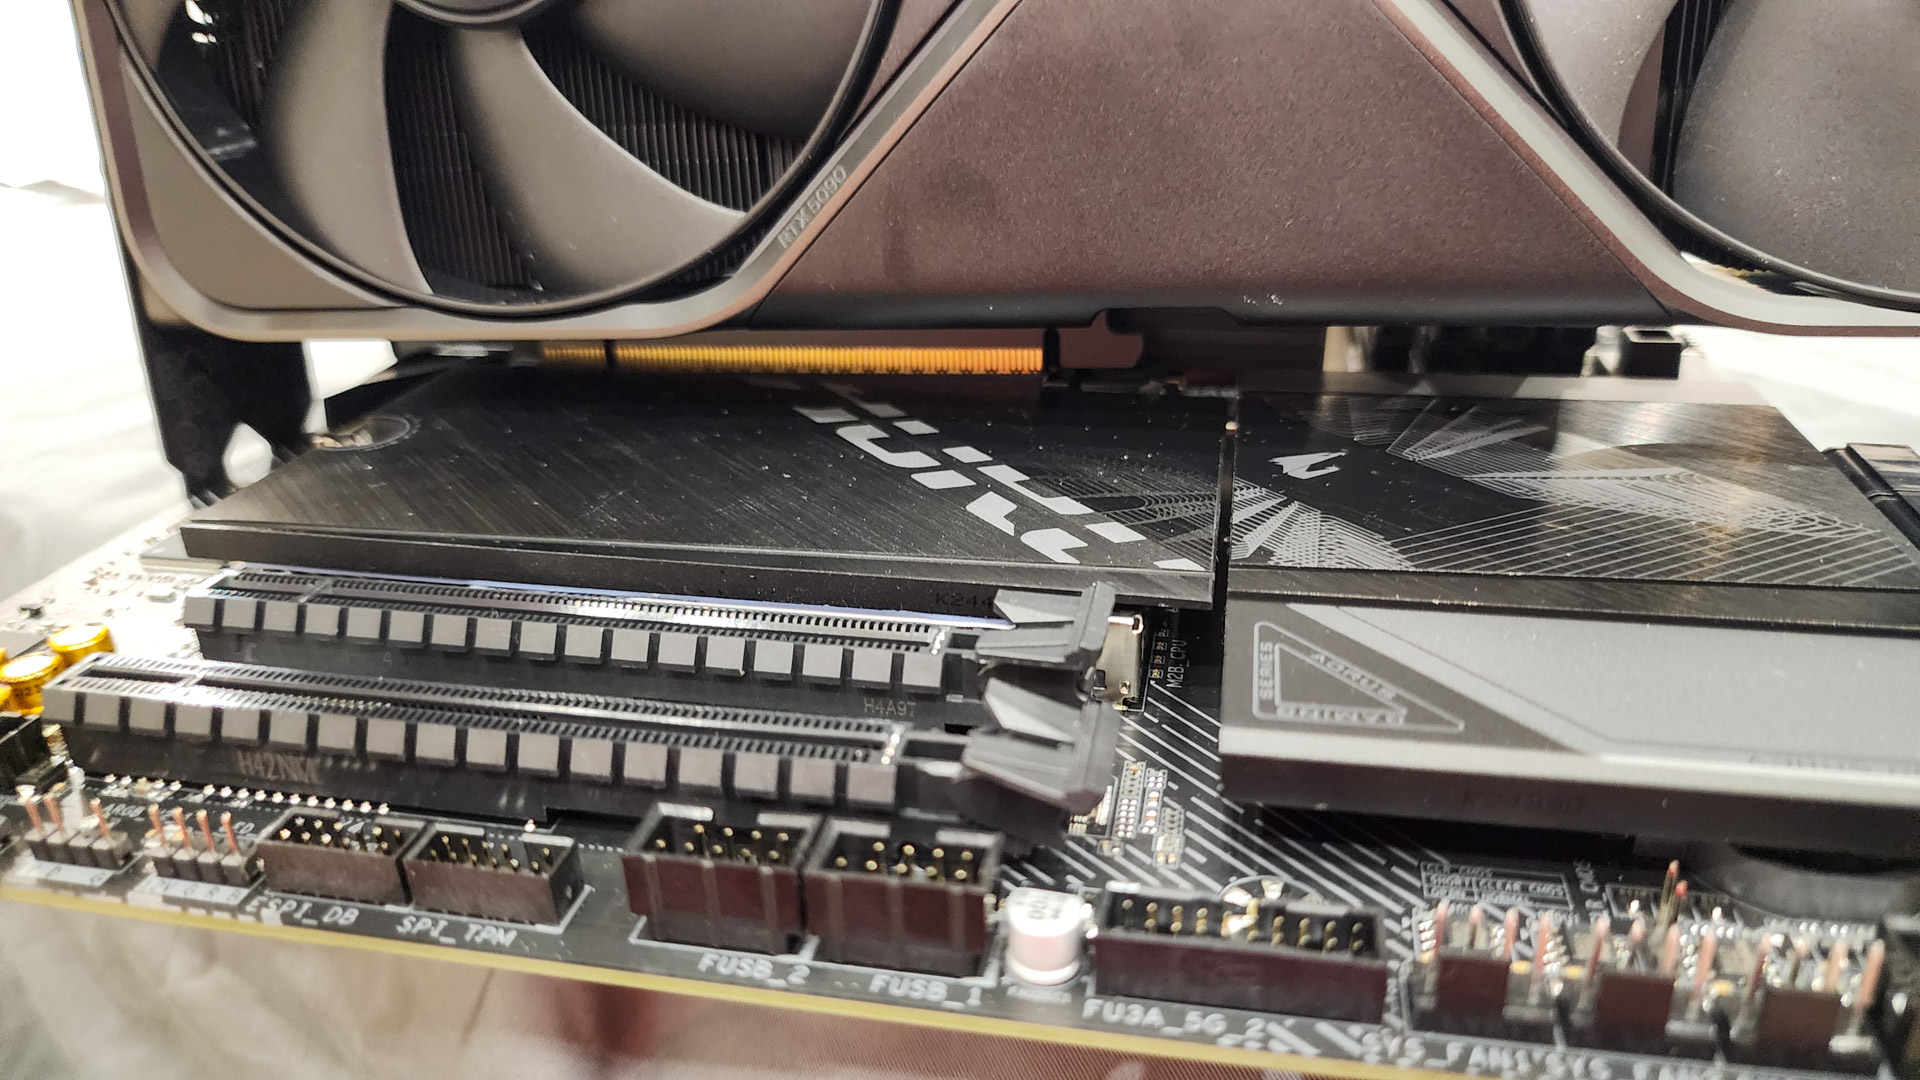
20. drop in the graphics card
Finallythe moment weve been waiting for!
Well… Its usually pretty easy.
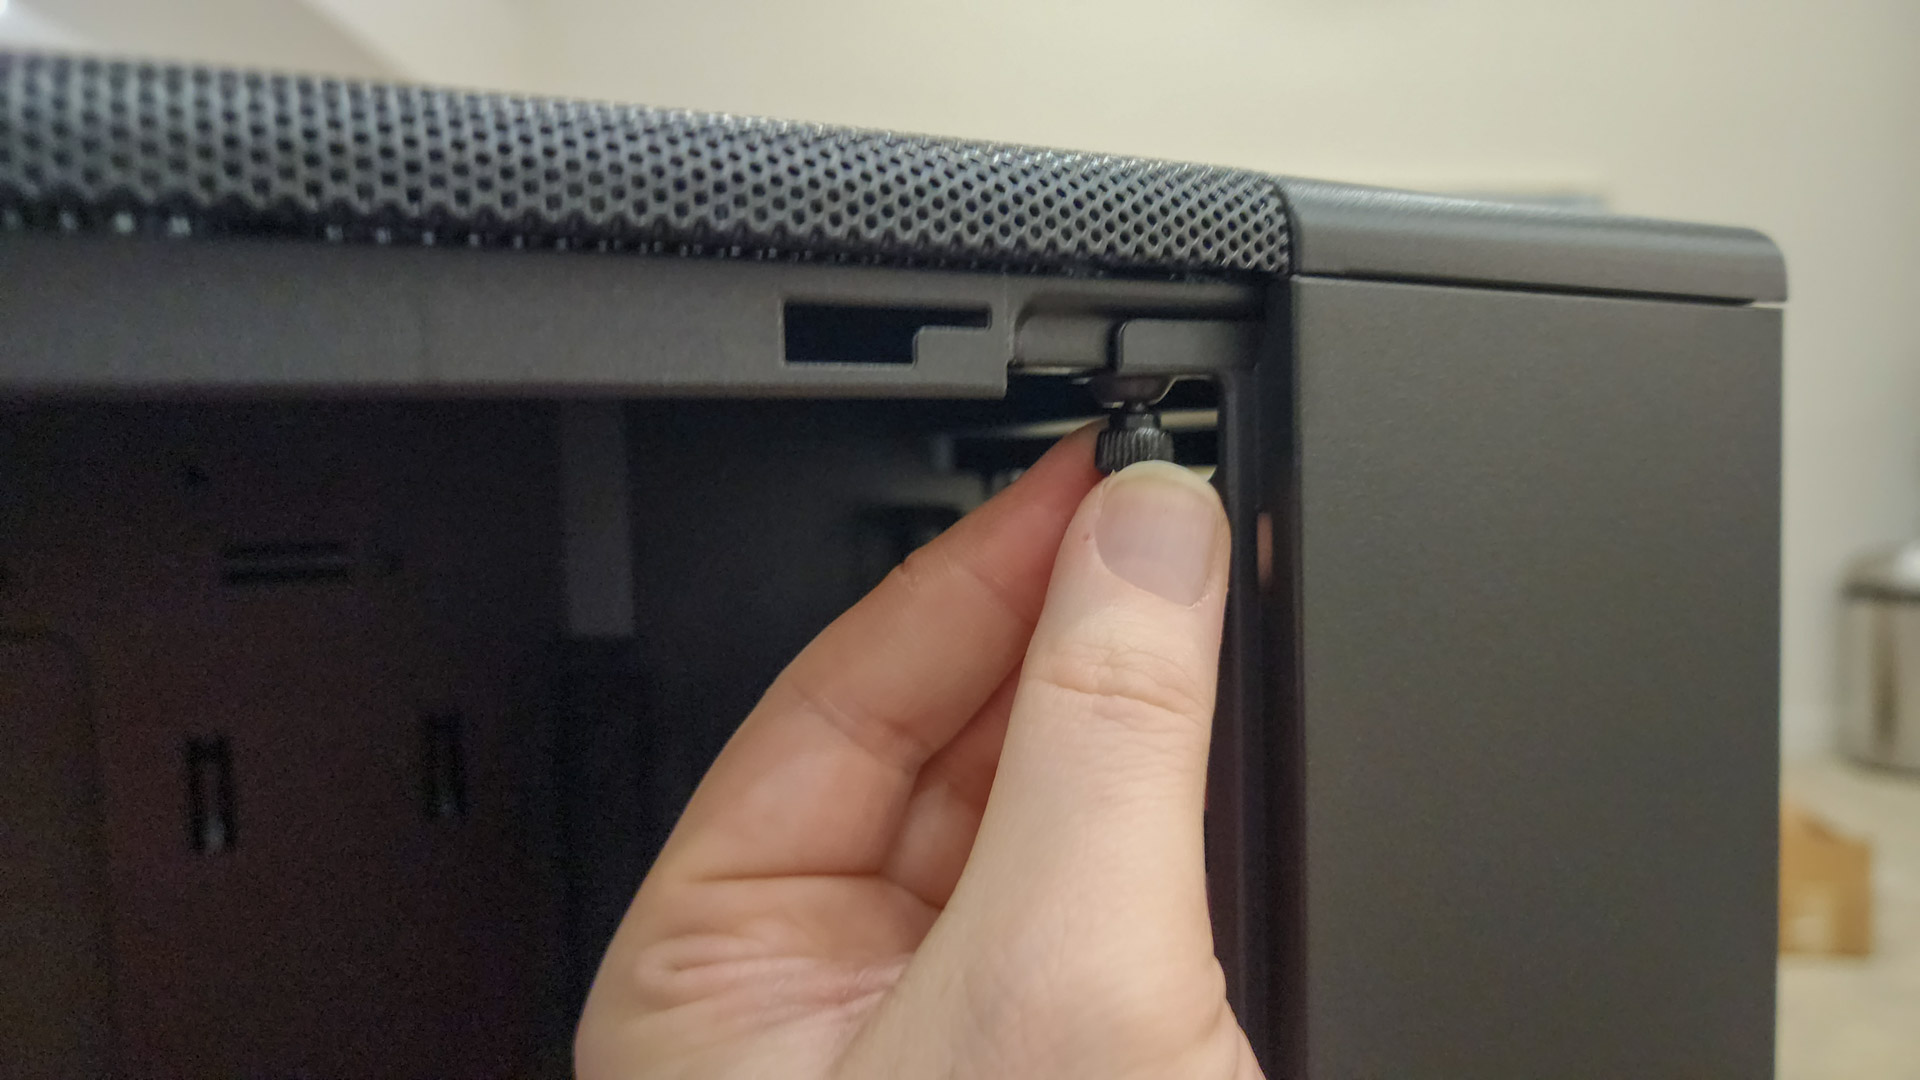
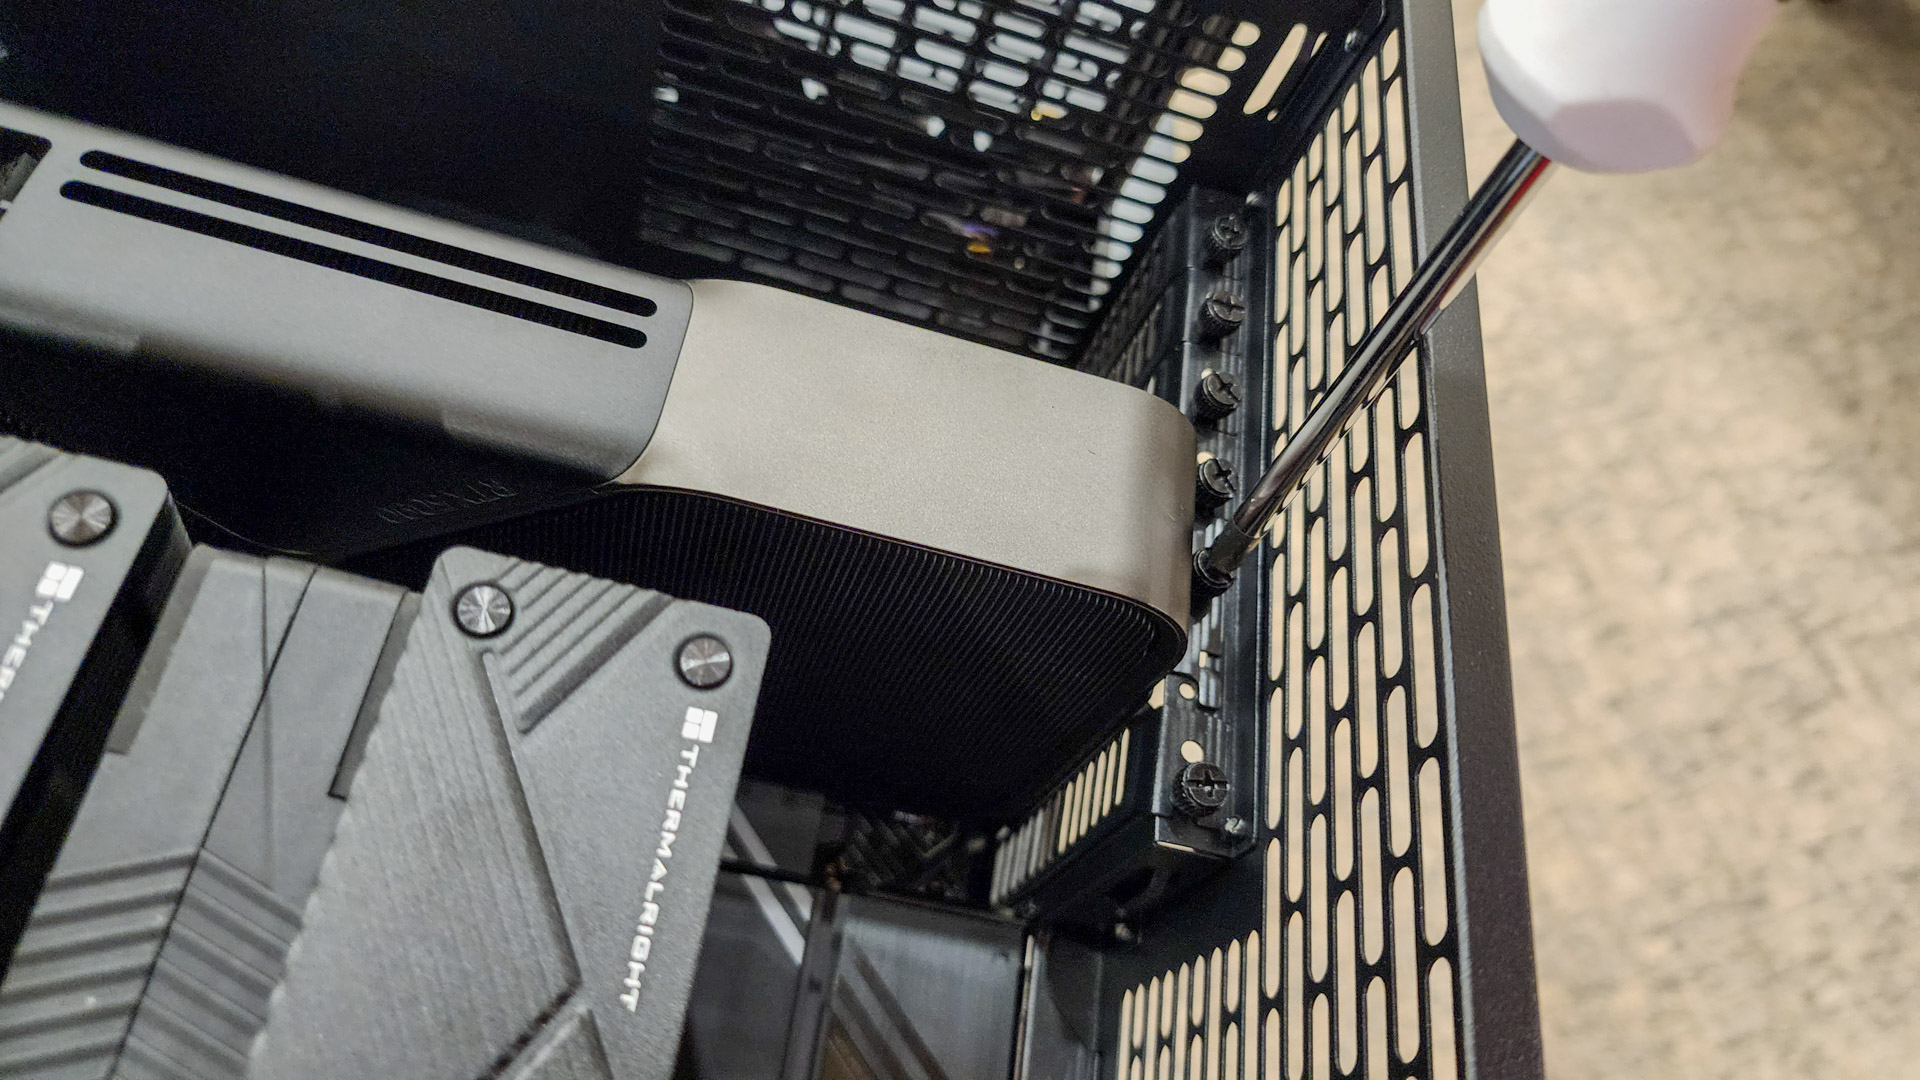
To remove them, simply loosen the two thumb screws and slide the spacers straight out.
We had more difficulty securing the motherboard to the case.
Yes, seven the motherboard design blocked one of the holes.
But once you do, tighten it down with the thumb screws you took out earlier.
But well still have quite a few.
Just about every build requires some last-minute corrections…
26.
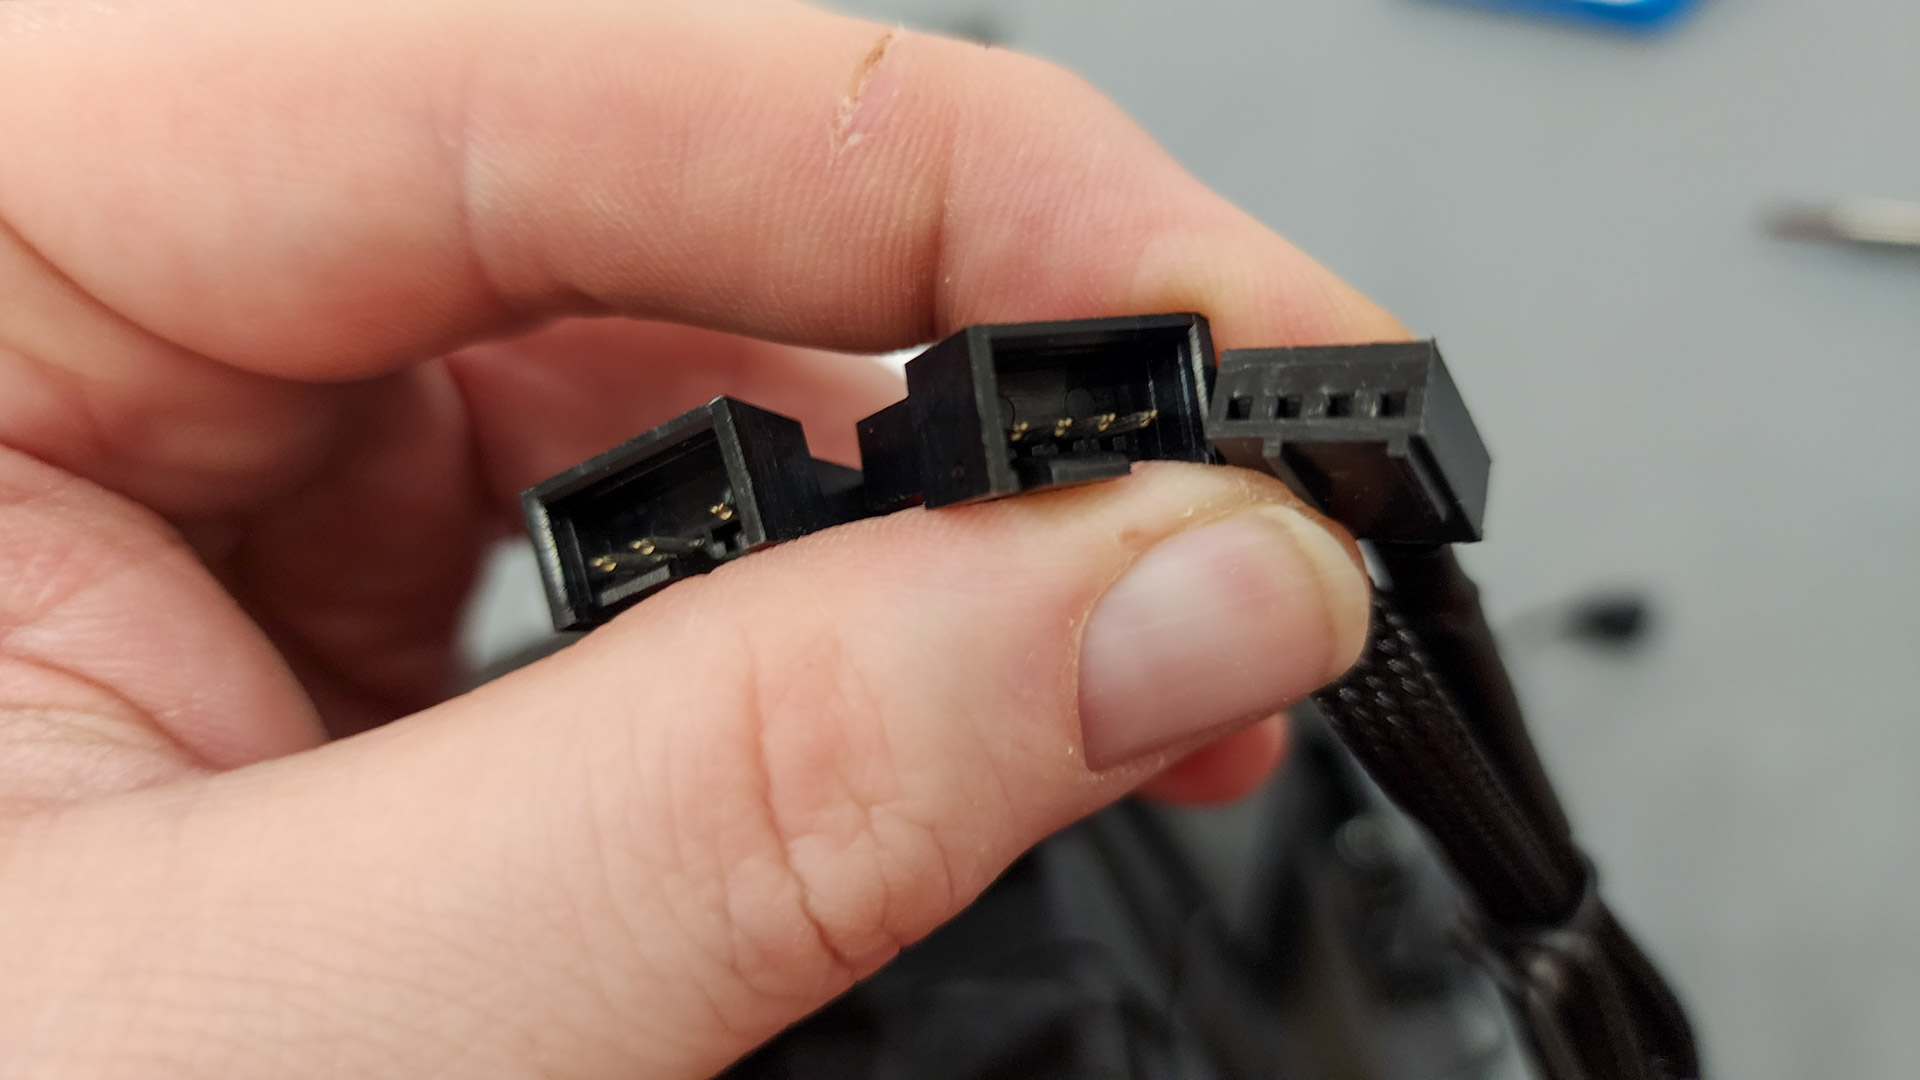
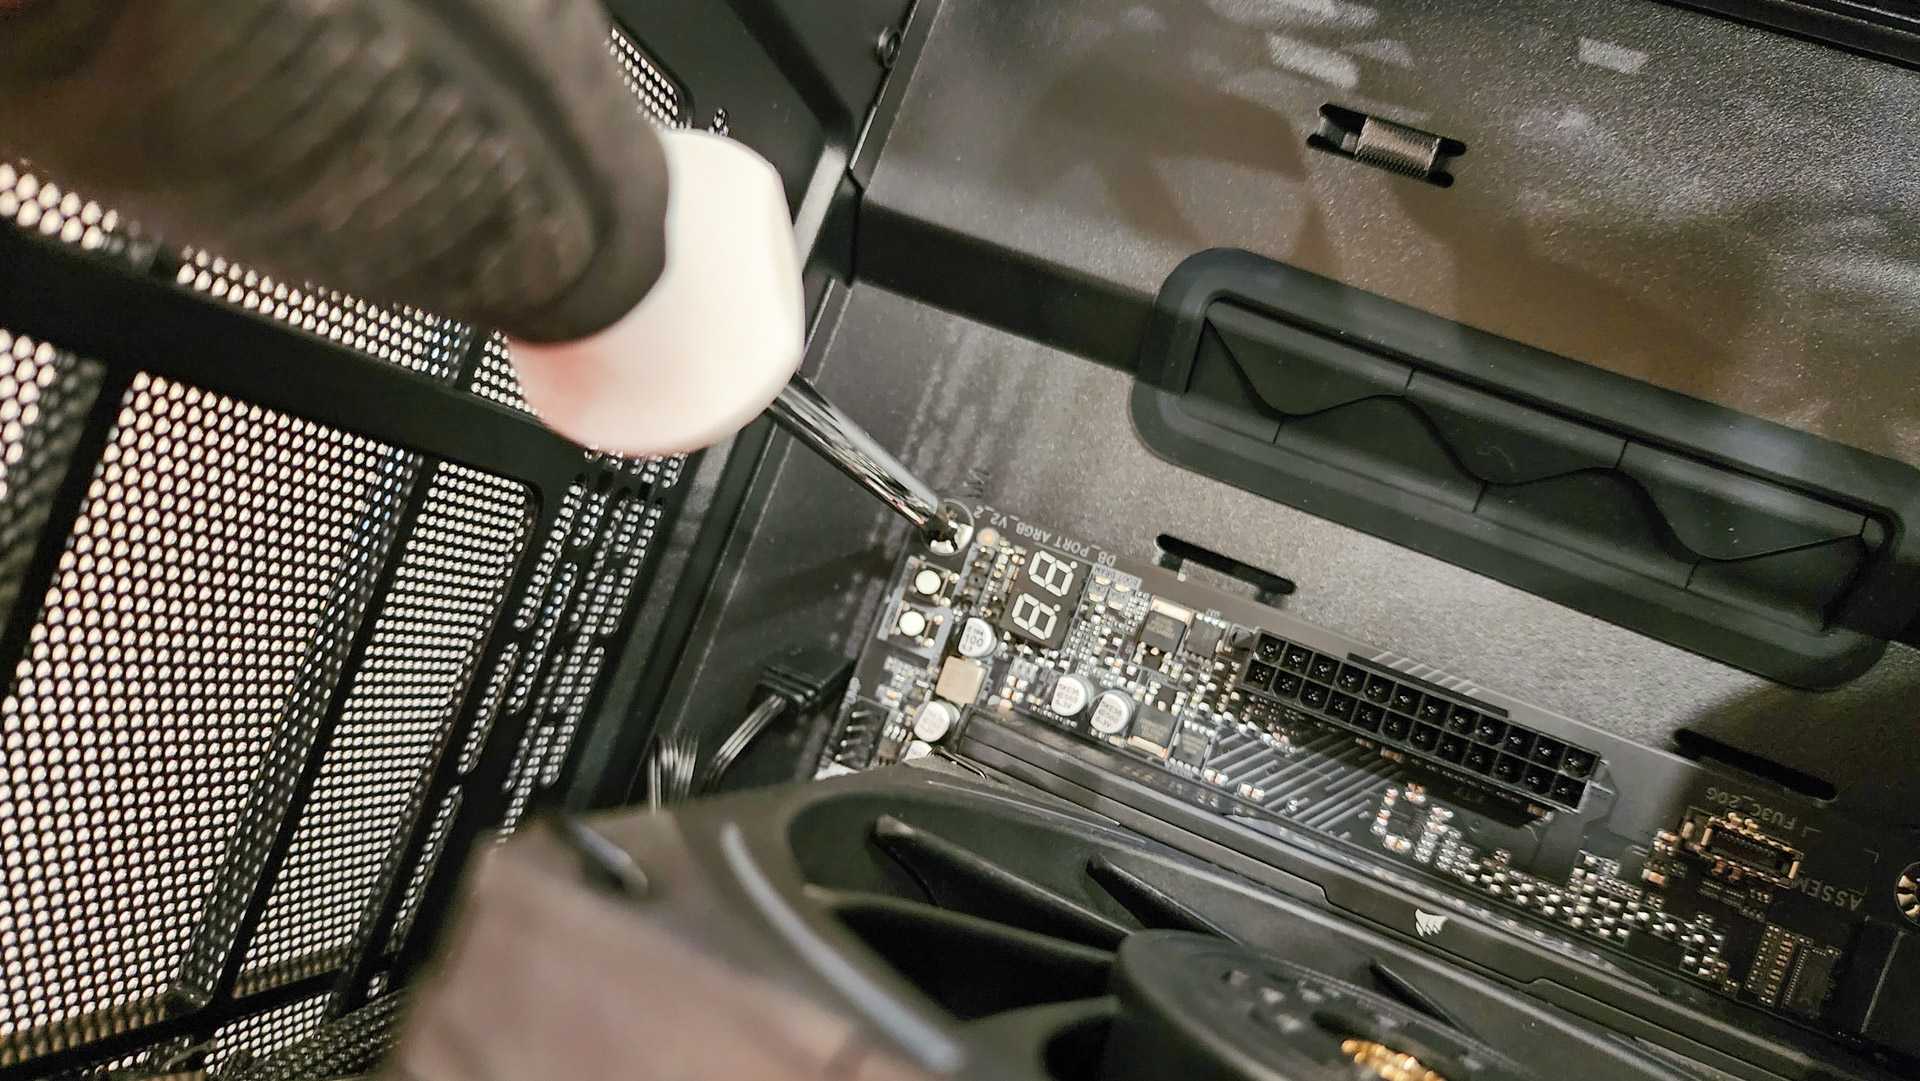
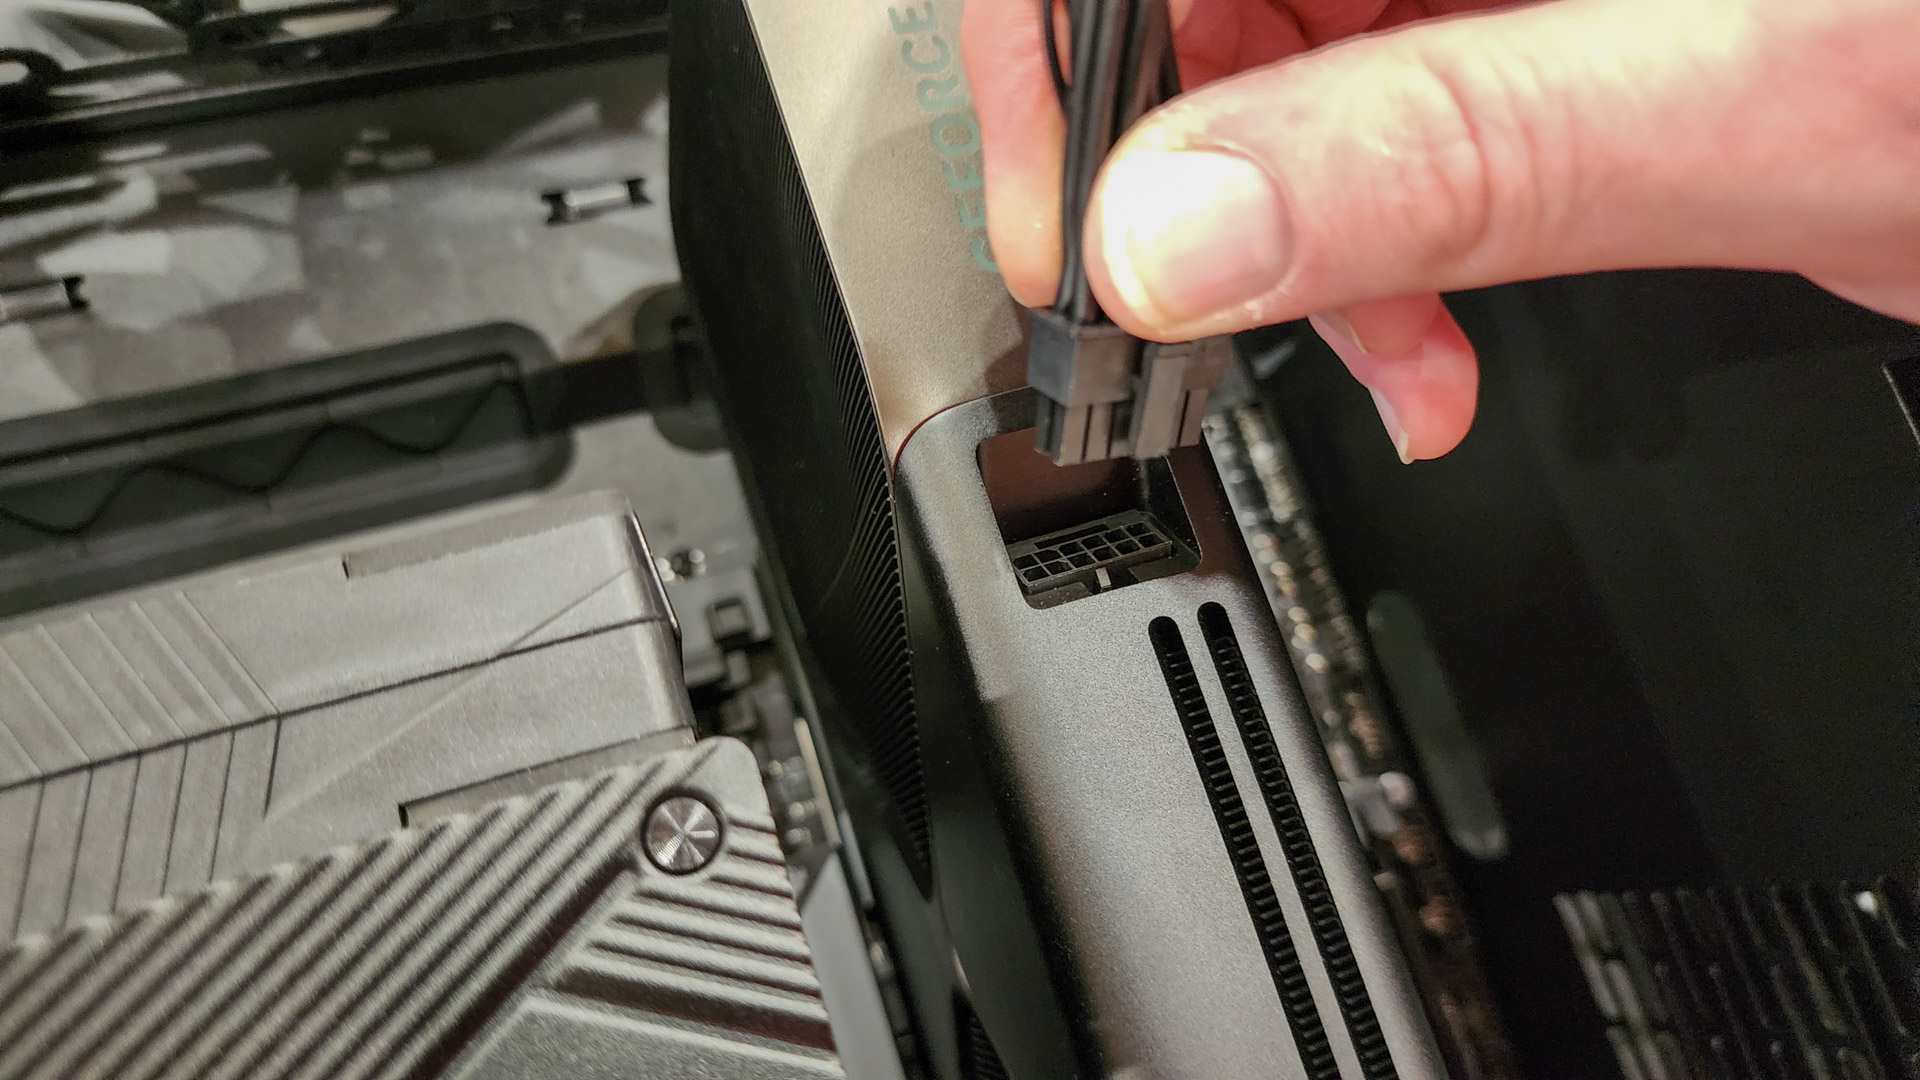
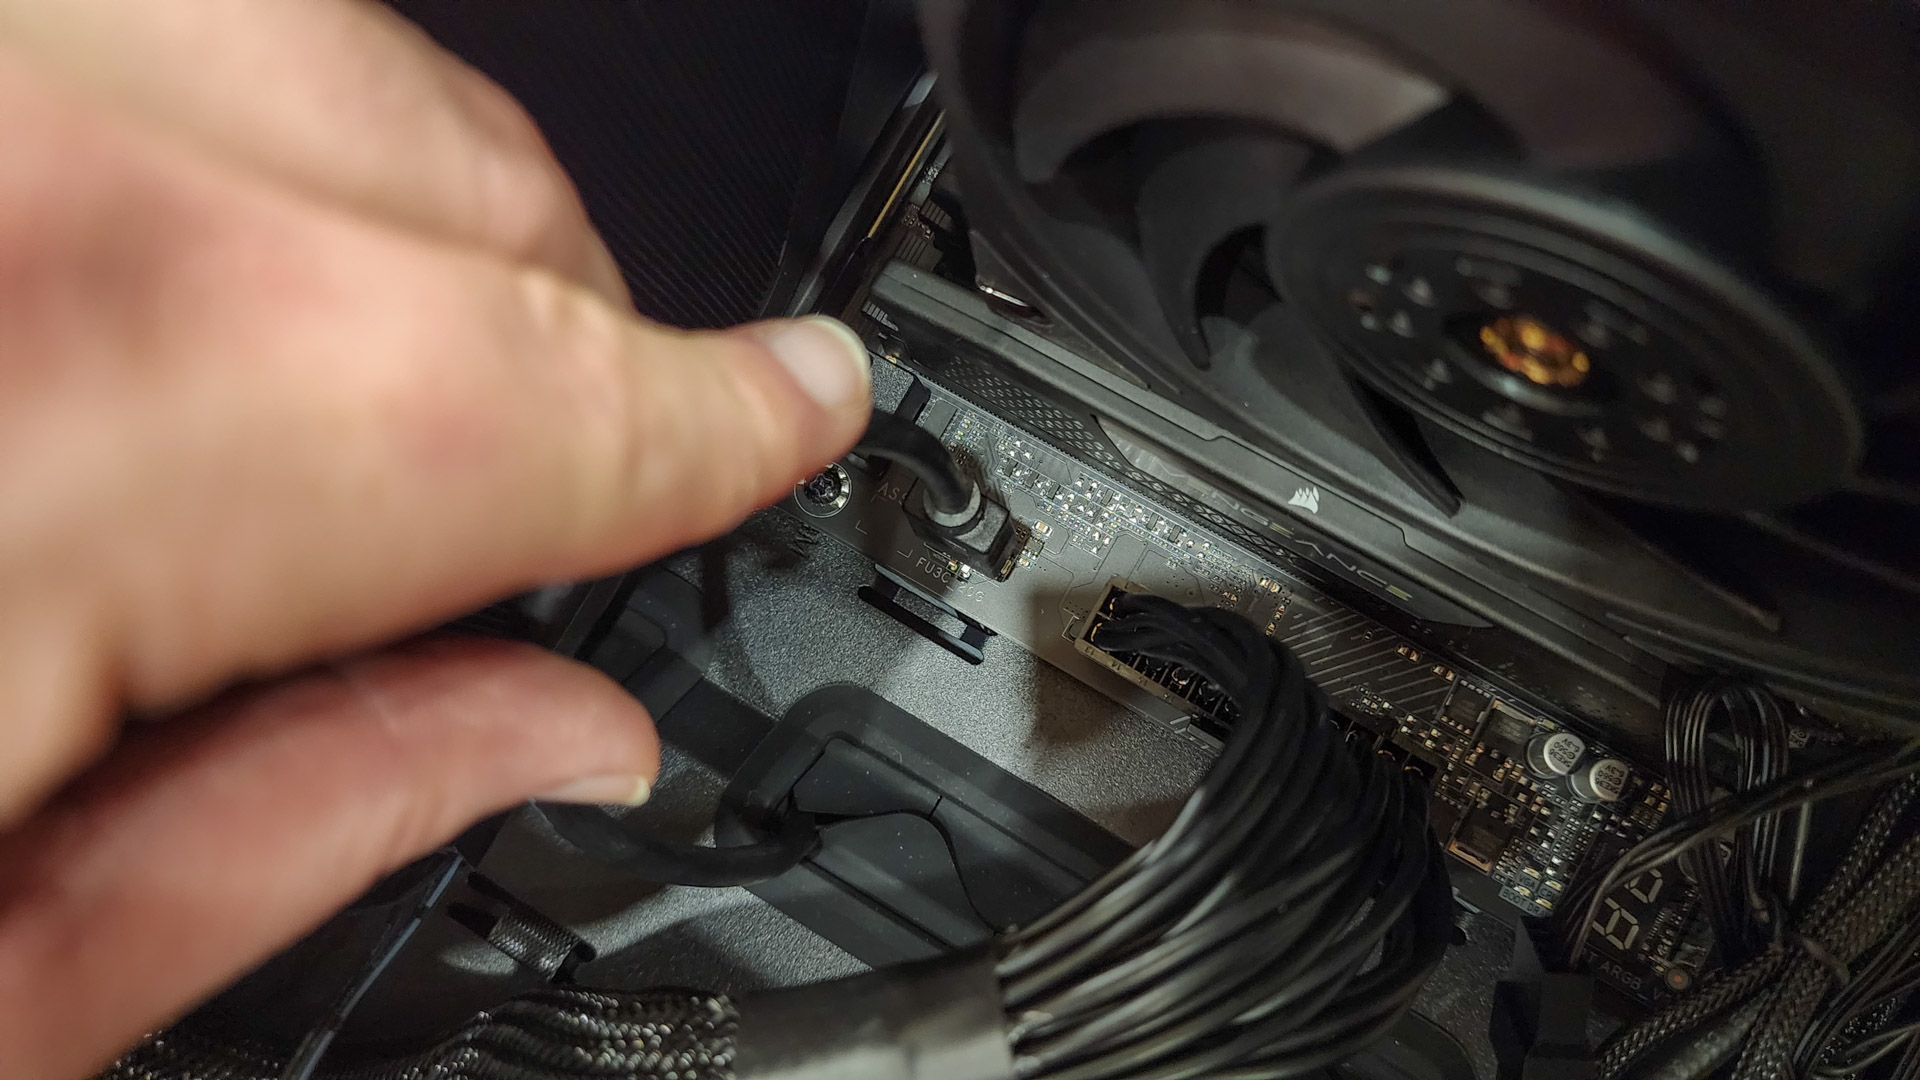
Nows the time, so find the appropriate ports on the motherboard or the add-ons and hook them up.
Connect the front-panel ports, fans, and buttons
System building is fun!
The key word being almost!
But if you want your Power button and USB ports to work, you gotta do it.
Connecting the Power switch and LED light wires is probably the hardest part given their size and positioning.
Check the manual to ensure youre putting the right wires in the right places, facing the right direction.
But if youre methodical and patient, youll get it it will be just a little easier next time.
But whats even more important is routing the wires on the motherboard side.
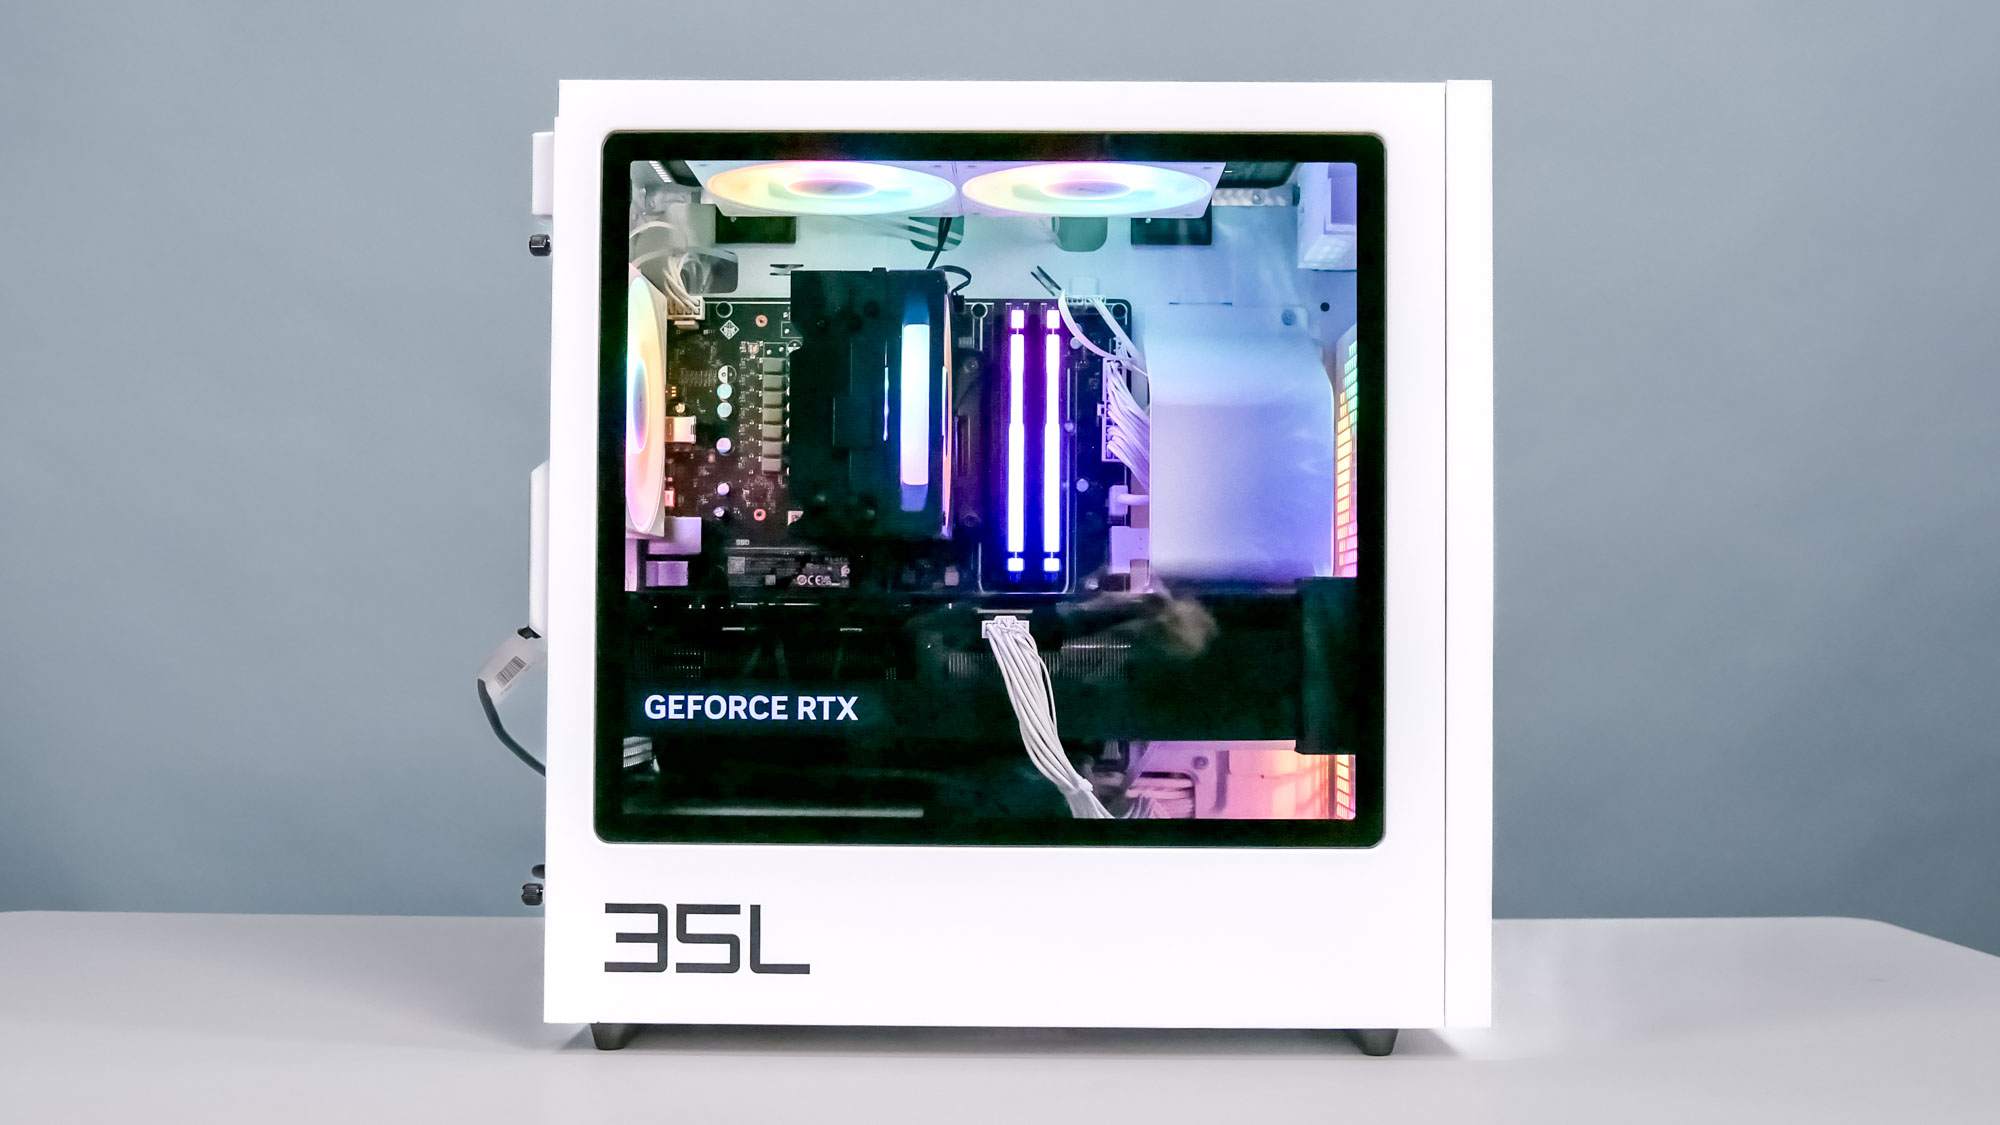
Thats all for the inside.
Now its time to reverse course!
Replace both side panels and return the thumb screws to their original positions.
Once thats done… so are you.
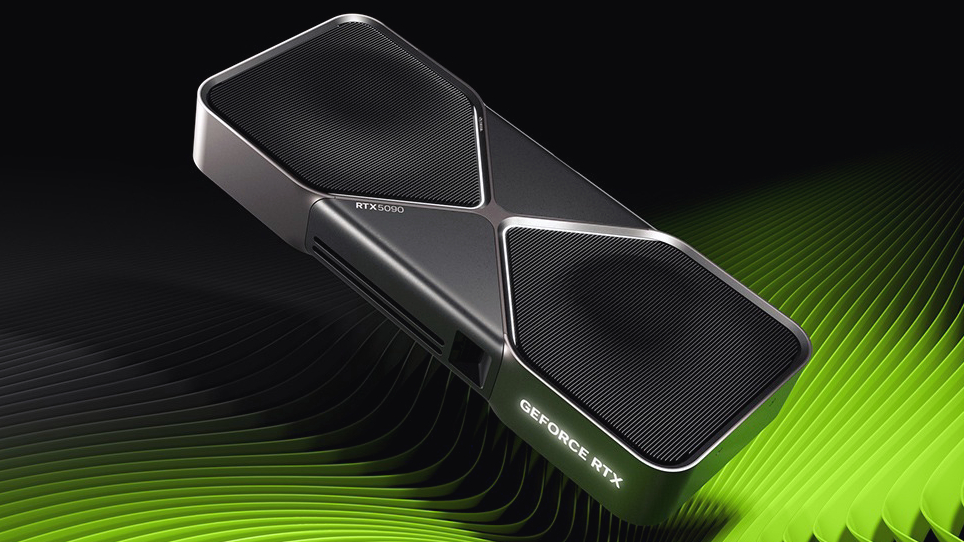
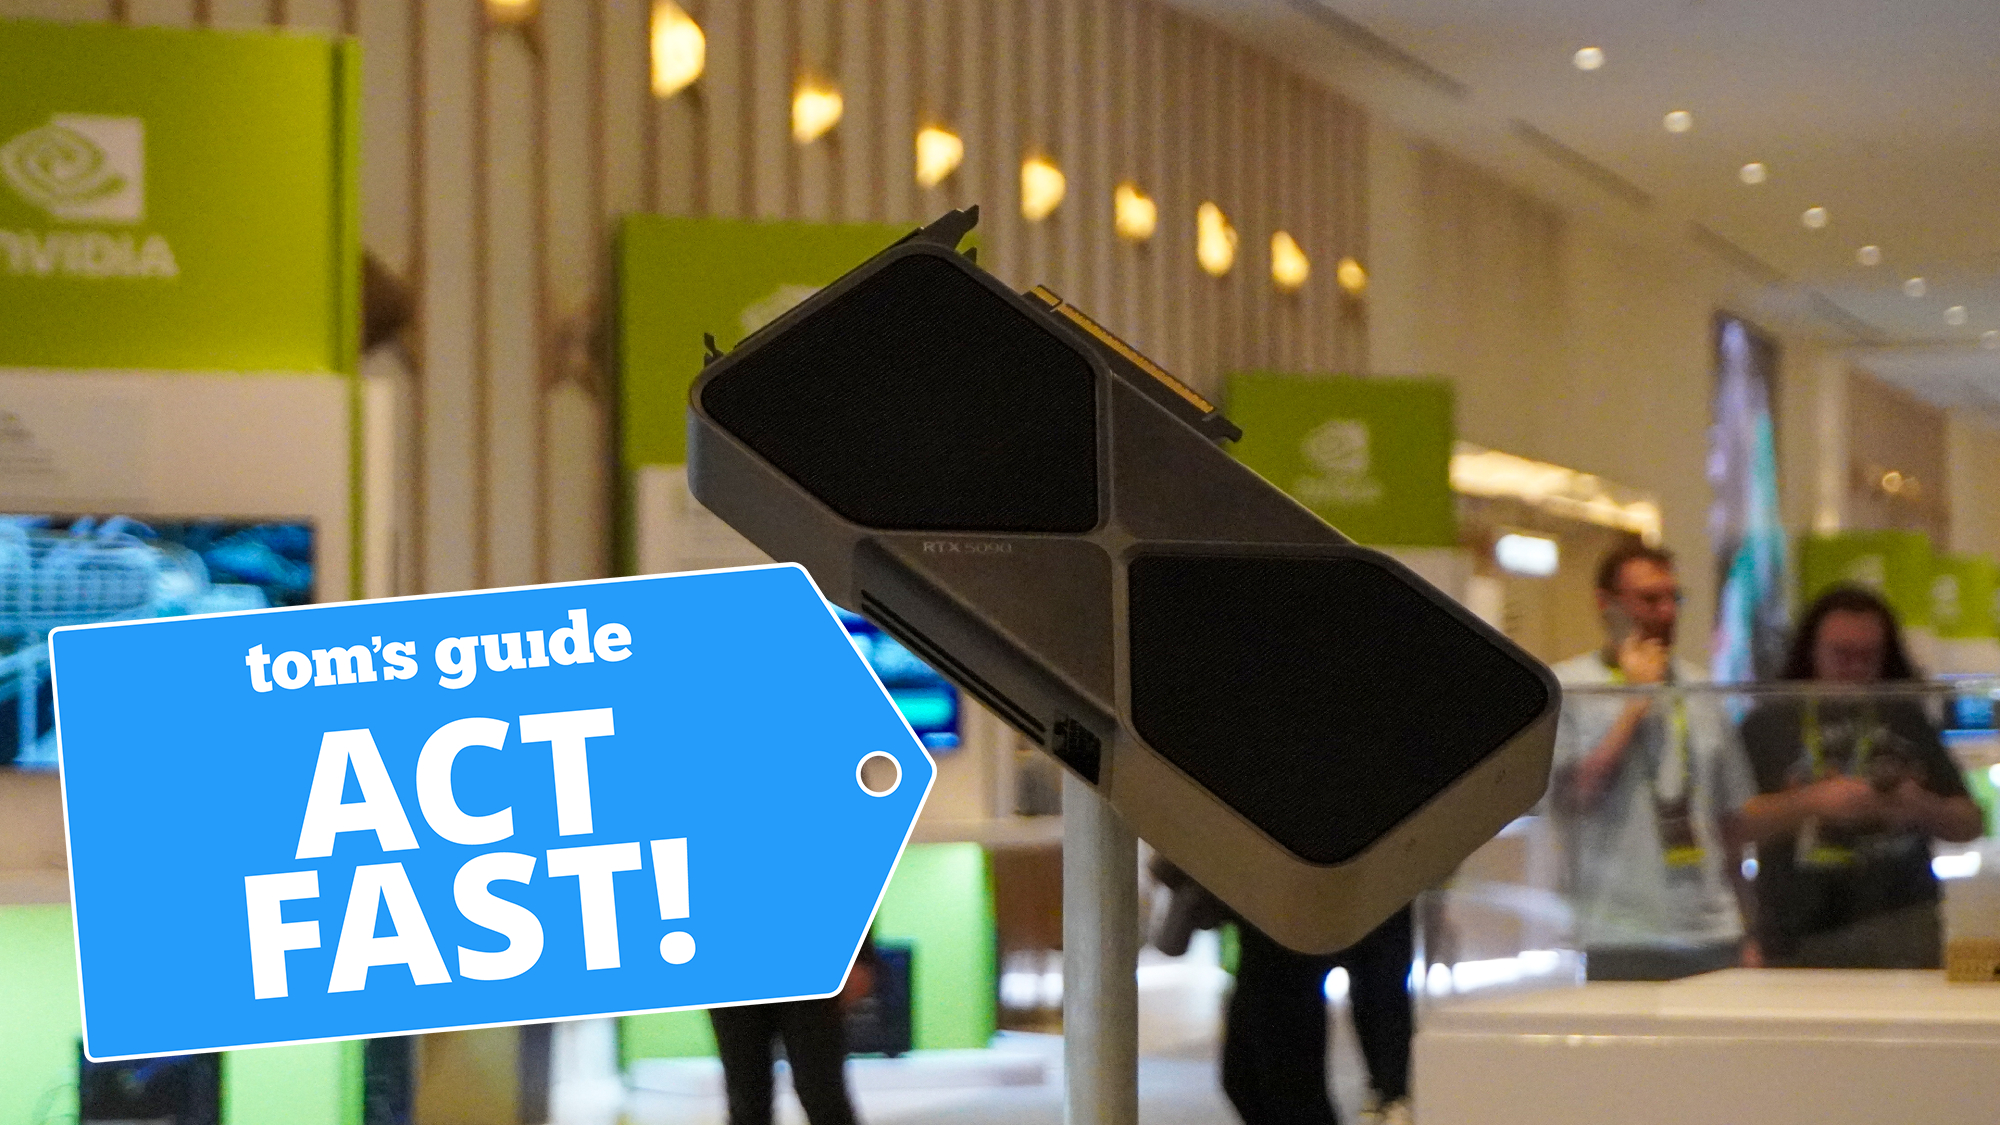
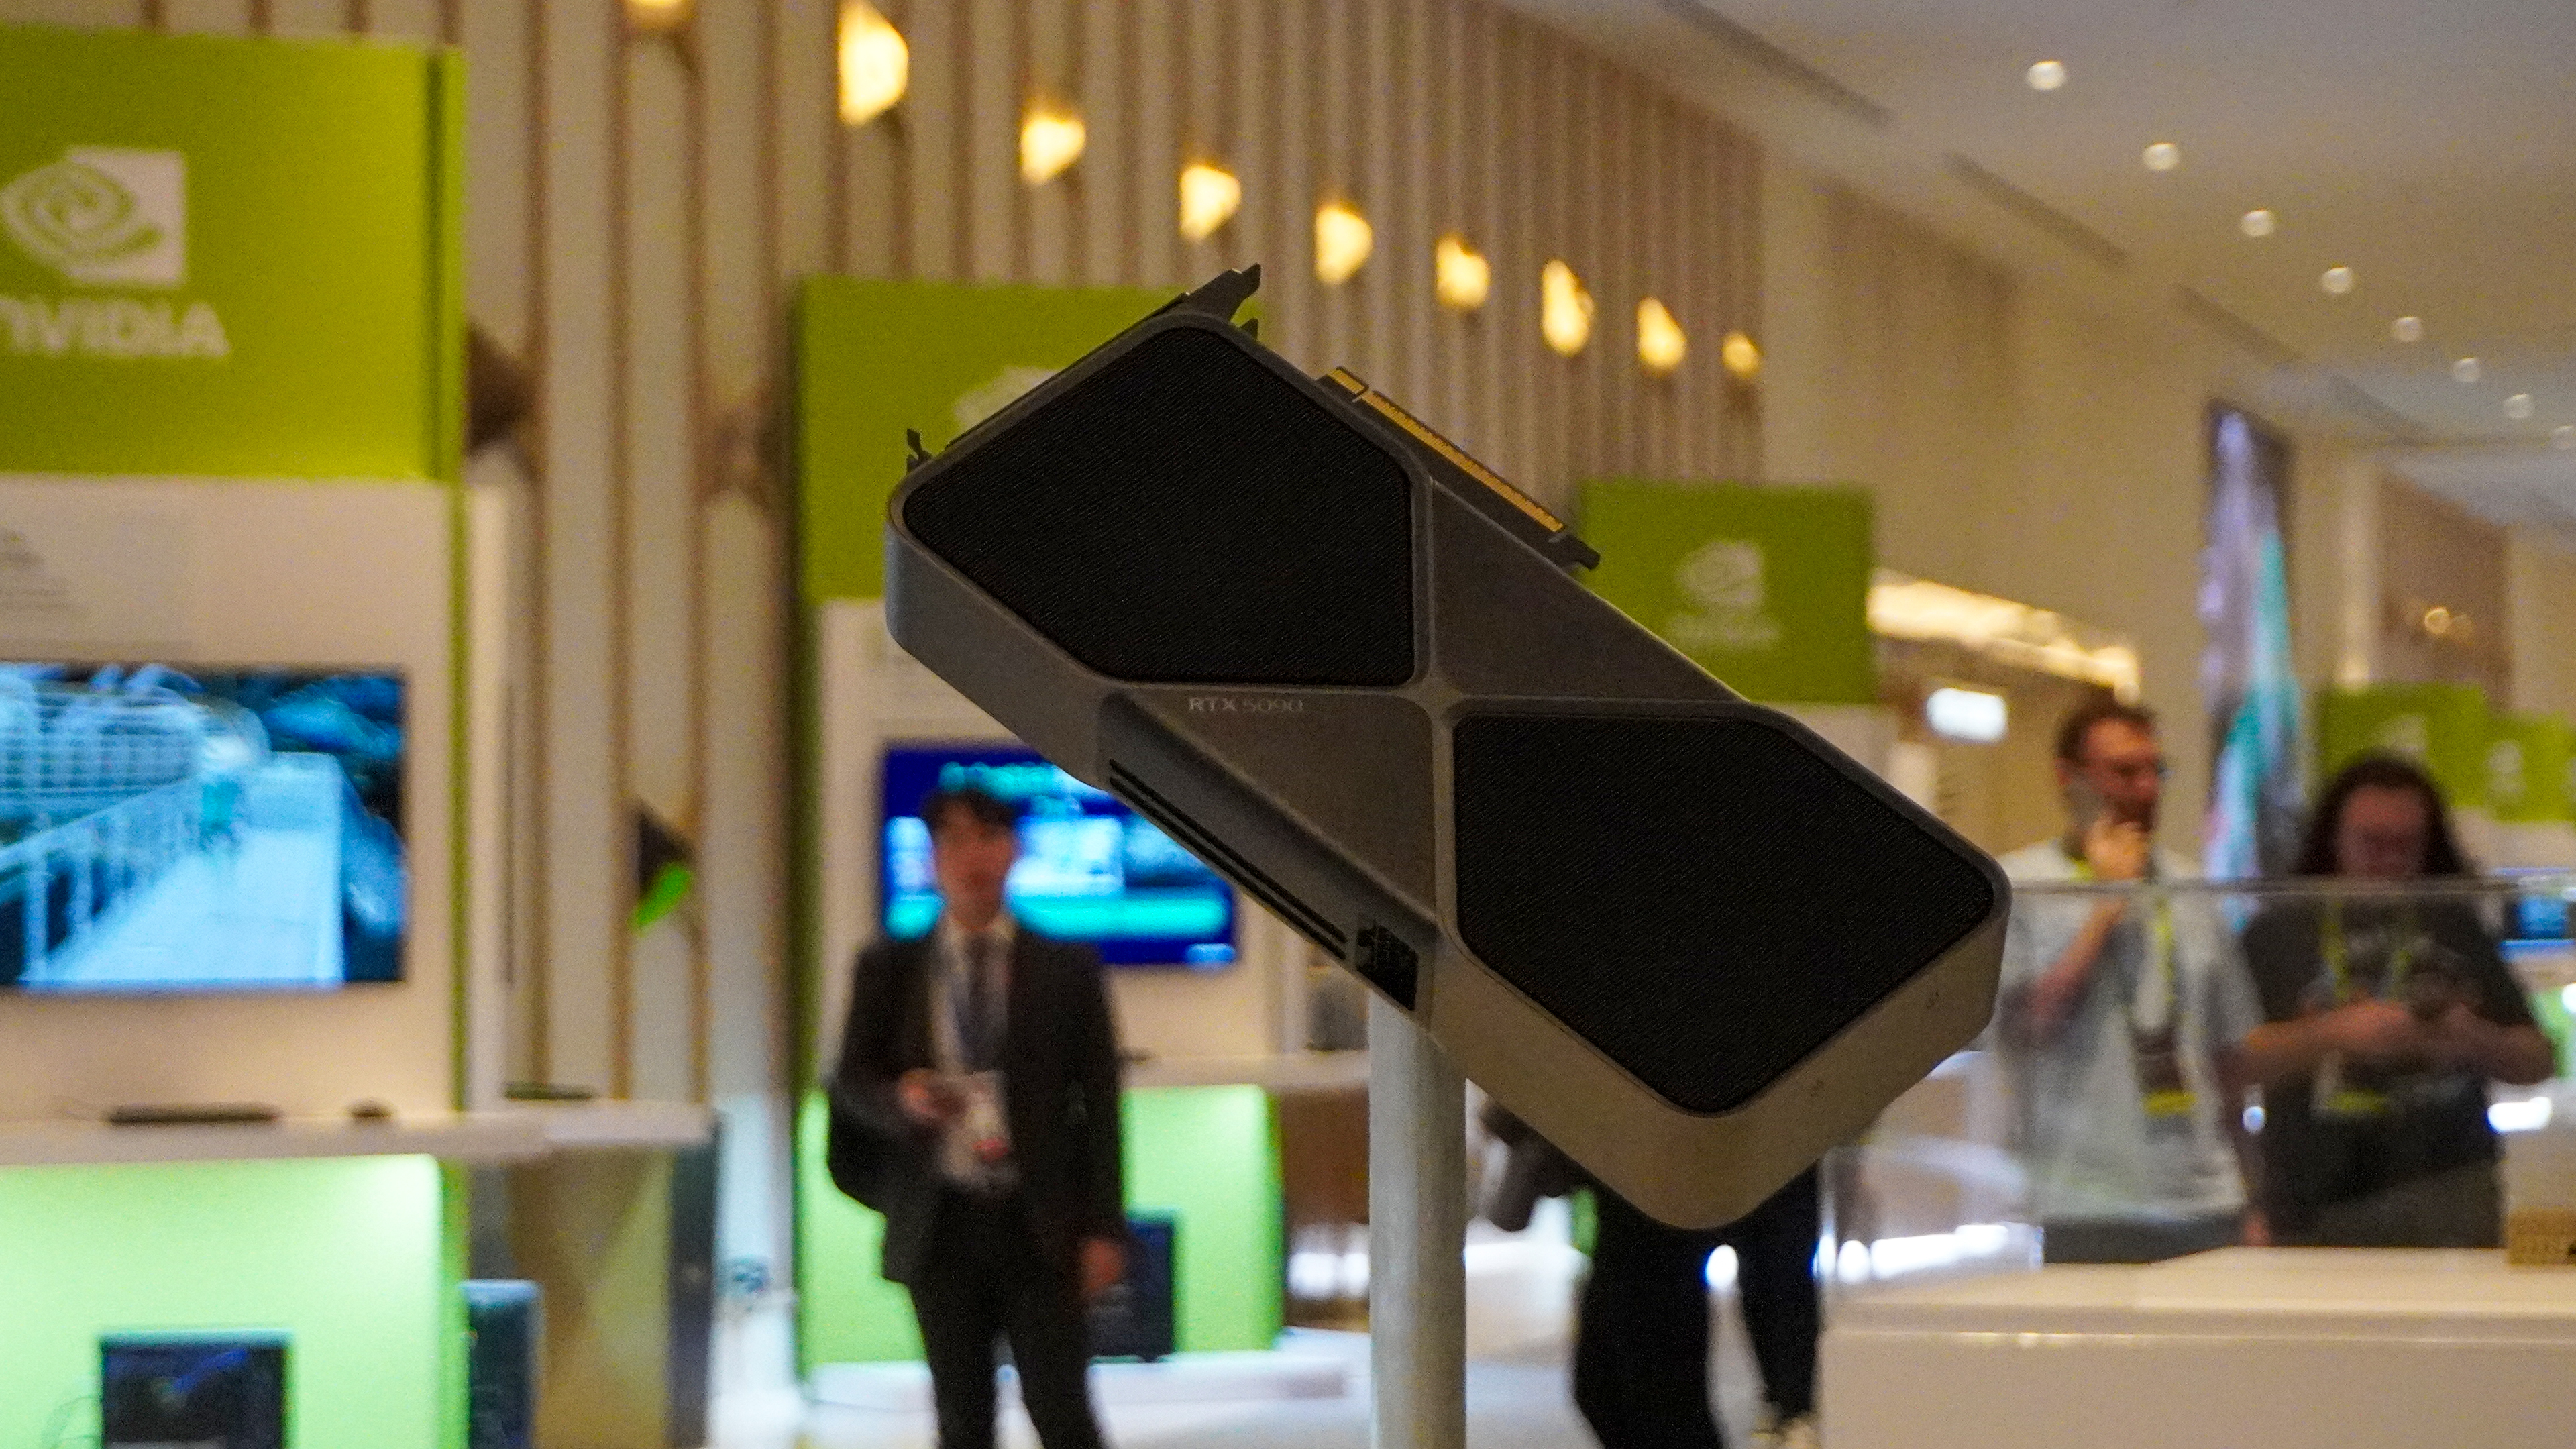
With my ultimate 5090 system finished, I was ready to start testing the card.
Check out this story to learn more about its performance.
More from Tom’s Guide

![]()
![]()