When you purchase through links on our site, we may earn an affiliate commission.Heres how it works.
Looking for more screens to use on your Windows 11 PC?
Think of it as a multi-monitor workstation just for your eyes.
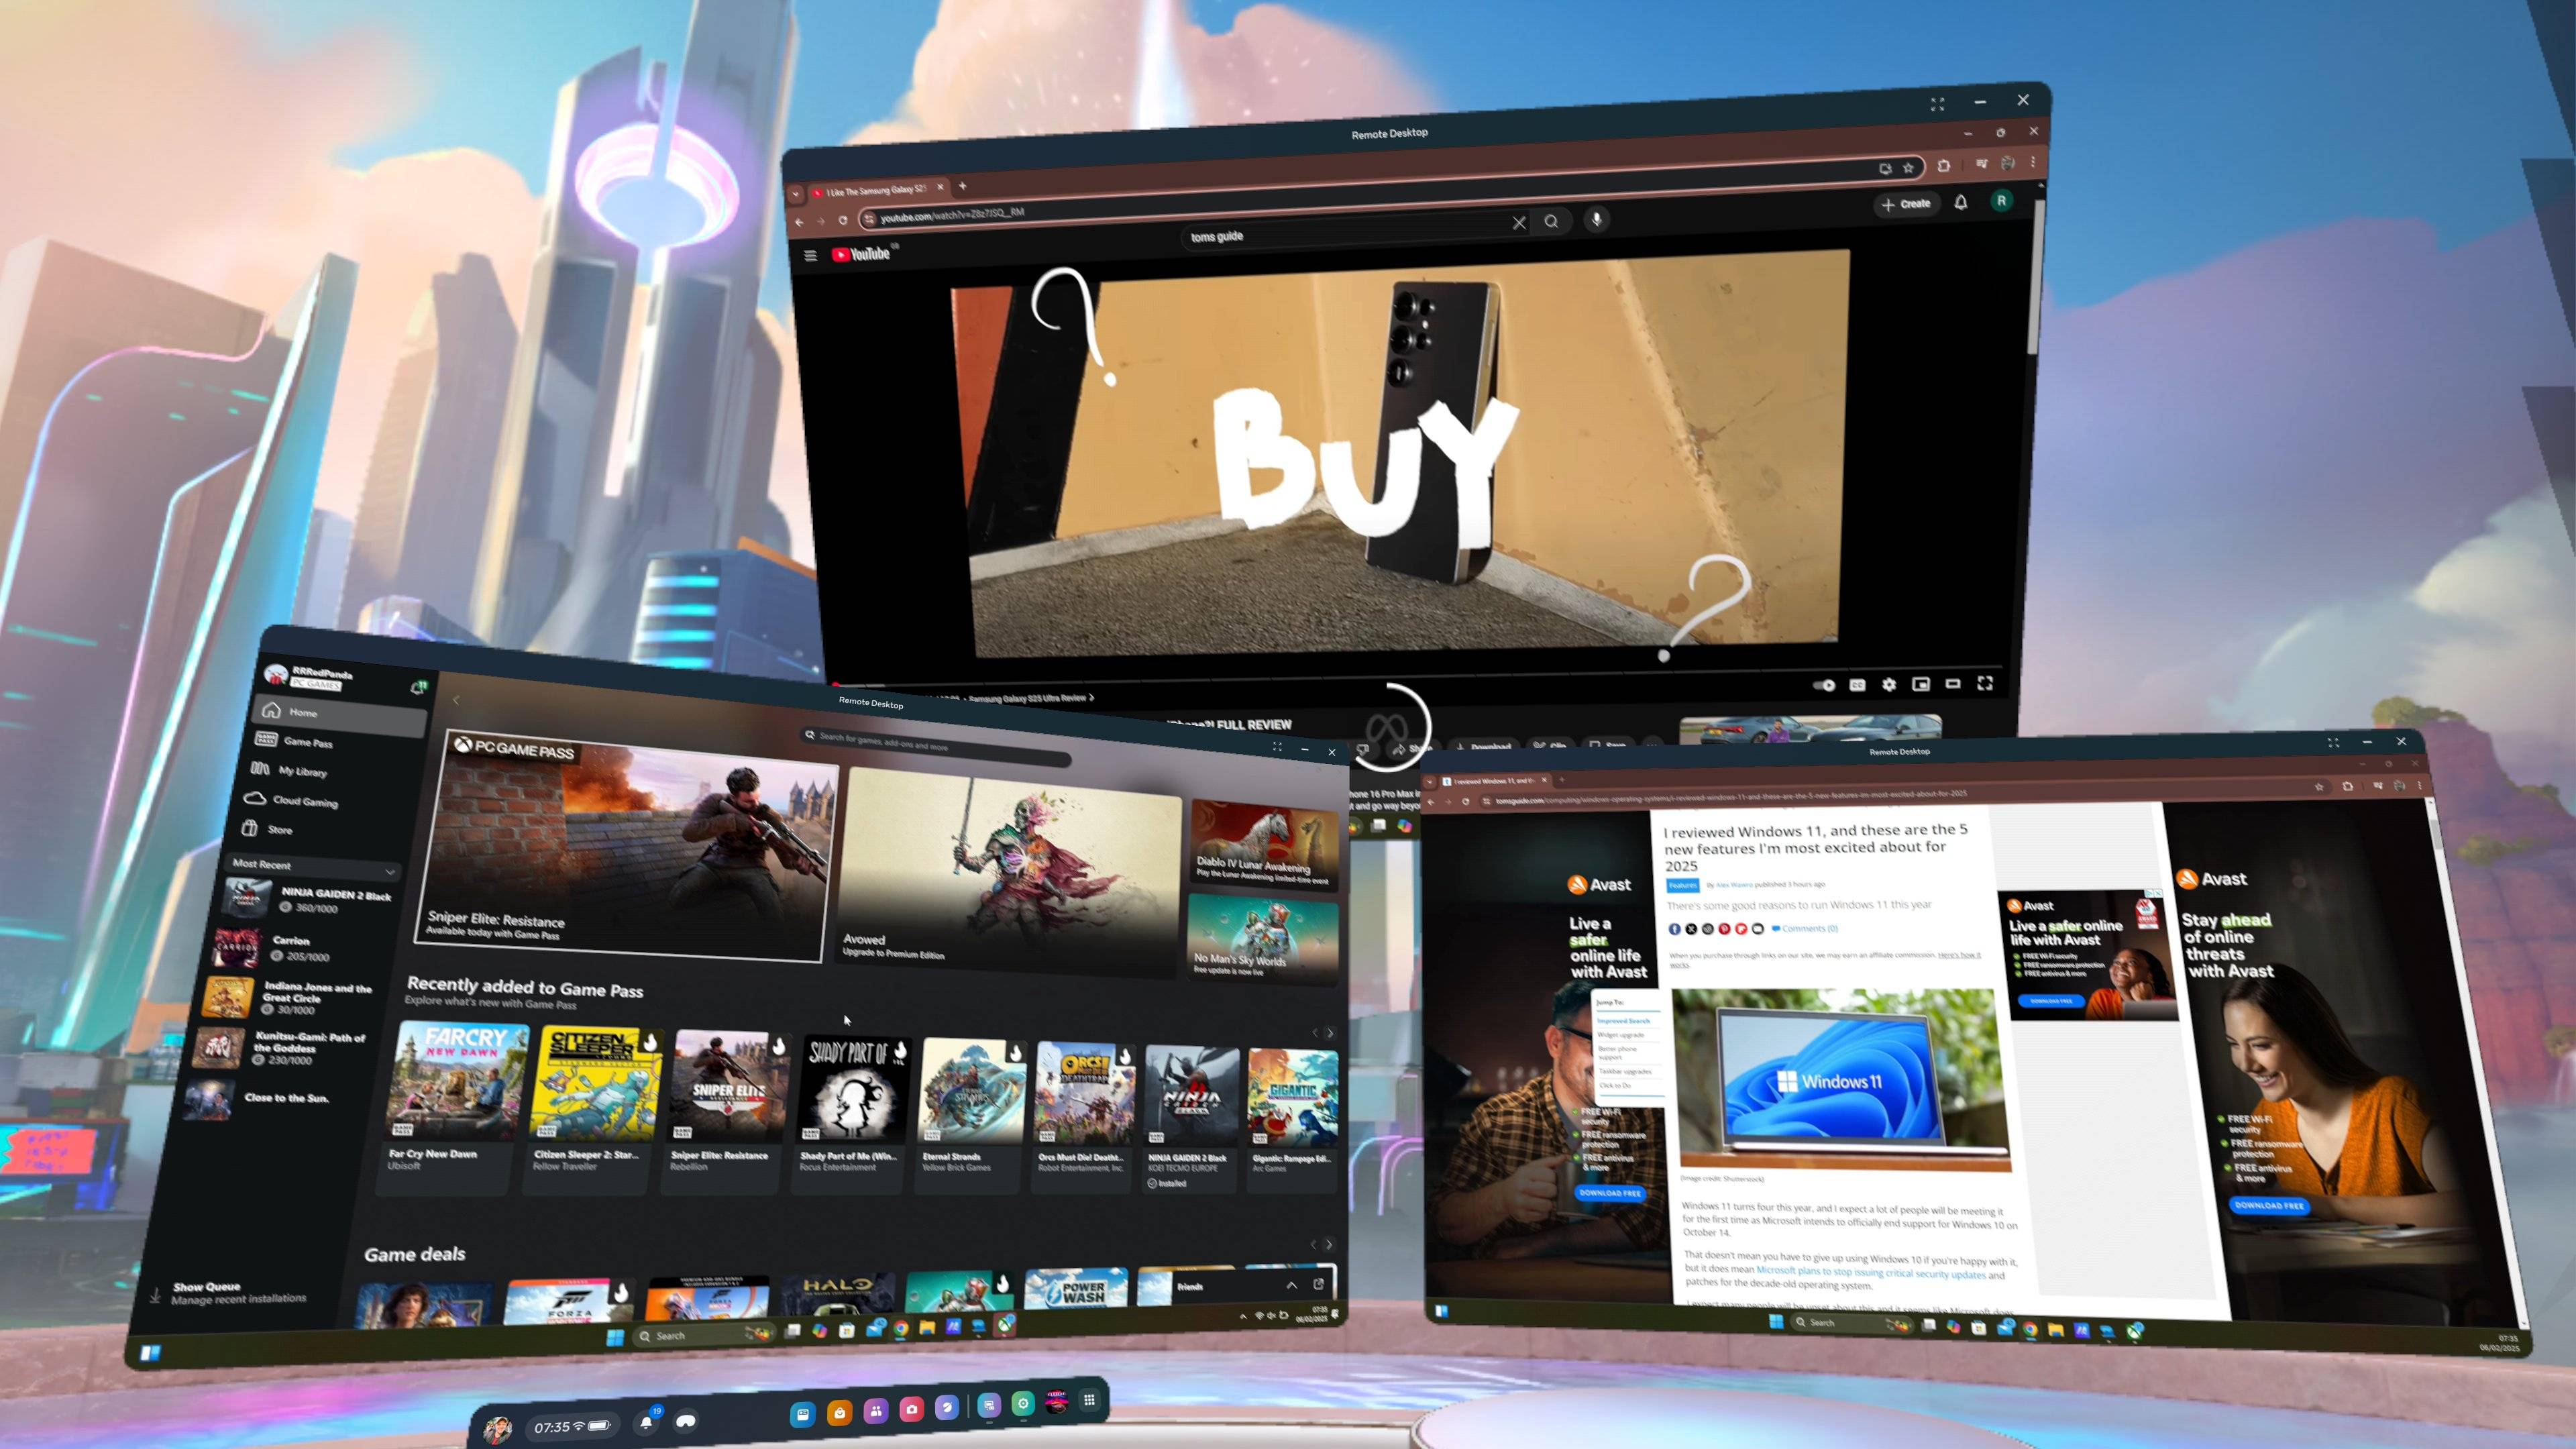
It’s a blast to use, but in my experience setting it up can be tricky.
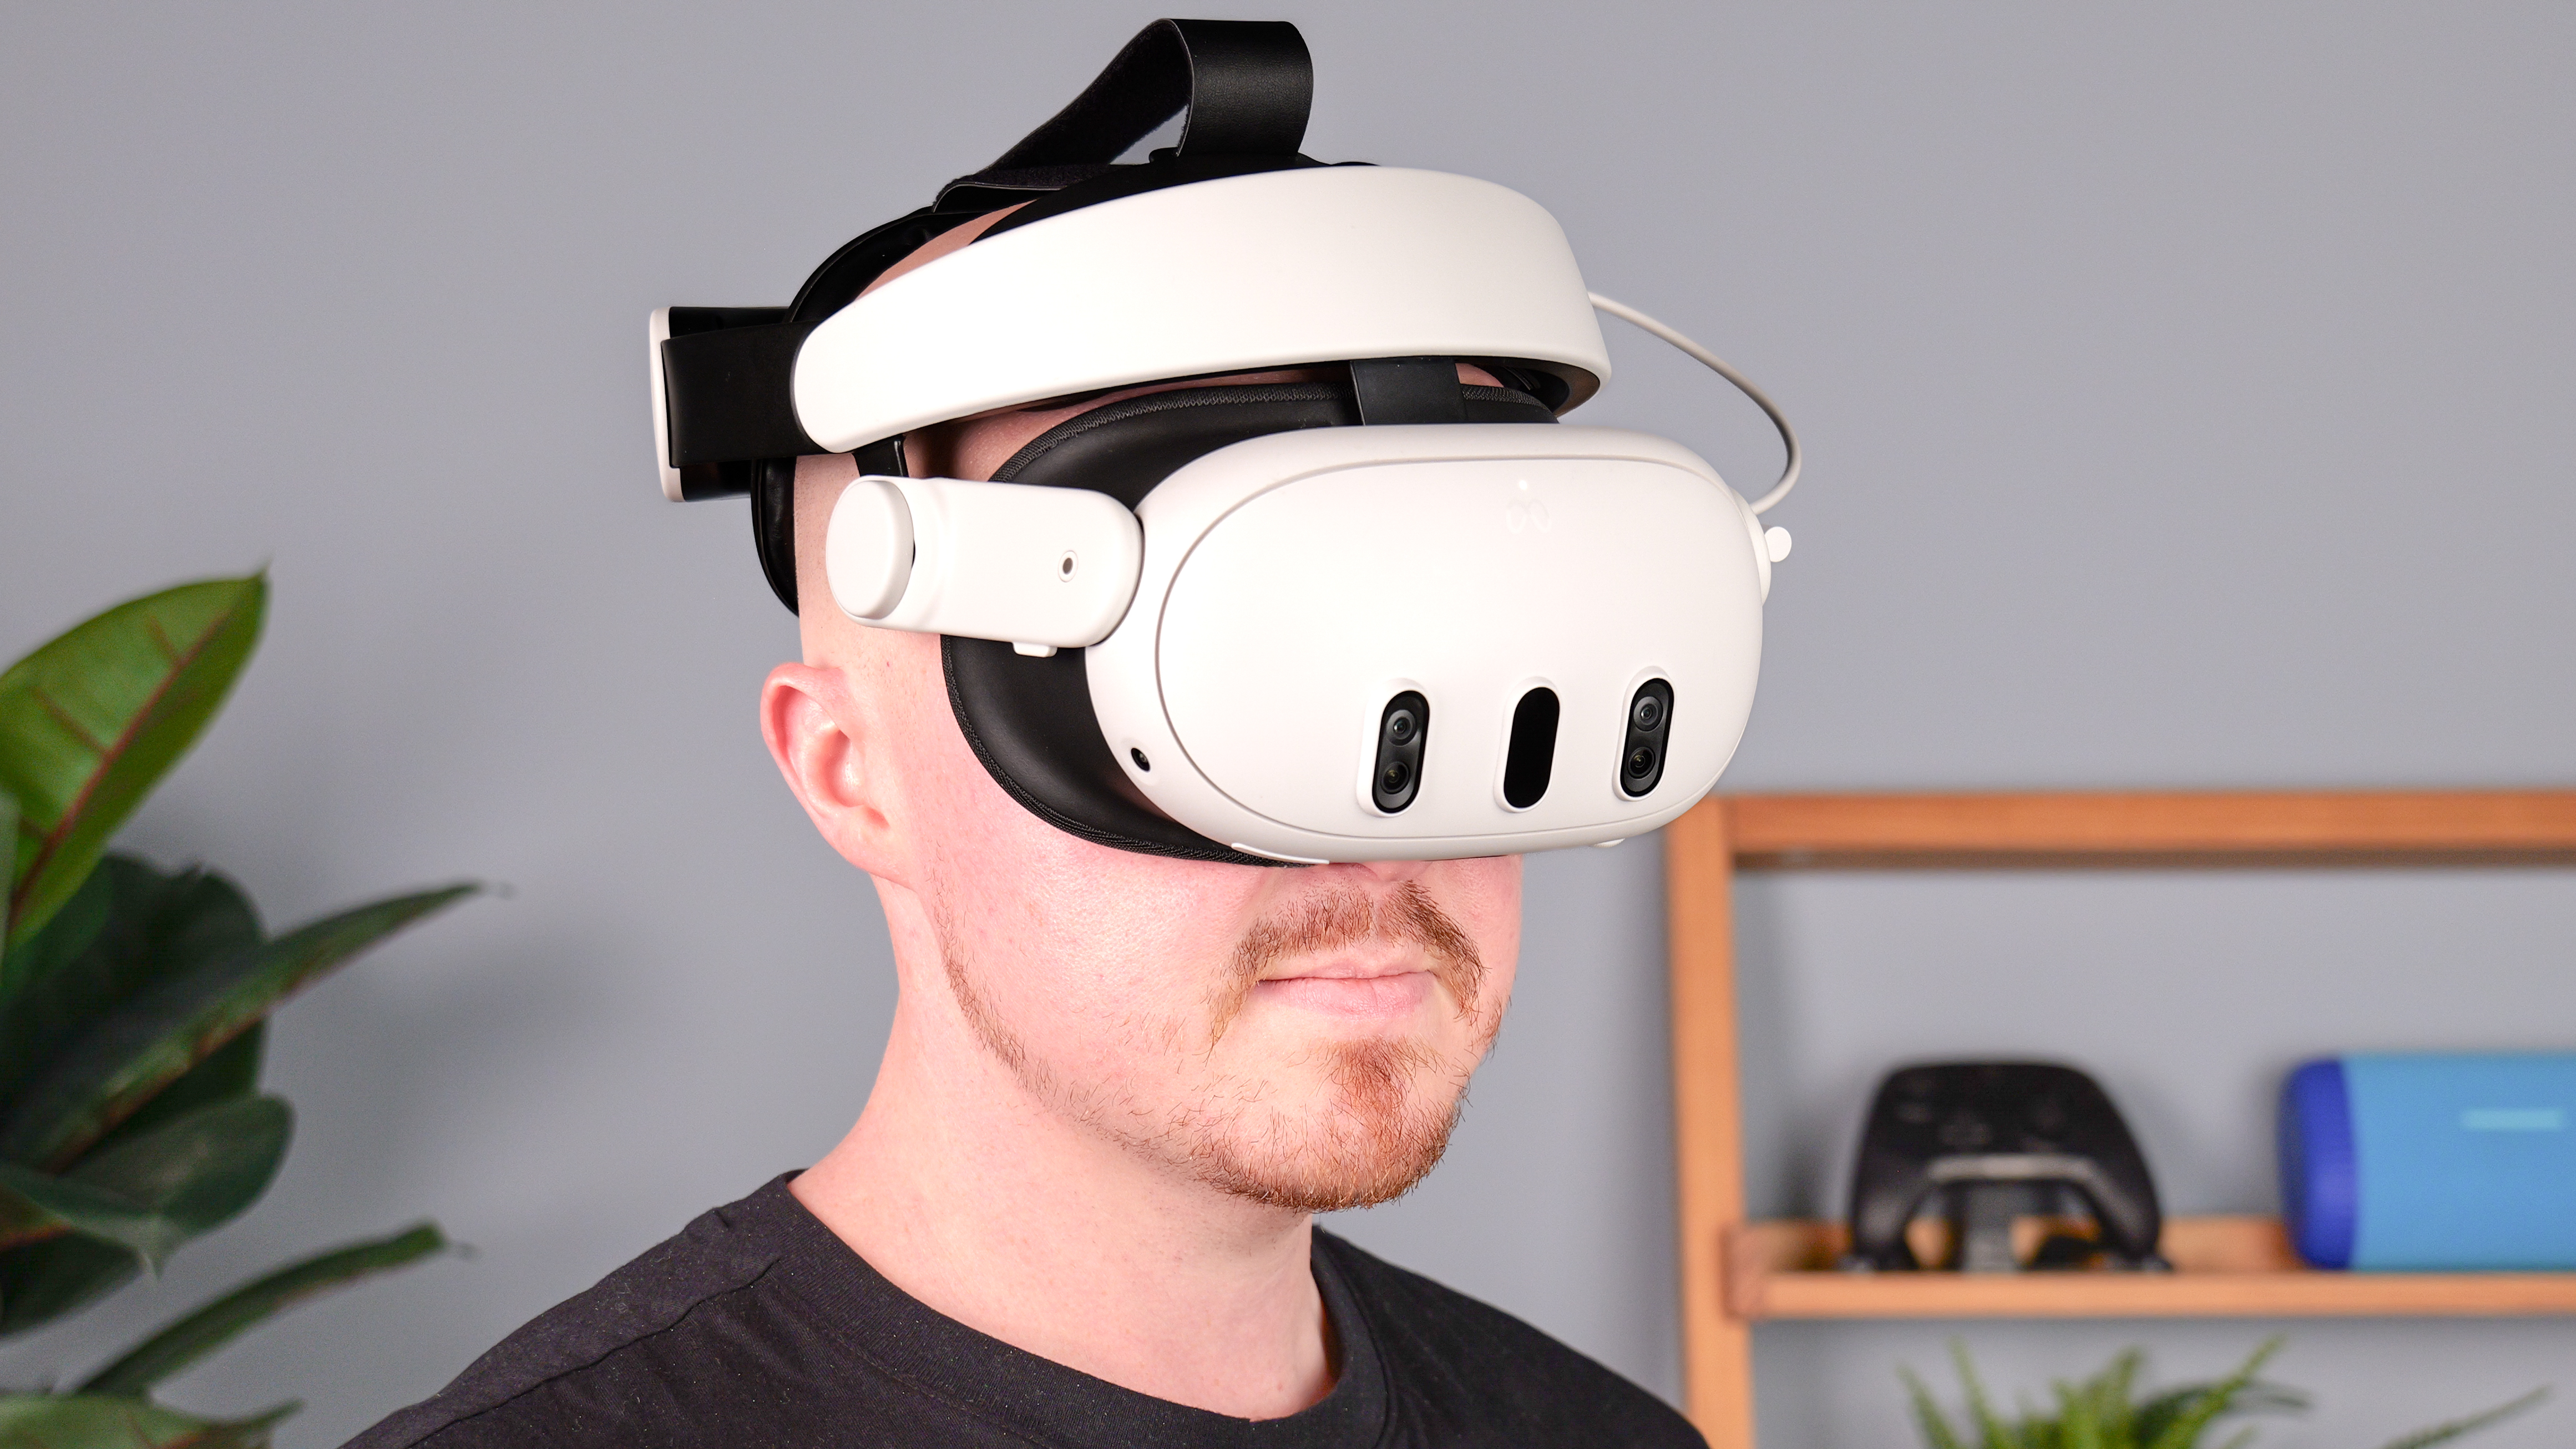
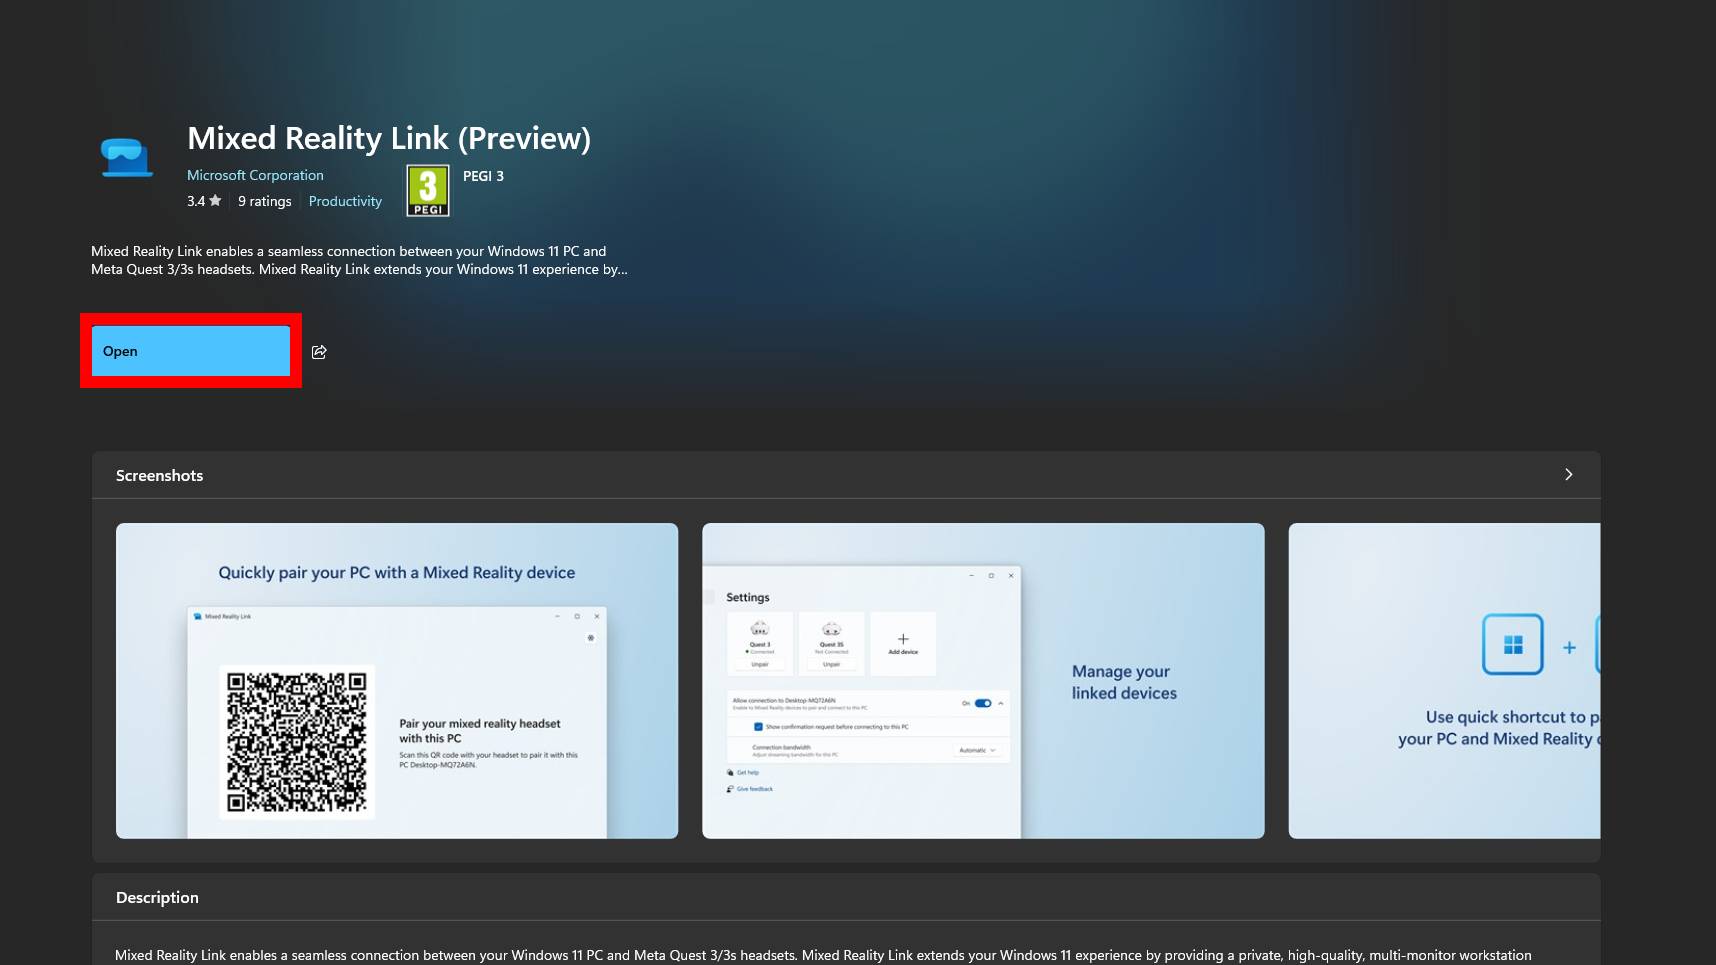
How to connect your Meta Quest to your Windows 11 PC
1.
Instead, you might connect your Headset in the Quest itself.
From here, select theclock iconin the bottom left corner toopen Quick options.
Now, selectSettingsin the top right corner and pickAdvancedin the left-hand sidebar.
Find thePair to PC with Mixed Reality Linkoption and turn on the feature by selecting the toggle.
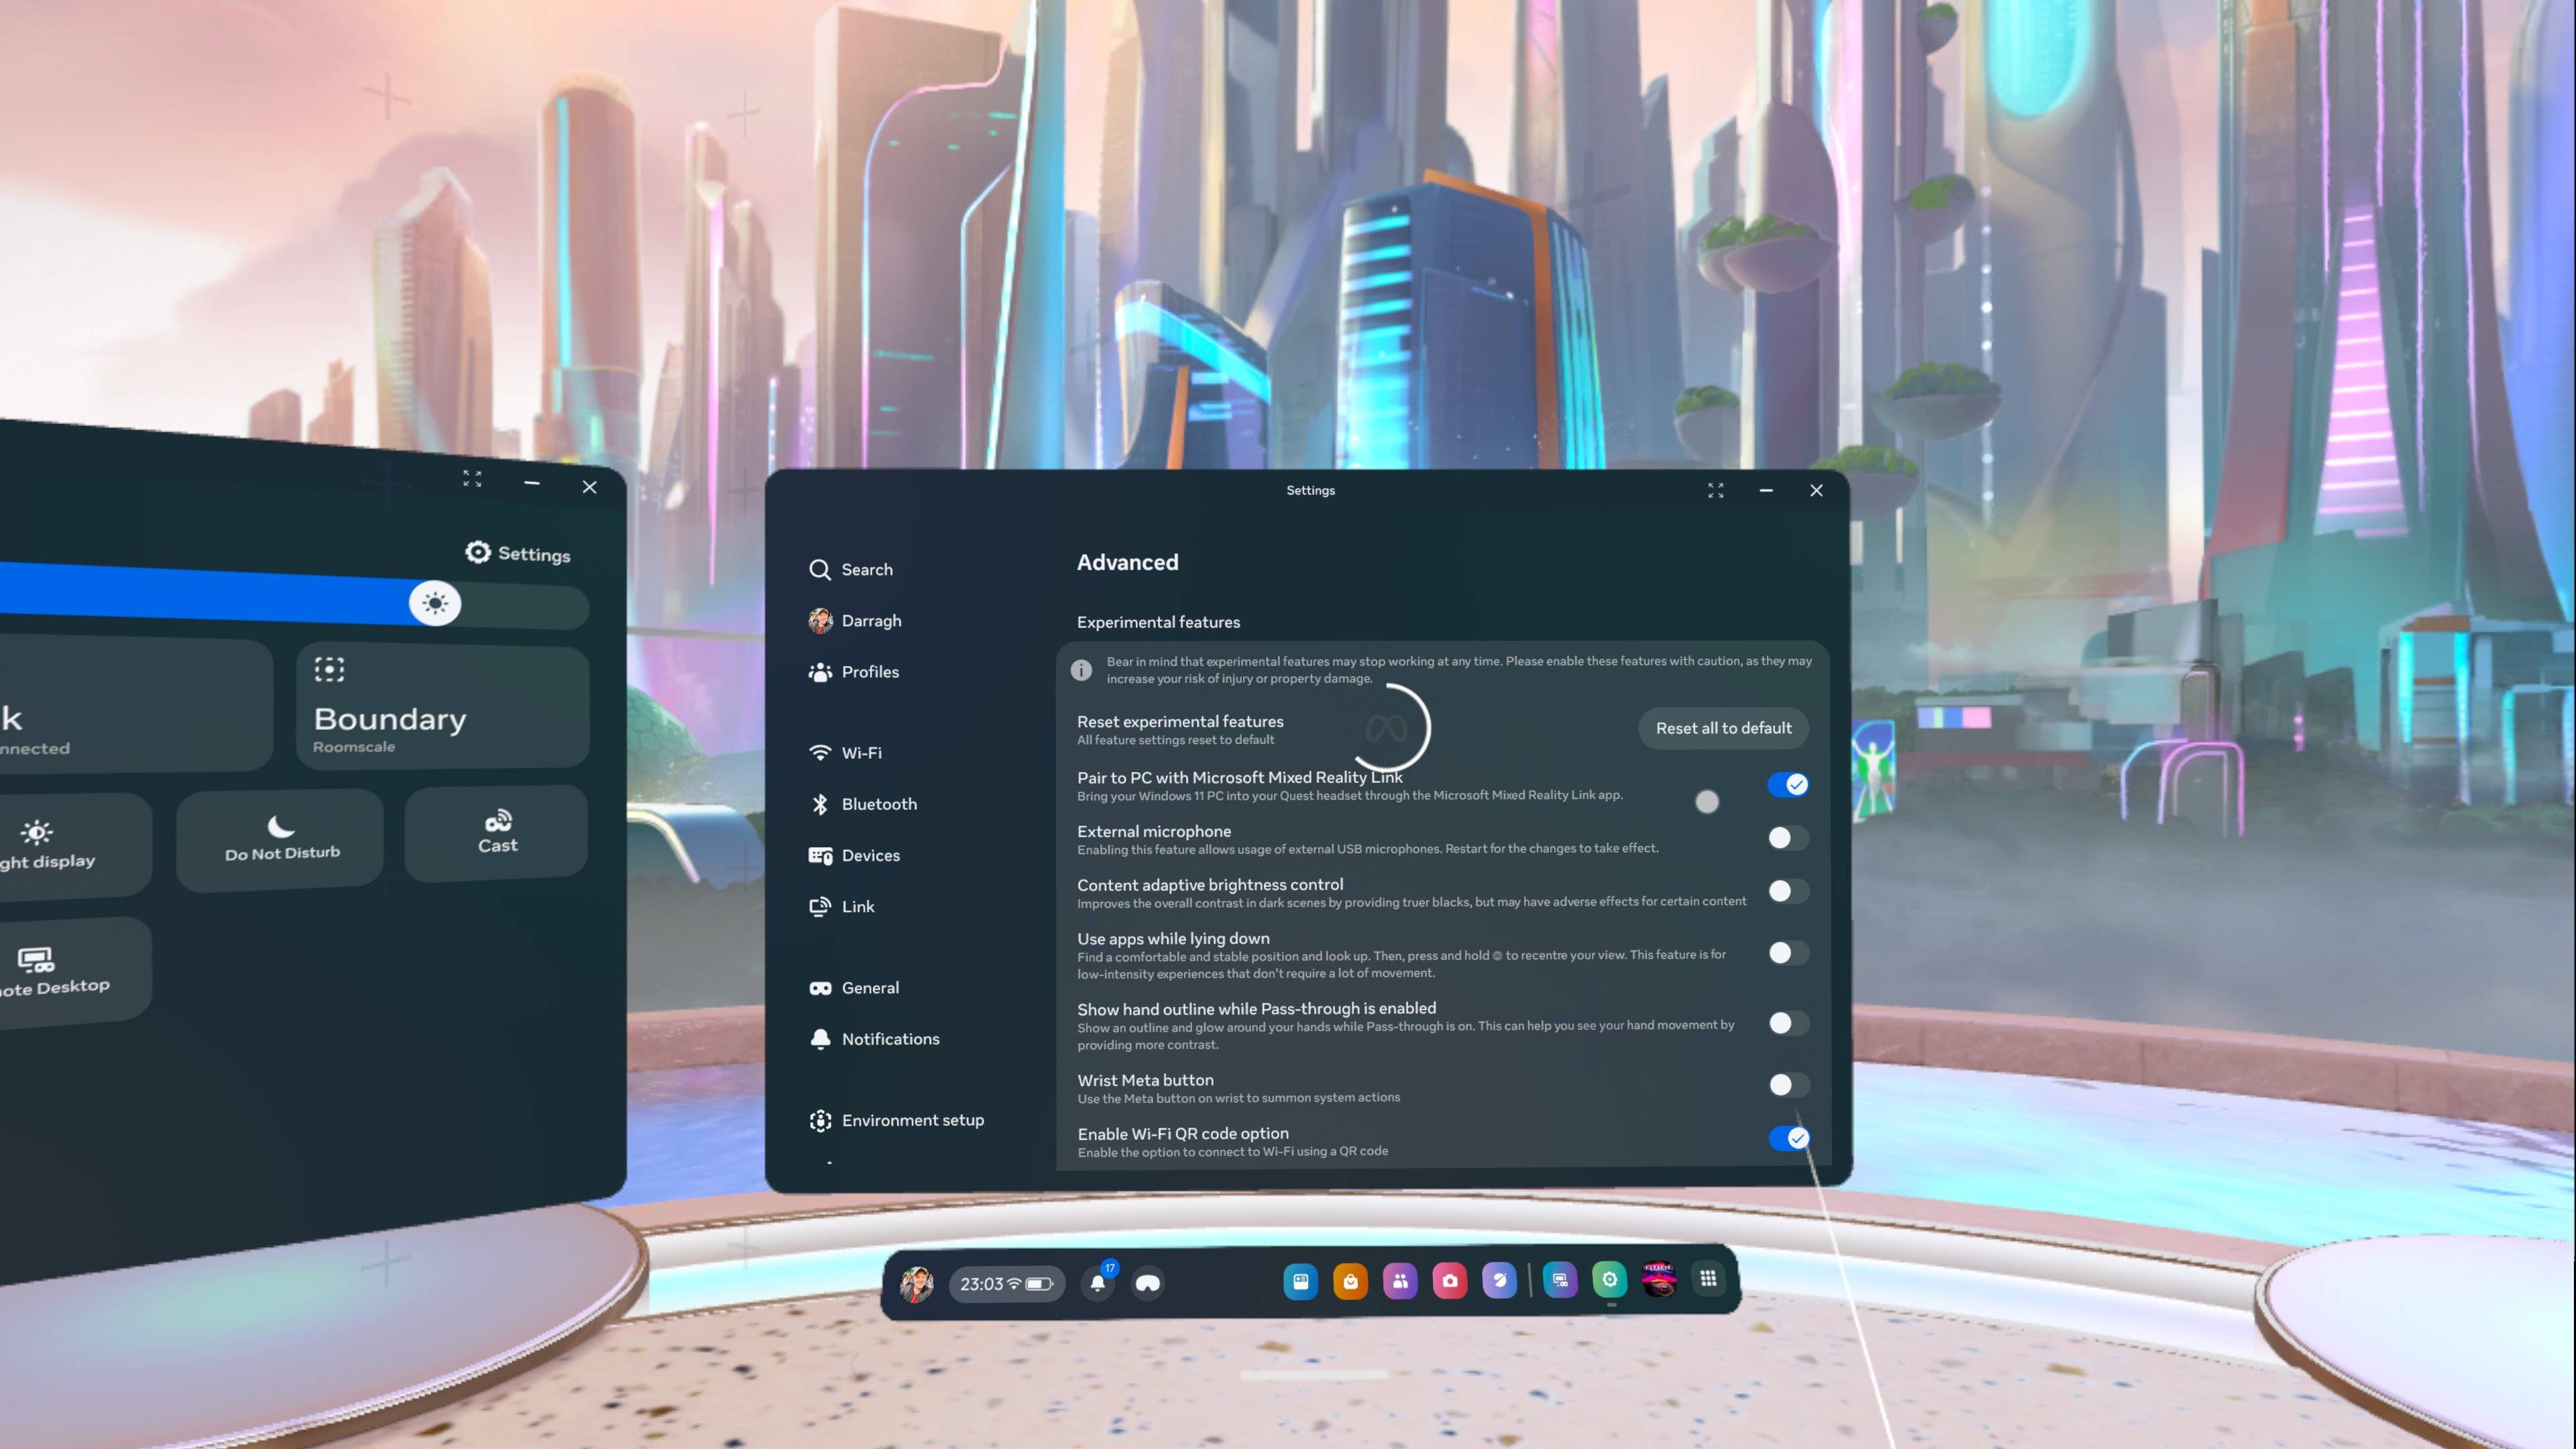
Now, both devices are ready to be connected.
This didn’t happen for me, but there’s another option to get it connected.
InQuick controls, select theRemote Desktop iconand chooseAdd a new rig.
Once your PC appears as a machine, select it to pair.
From here, you could follow the prompts to connect the headset to your gear.
Andvoila!You should see your PC’s screen on your headset in all of its big-screen glory.

Better yet, it’s possible for you to add up to two more virtual monitors.
Add more virtual monitors
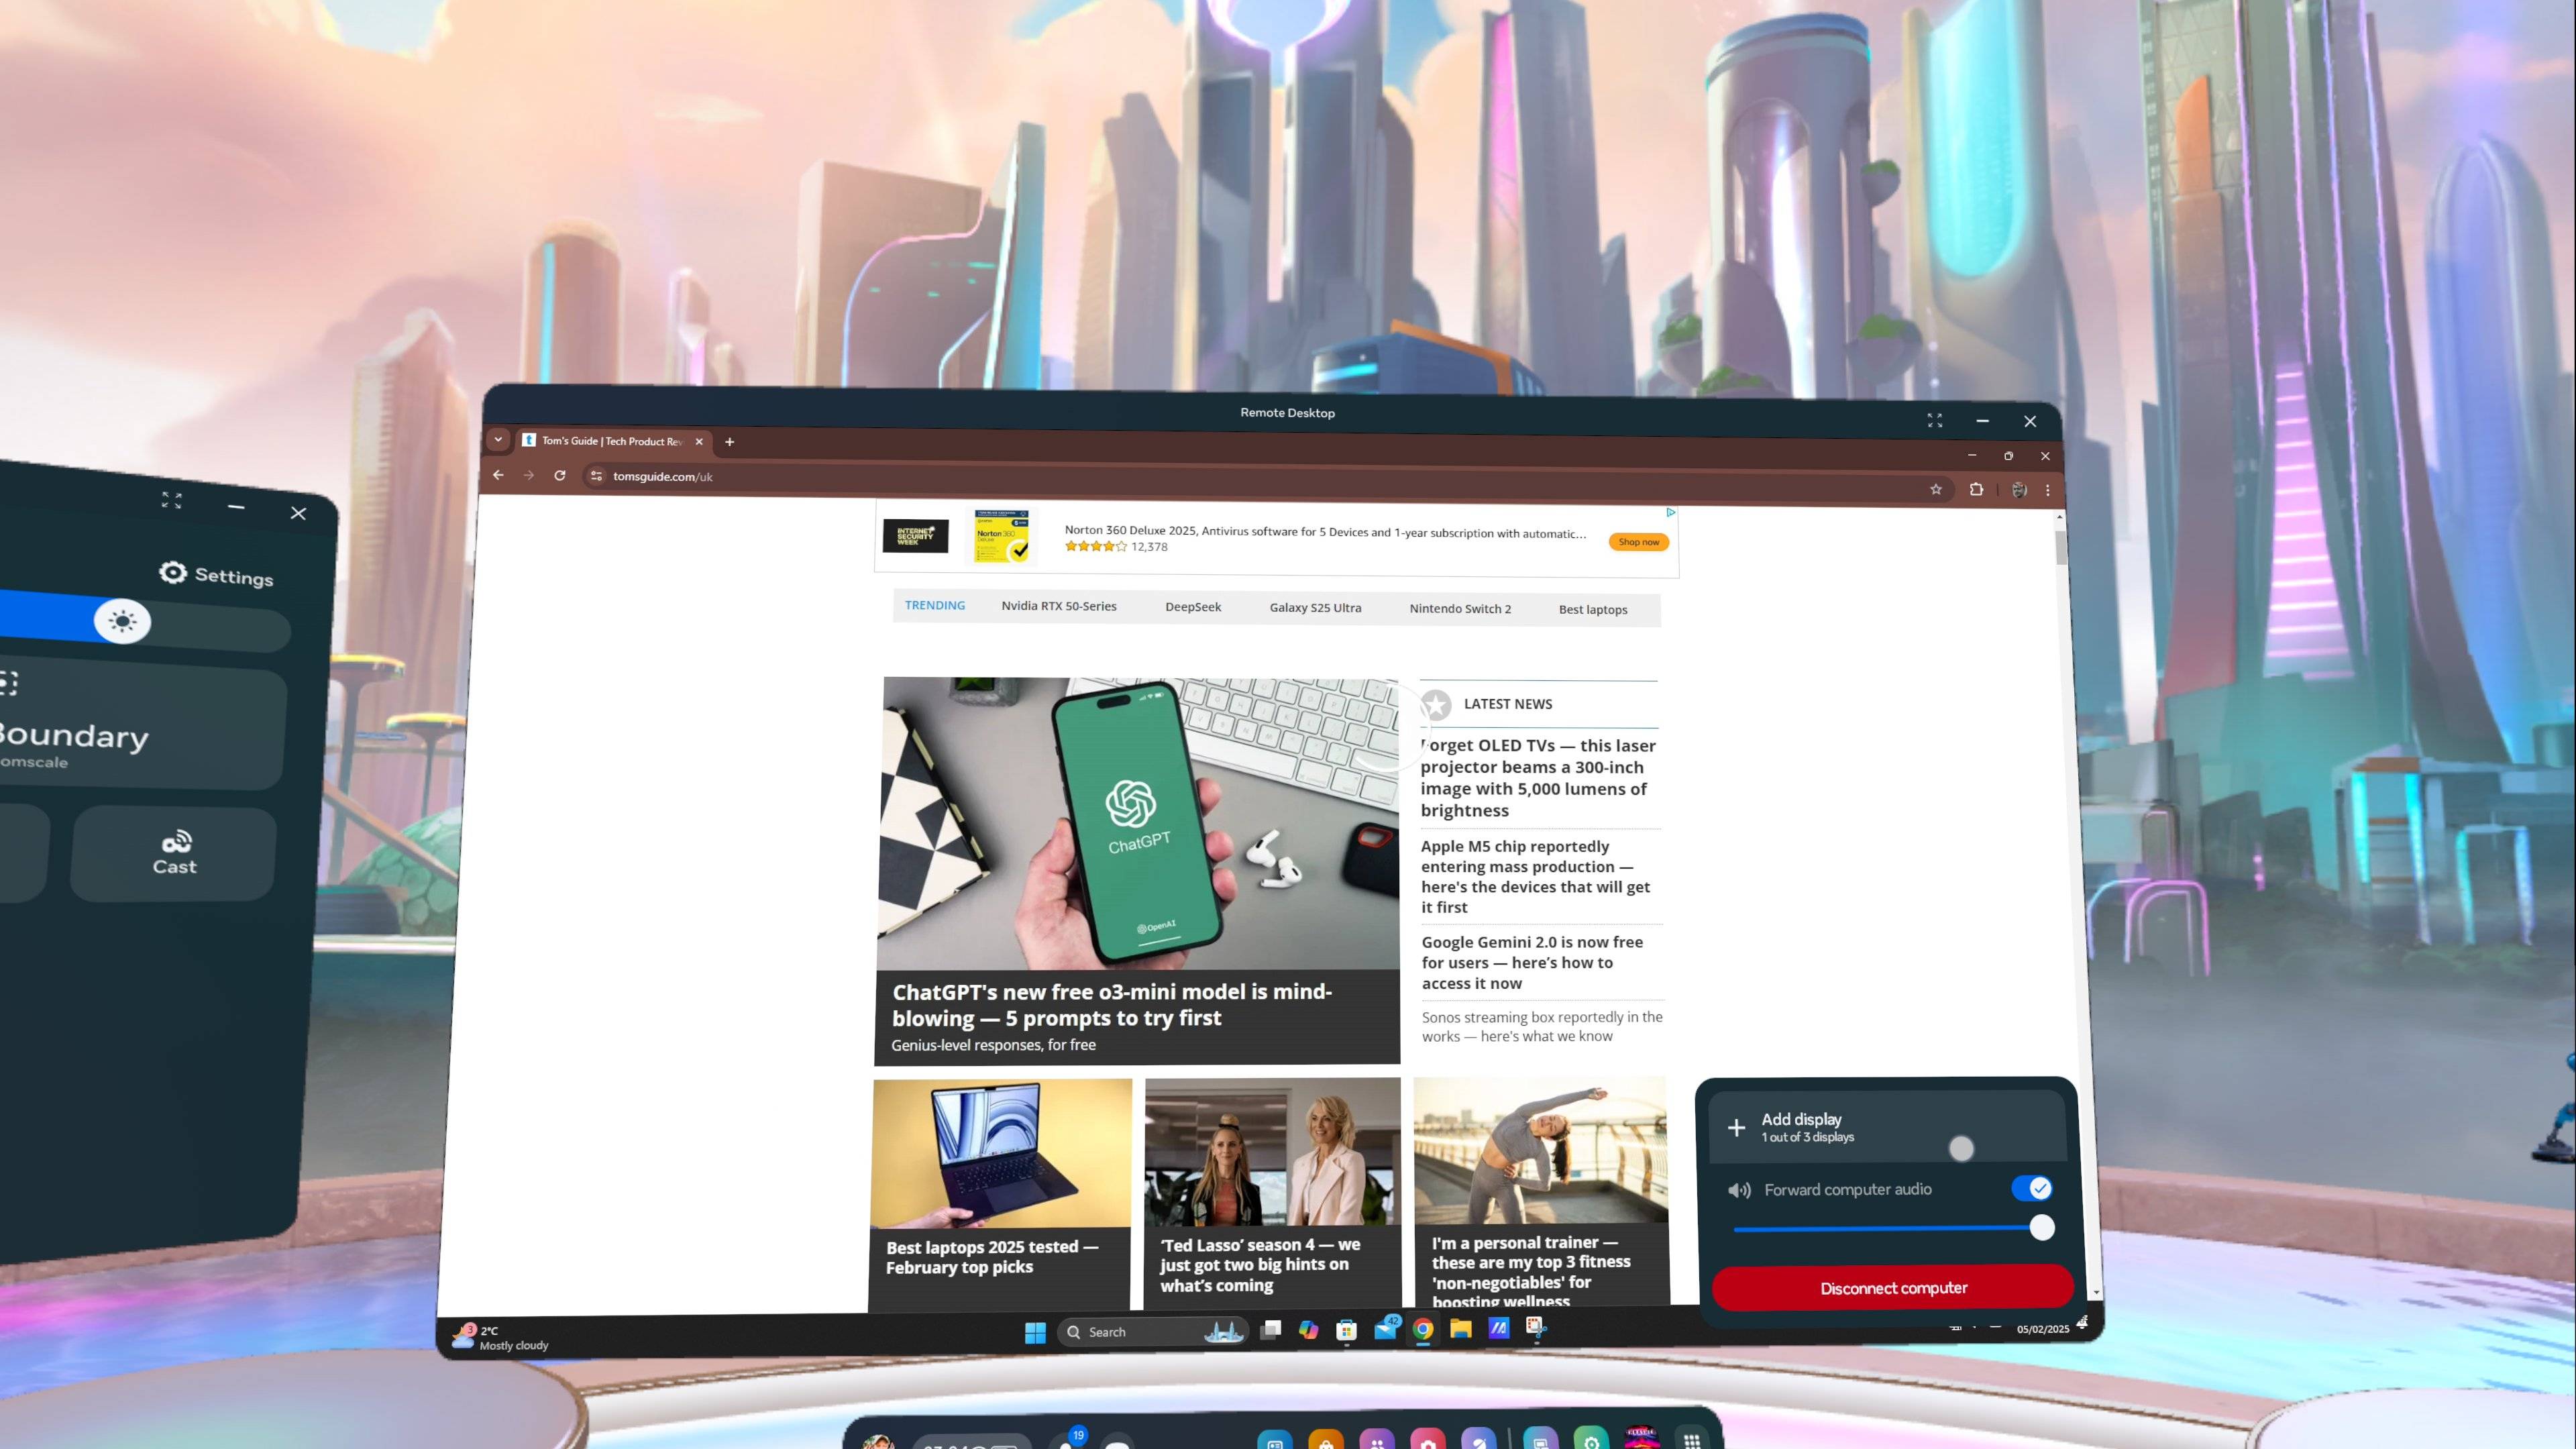
Here’s the easy part.
A small menu will open up.

Here, you’re free to selectAdd display.
Currently, you’re able to use up to three virtual monitors, so go wild!
This menu also allows you to disconnect from your setup easily.

Or, you’re free to press Ctrl+Alt+Delete to end the connection quickly.
Since the app is still an experimental feature, some functions may not work properly.
This includes video calls and audio not transferring to your intended rig.

Otherwise, use your PC as usual but now with with bigger virtual displays!