When you purchase through links on our site, we may earn an affiliate commission.Heres how it works.
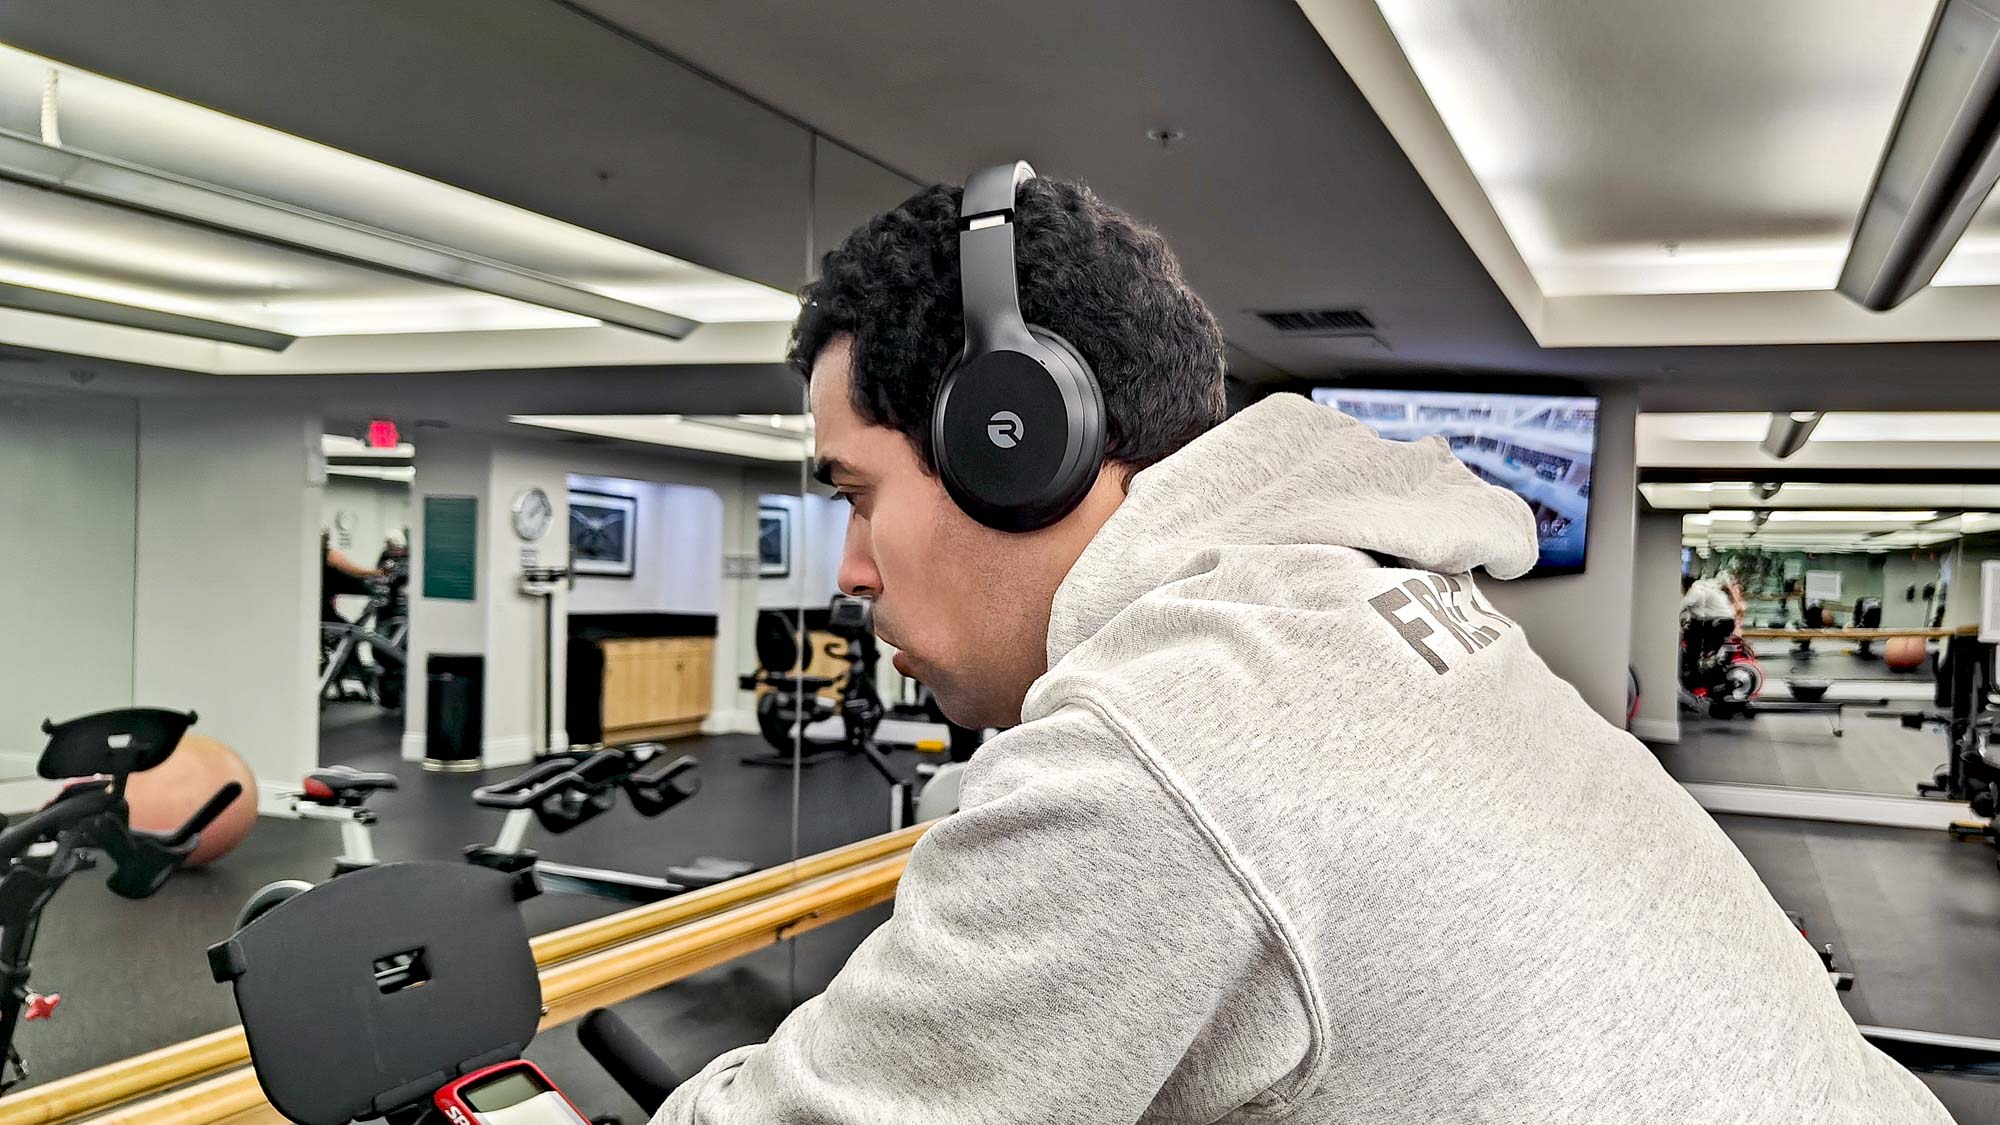
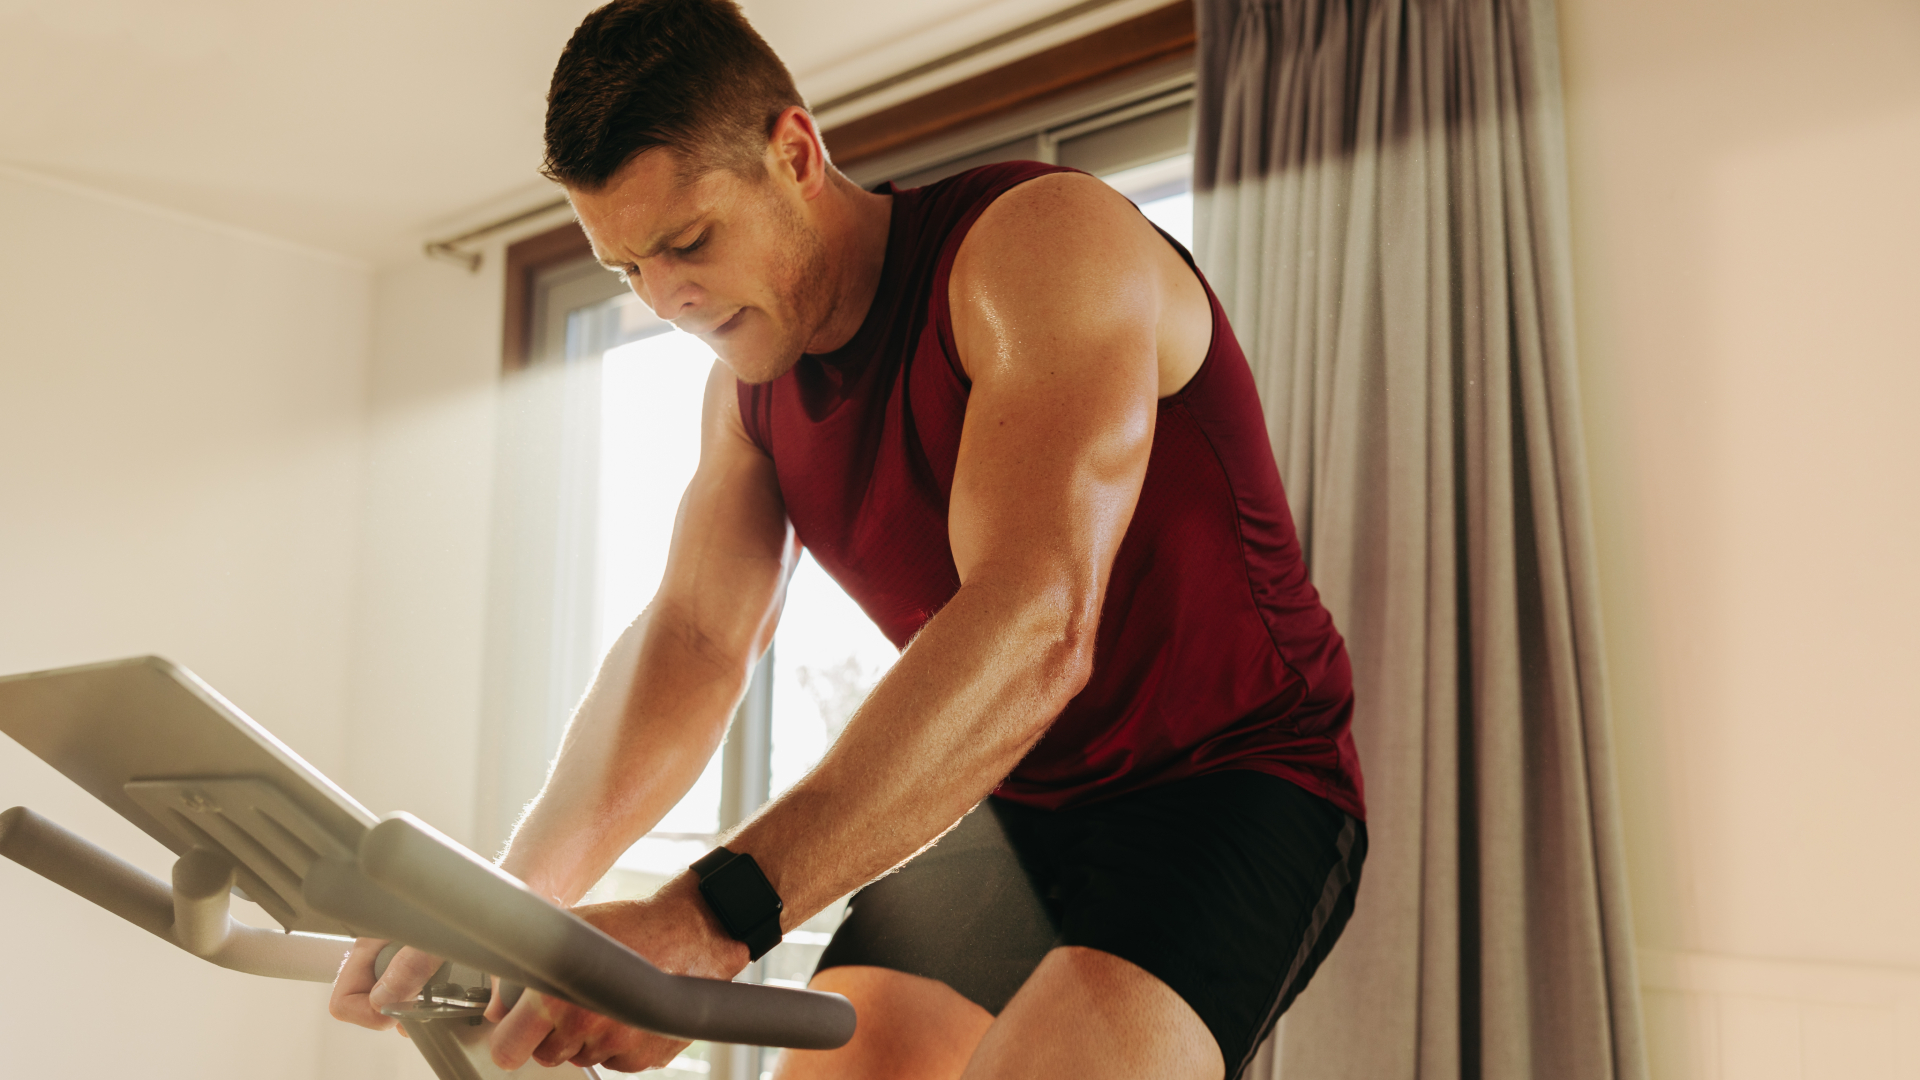
Headphones are no different than your body, your home appliances or your cats litter box.
They all require a thorough cleaning after excessive use.
Not sure where to begin?
What cleaning supplies are needed?
How to avoid common mistakes?
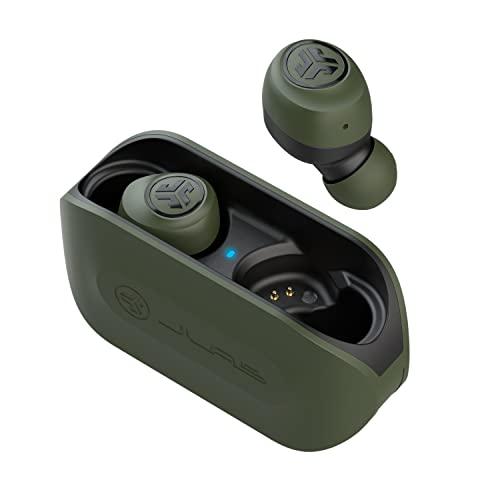
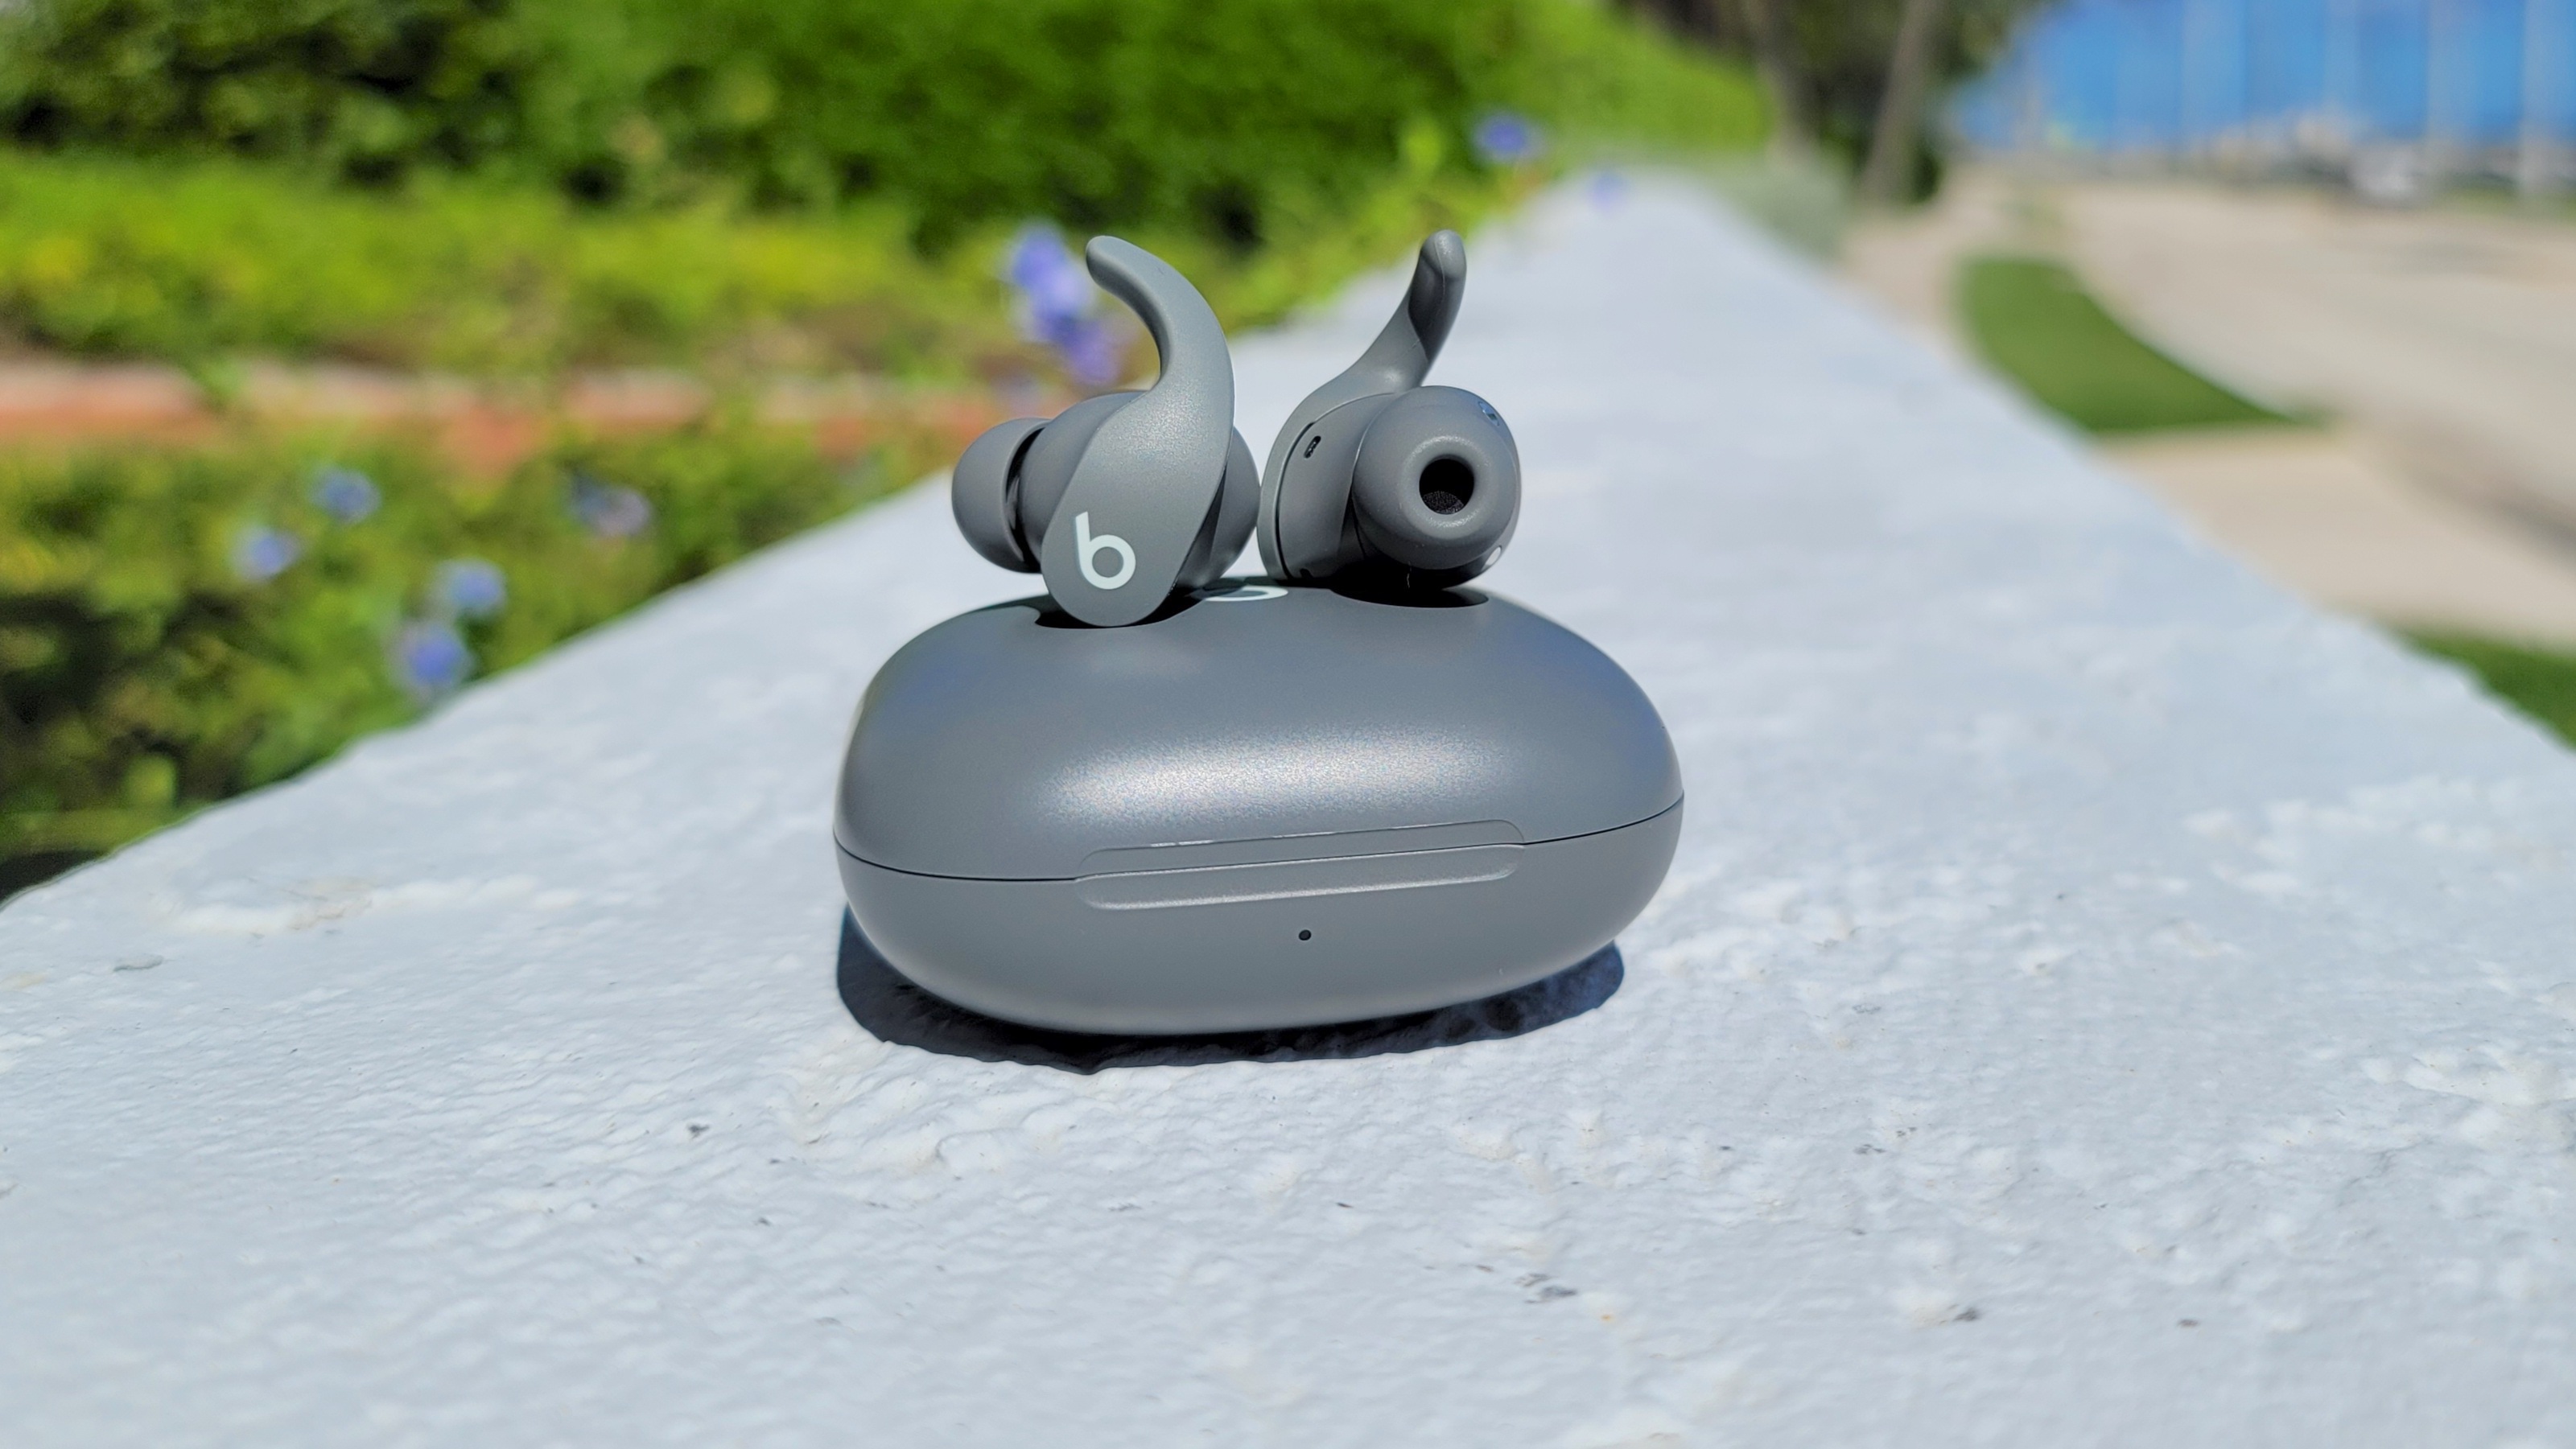
What if you own sports earbuds instead of sports headphones?
So if they’re dirty or have specific bacterial, you could be in with a chance of infection.
So, take a gulp of your favorite workout recovery drink and breathe easy.
We got you covered.
Here is a full-length guide on how to clean sports headphones properly.
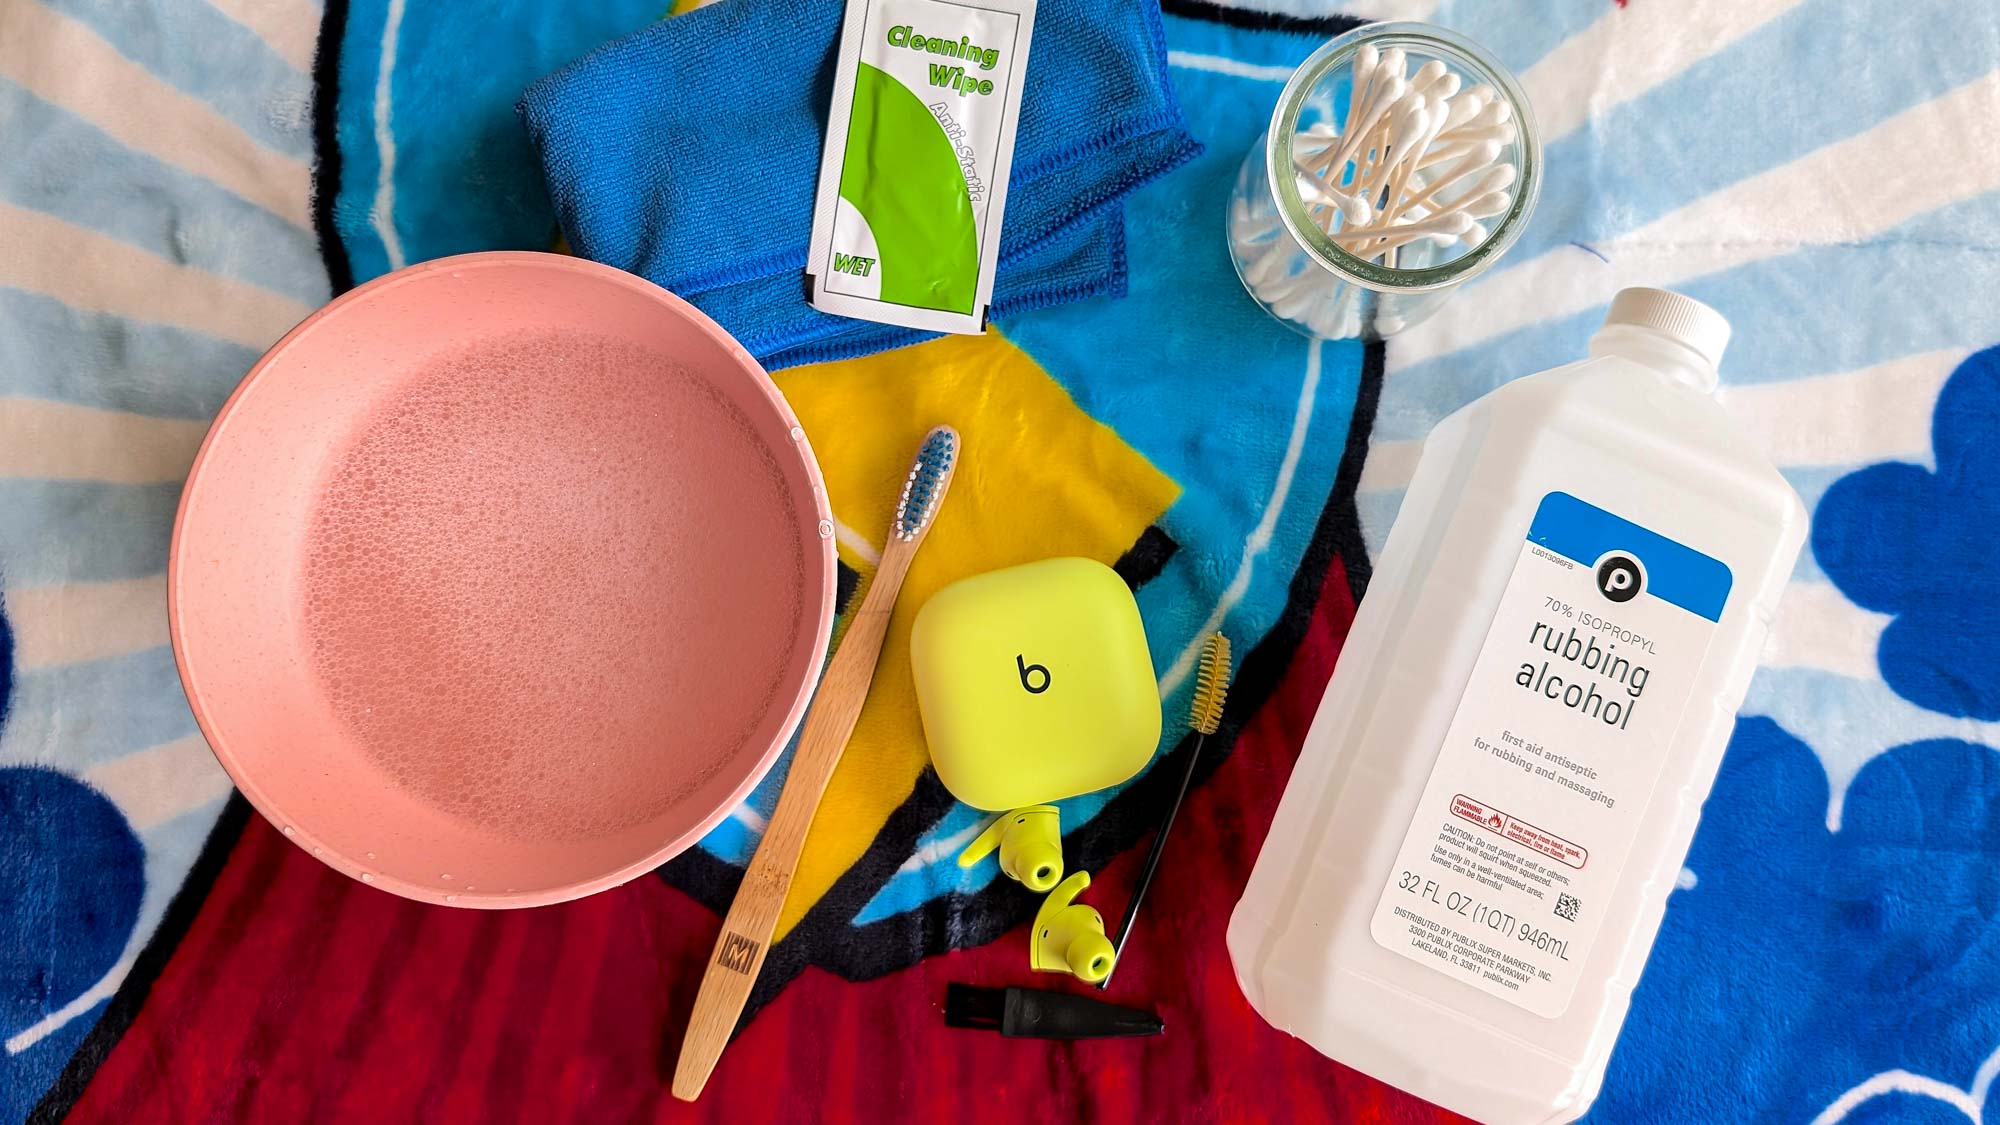
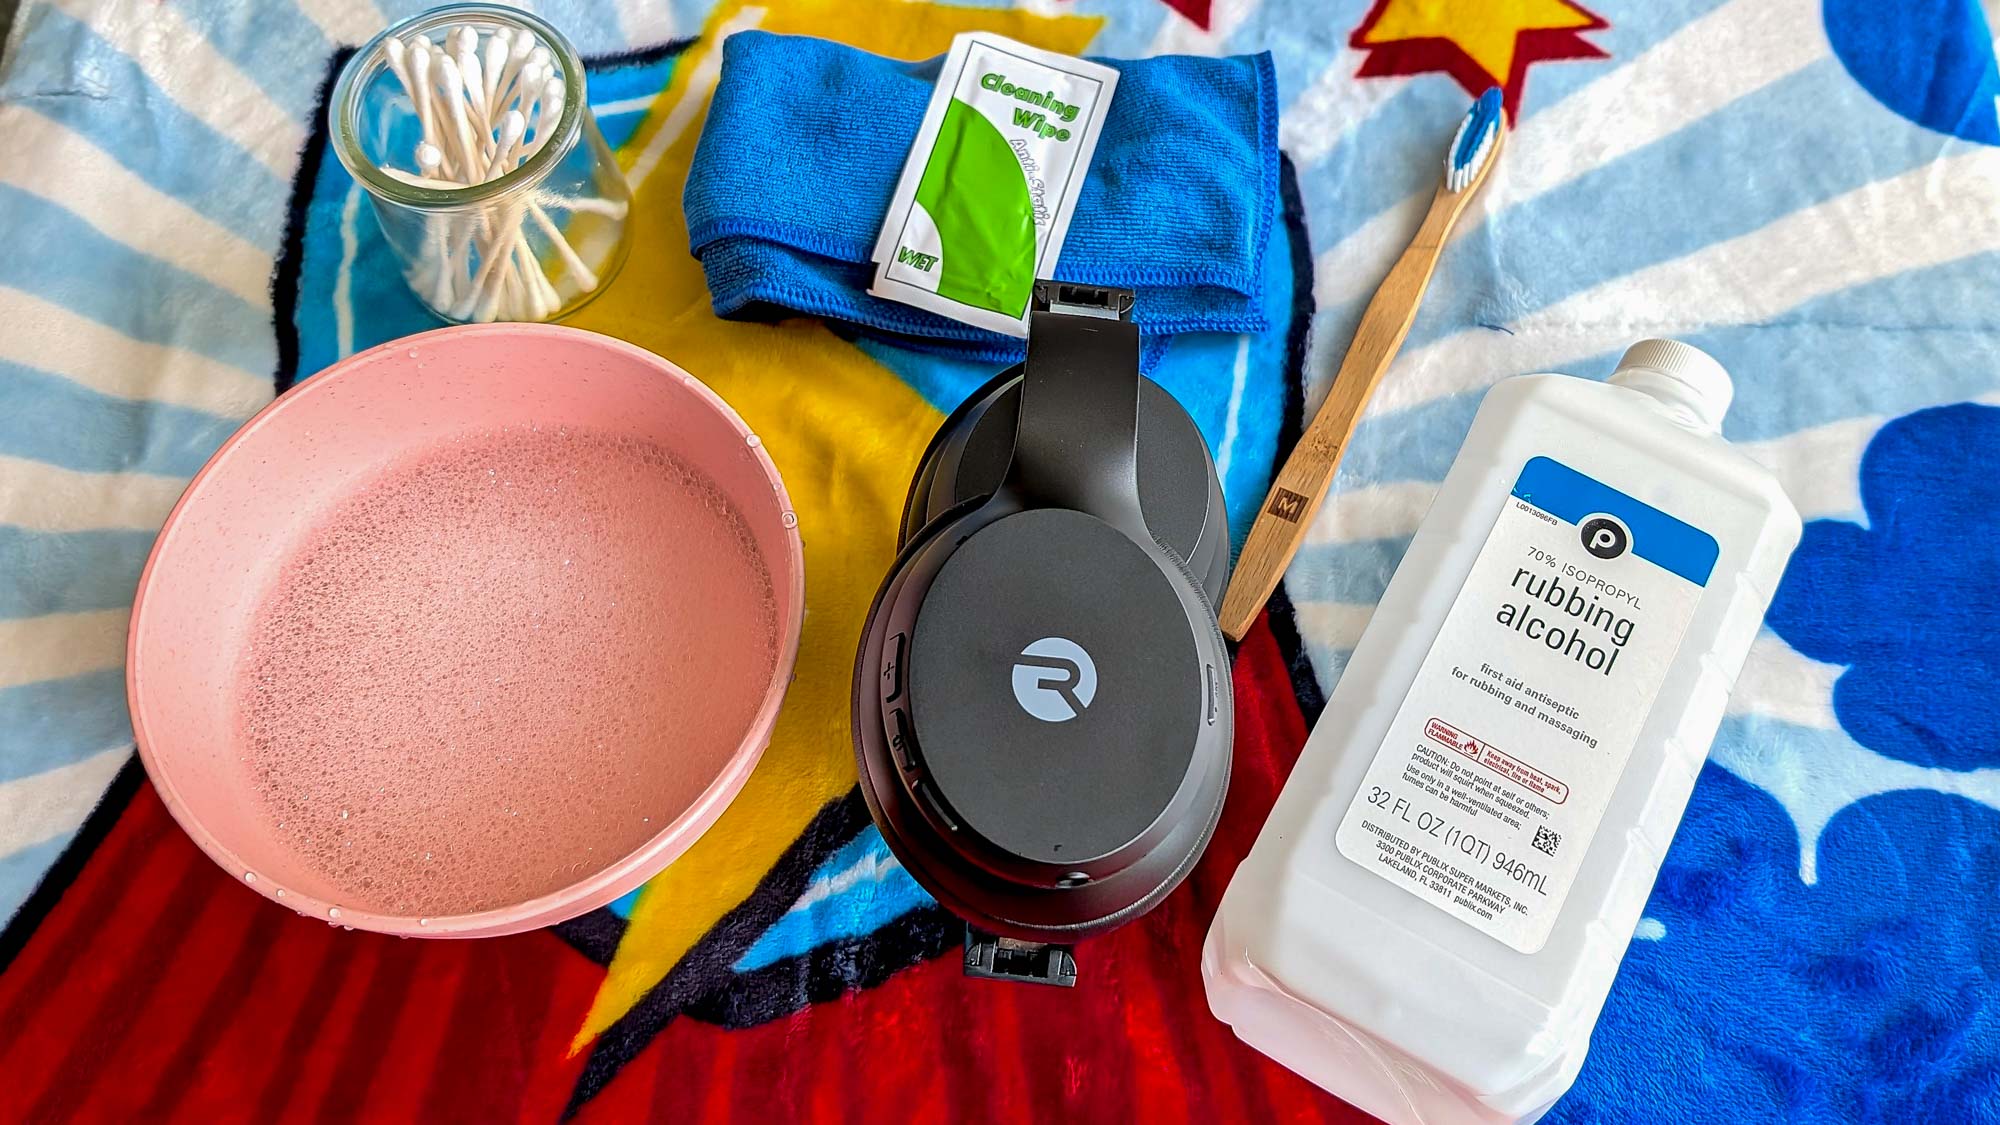
When it comes to headphones and earbuds, several items are required.
Some are essential, others are optional.
In any case, it doesnt hurt having all these products stored somewhere around the house.
I recommend placing everything in a large zip lock bag and stored underneath your kitchen or bathroom sink.
Just imagine how filthy your sports headphones are.
Take better care of your ears and wireless cans with these basic cleaning tips.
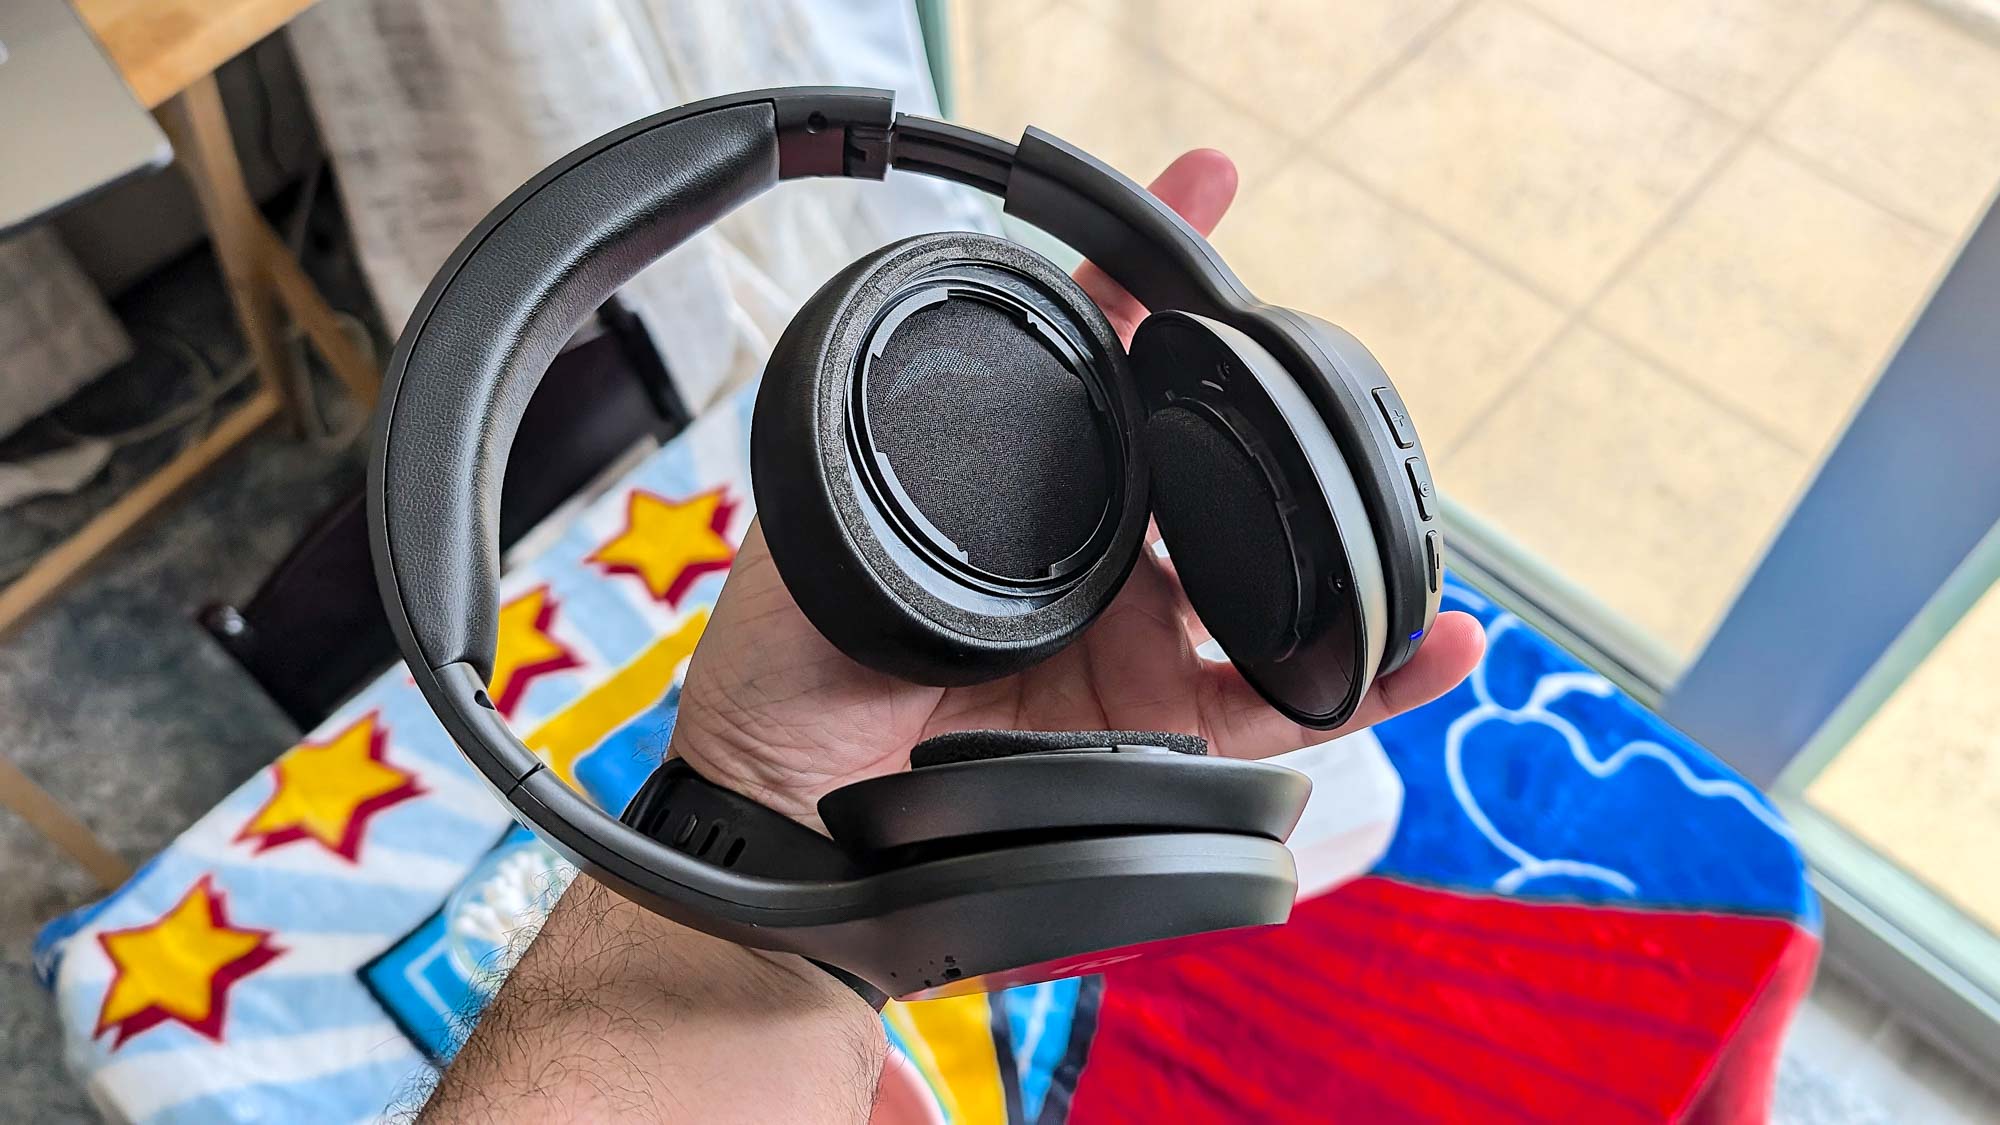
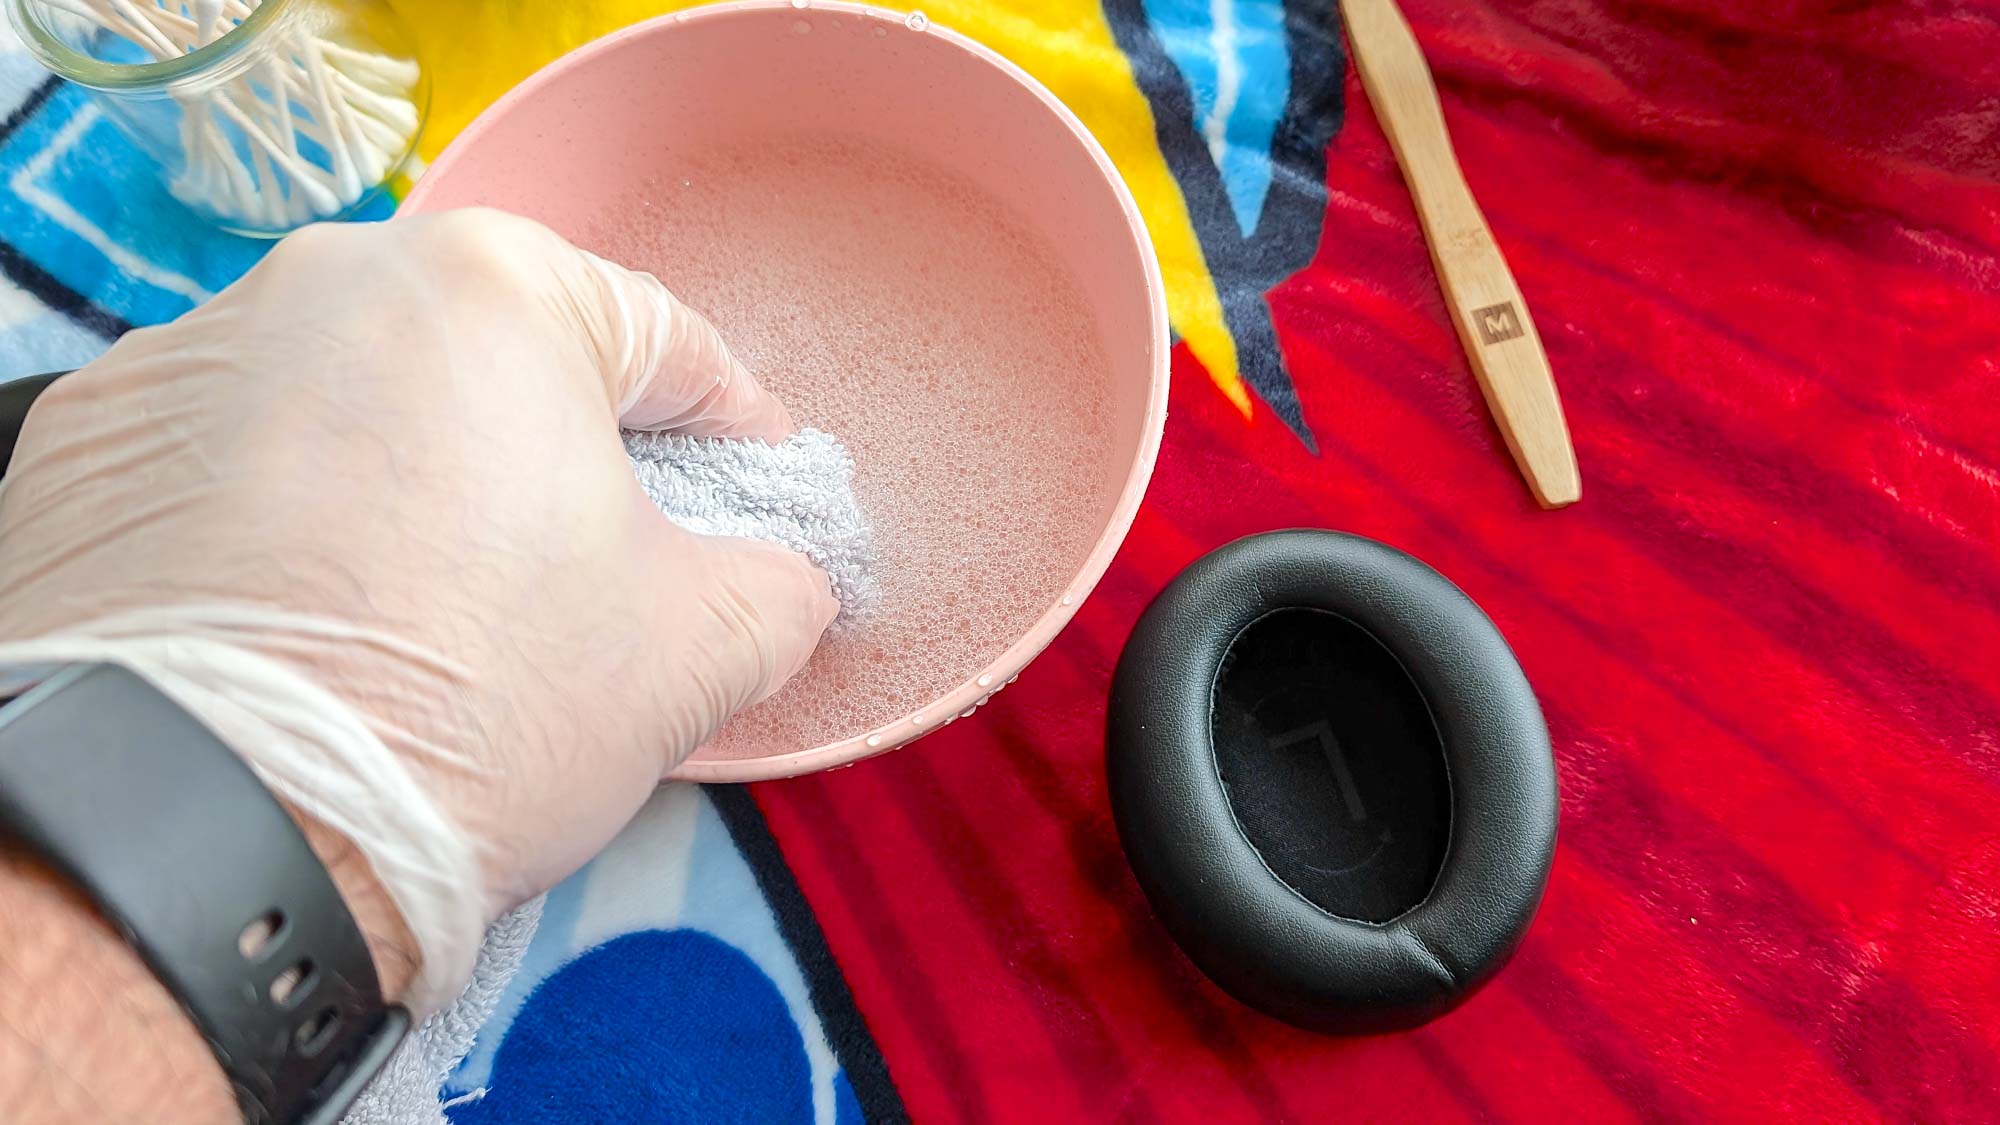
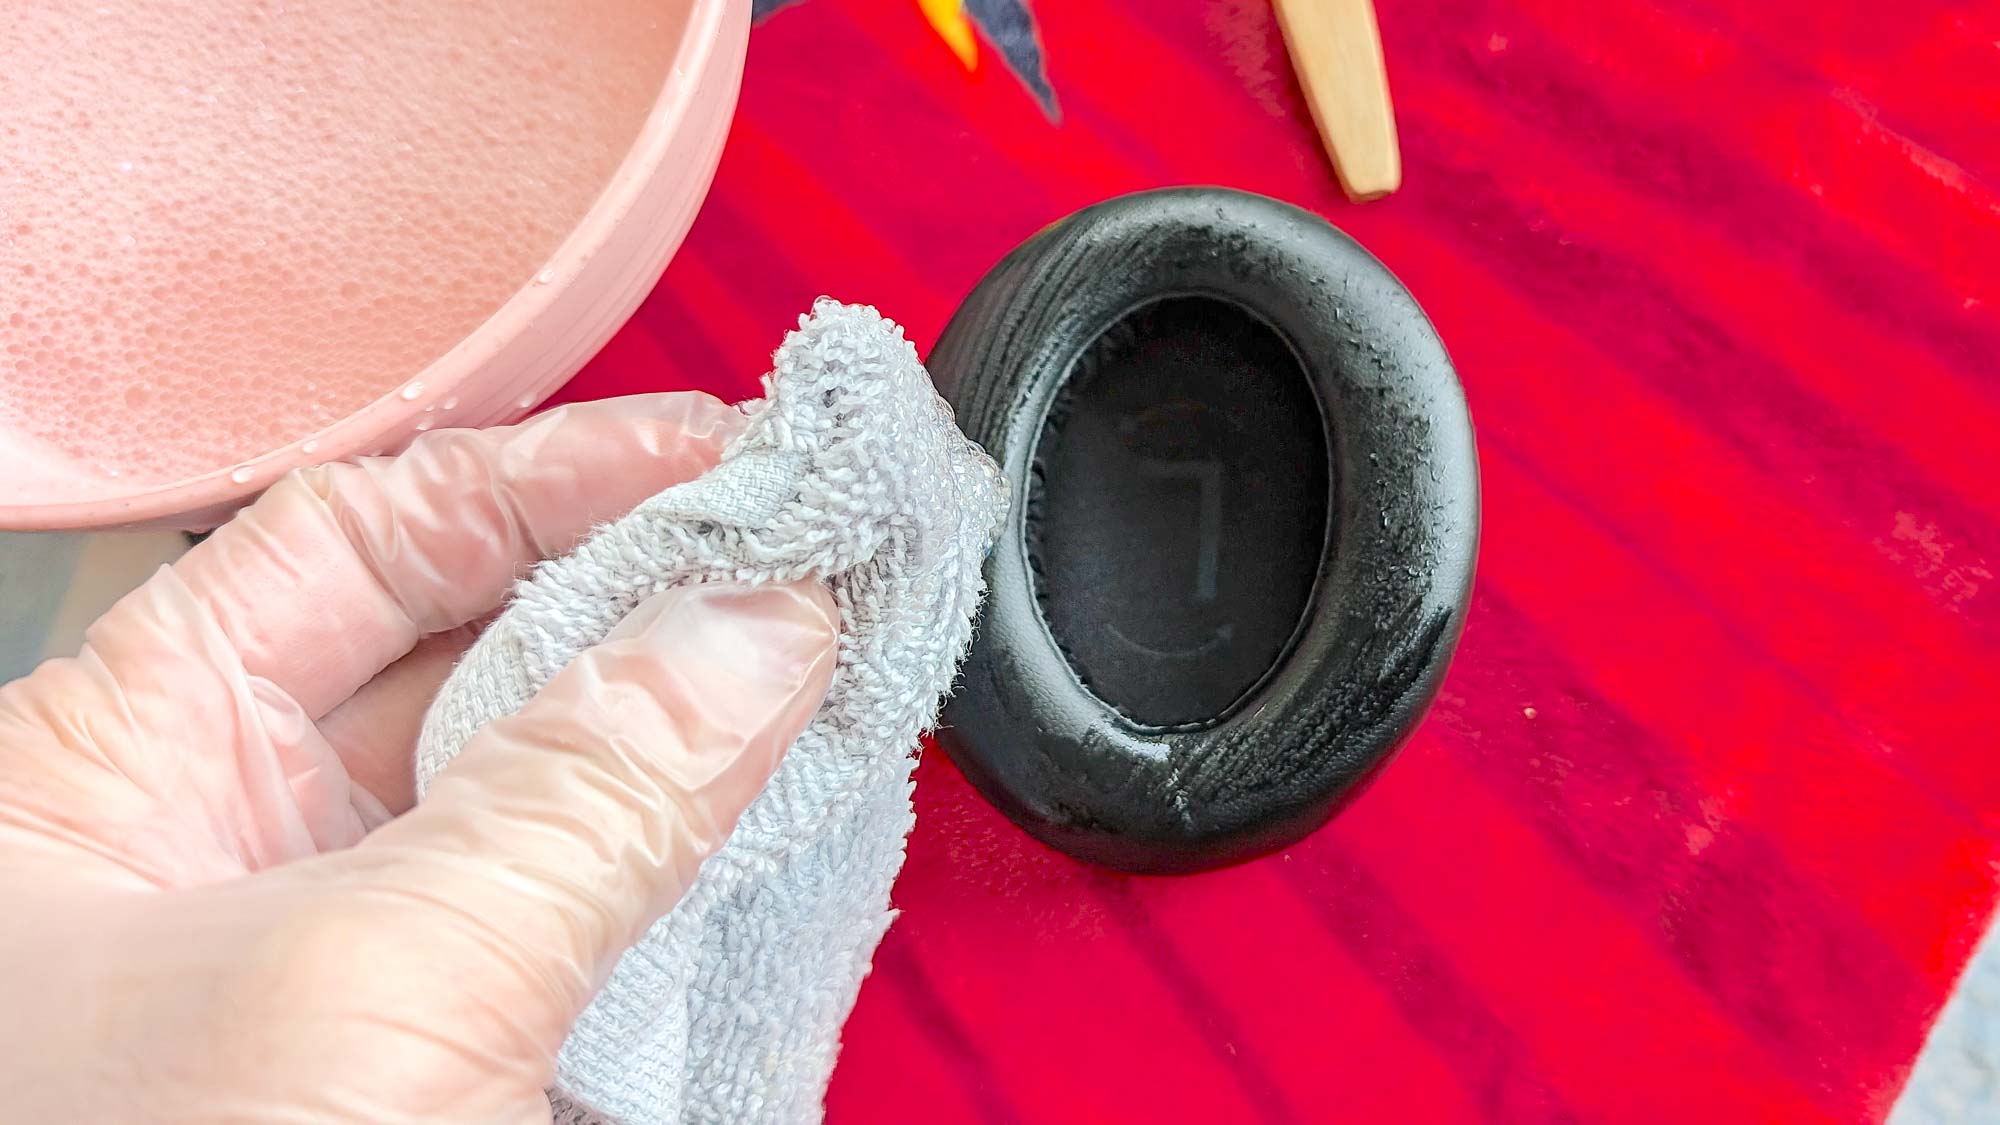
Remove the ear cushions
The first step is to uninstall the ear cushions.
Be careful not to break any mechanisms that keep the ear cushions in their set positions.
Some cleaning products feature harsh chemicals that can damage the material your ear cushions are made from.
PU leather is one of them and must be hand washed using a damp cloth and soapy water.
Some flexible fabrics can be machine washed using warm soapy water.
Let the cushions dry for 5-6 hours before placing back on.
Also, leaving your headphones on dirty surfaces will expose them to germs.
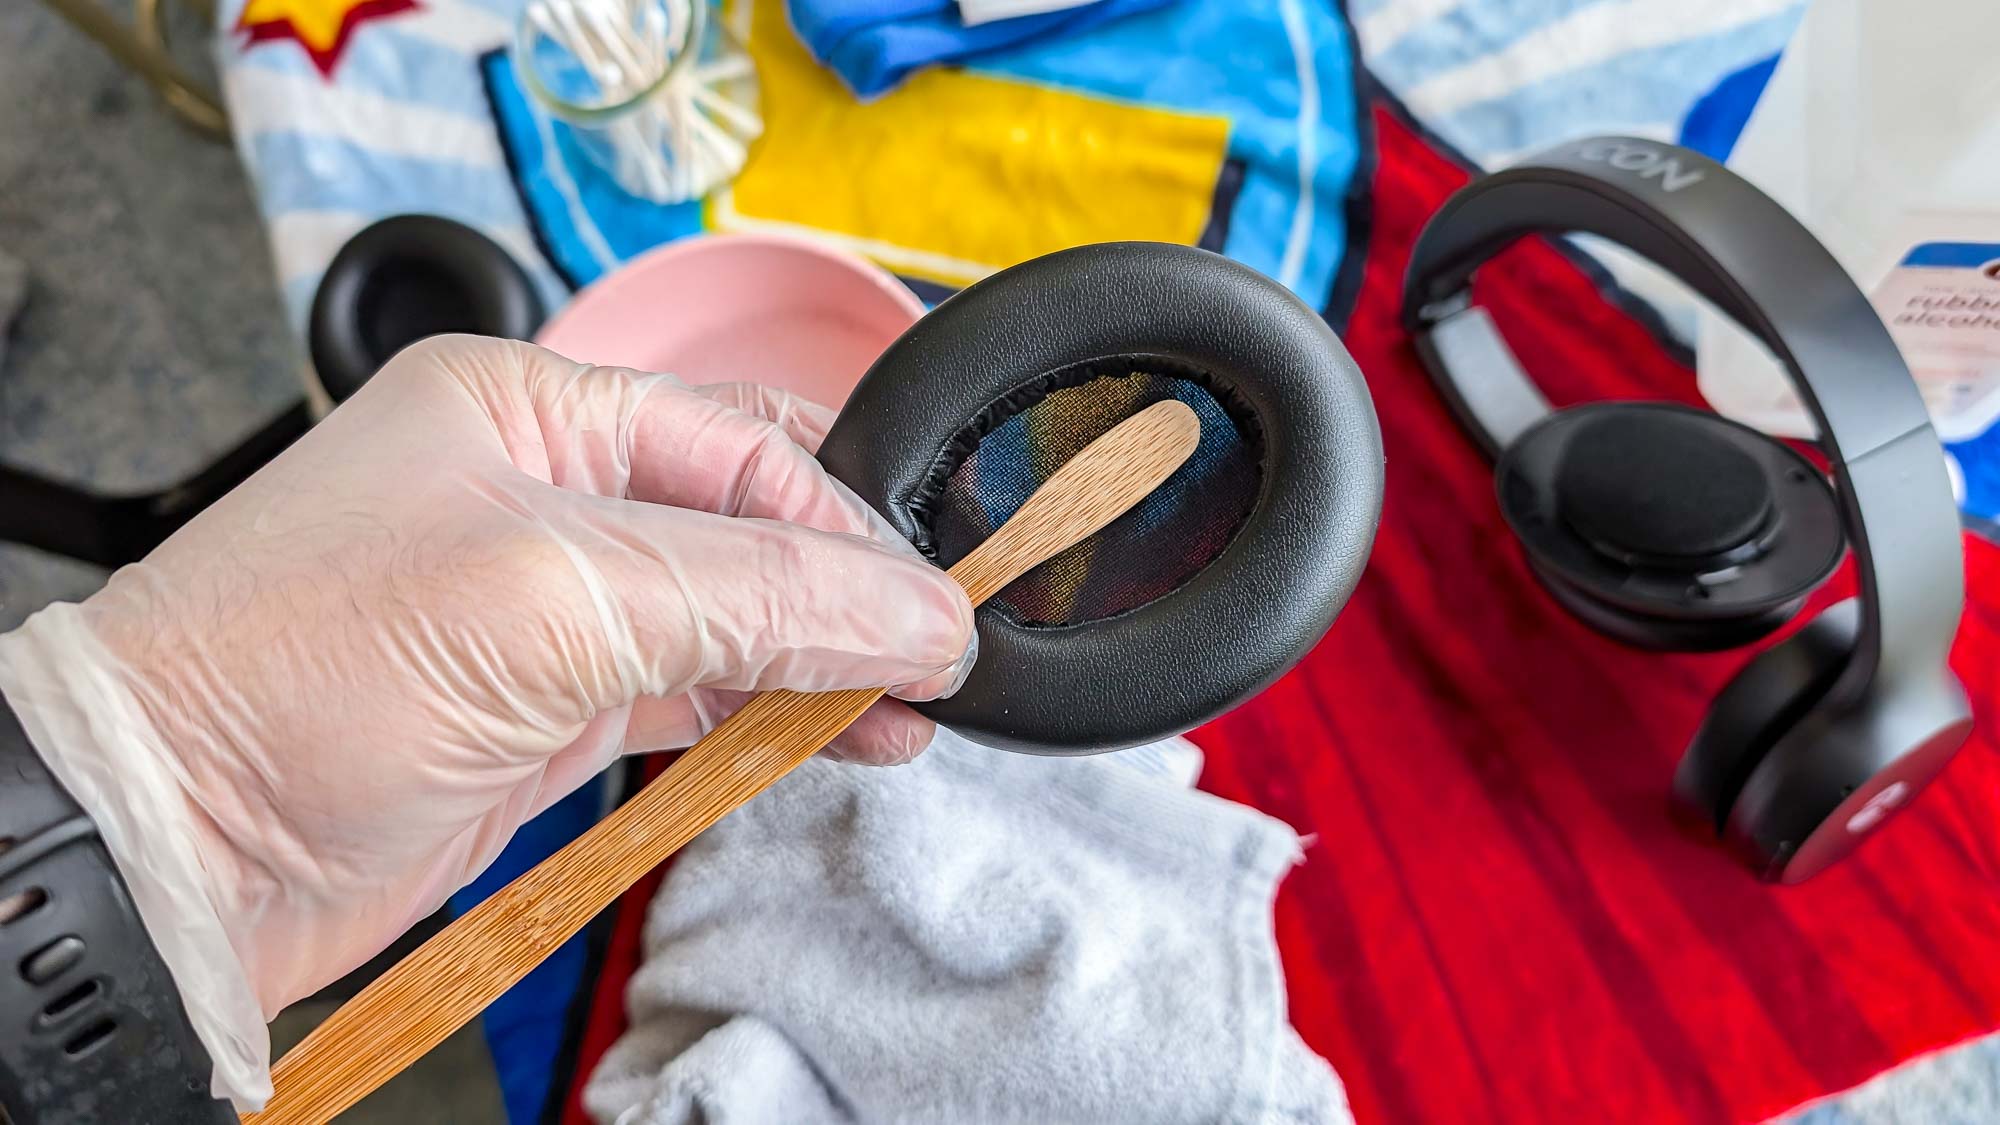
Gently treat the mesh
Dirt and sweat can find its way through headphone mesh.
Use a soft-bristled brush to gently sweep off debris.
If there is serious buildup, lightly dampen a Q-tip with some rubbing alcohol and wipe the mesh carefully.
Allow the material to dry before assemblage.
Do the same for the inside.
Drop some rubbing alcohol on a Q-tip and use it on hard-to-reach corners.
Lastly, leave a silica gel pack in the case, so it absorbs lingering moisture.
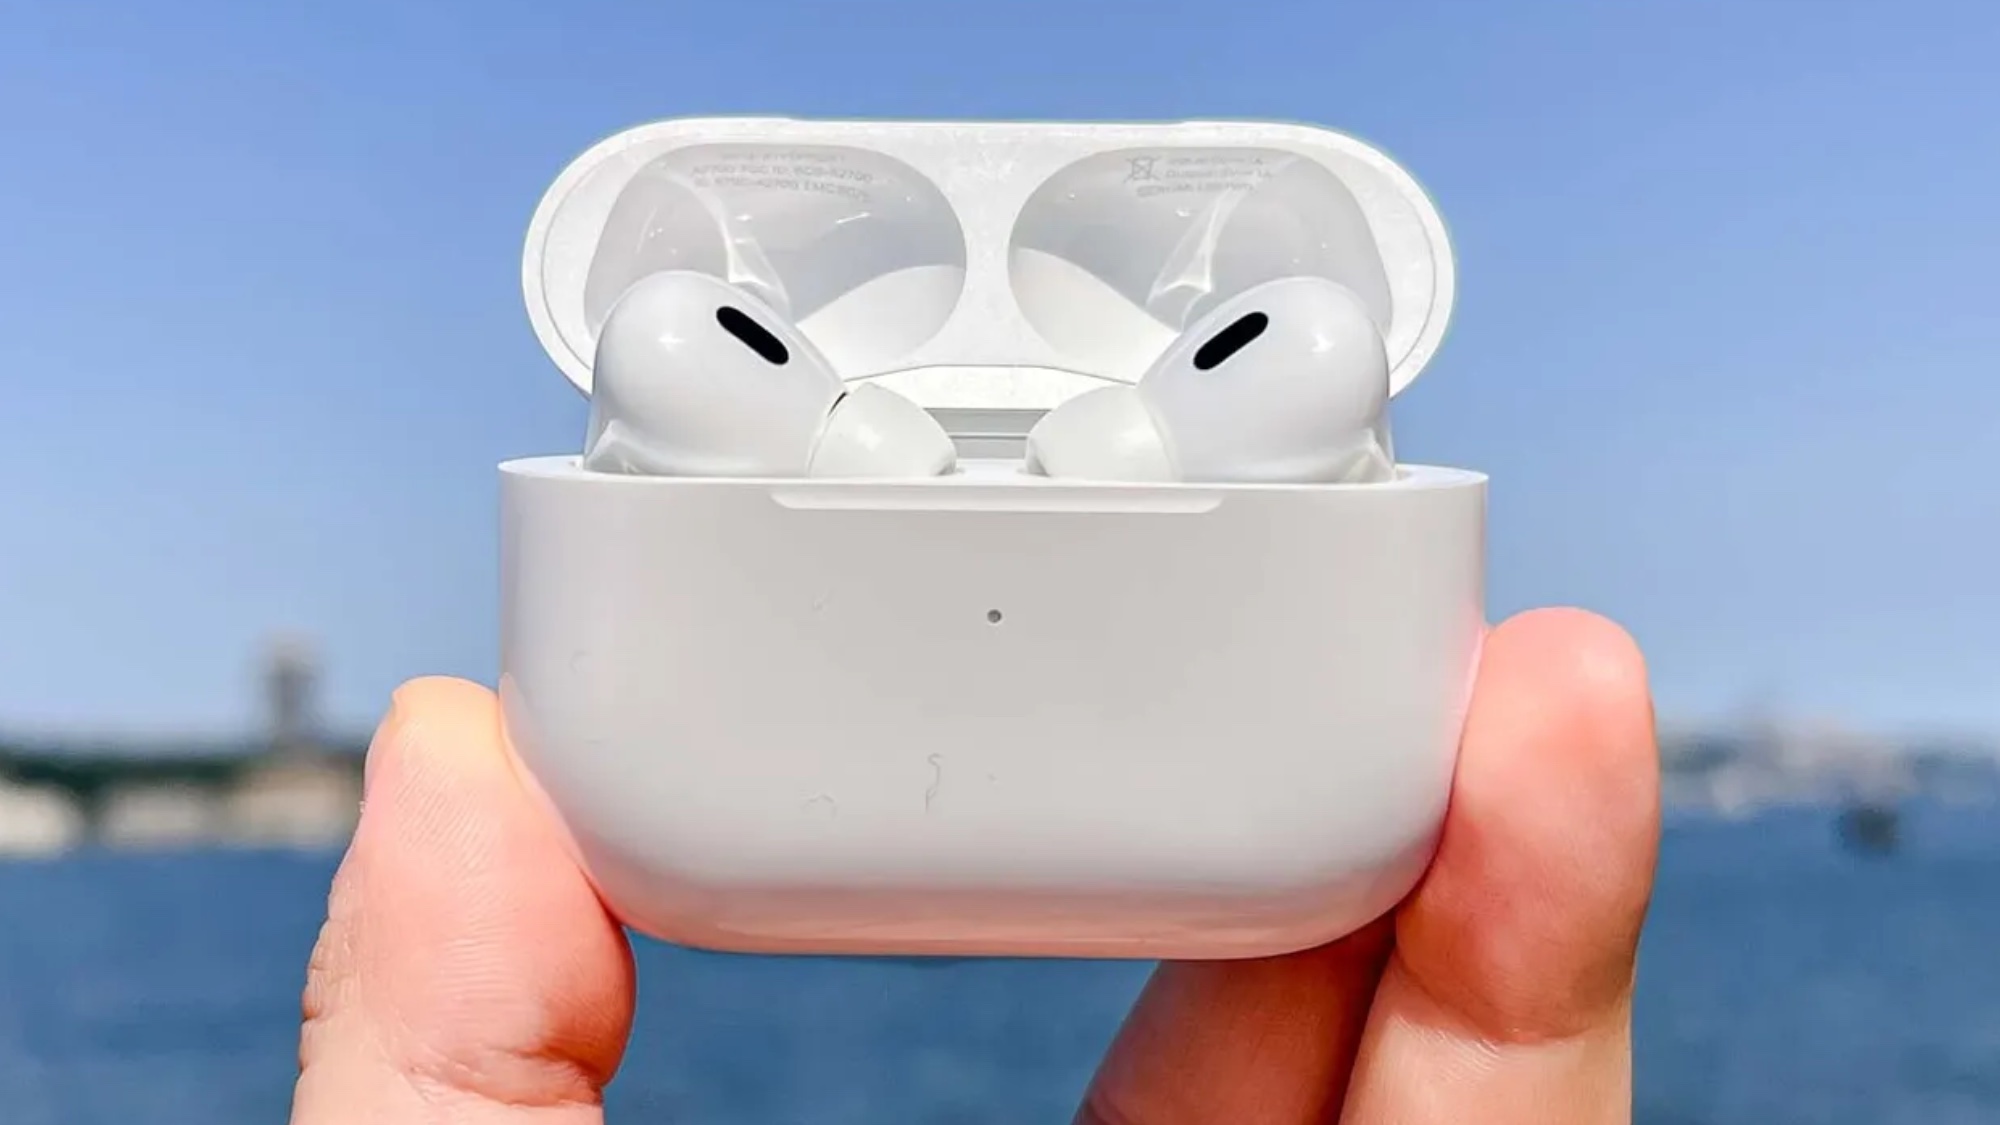
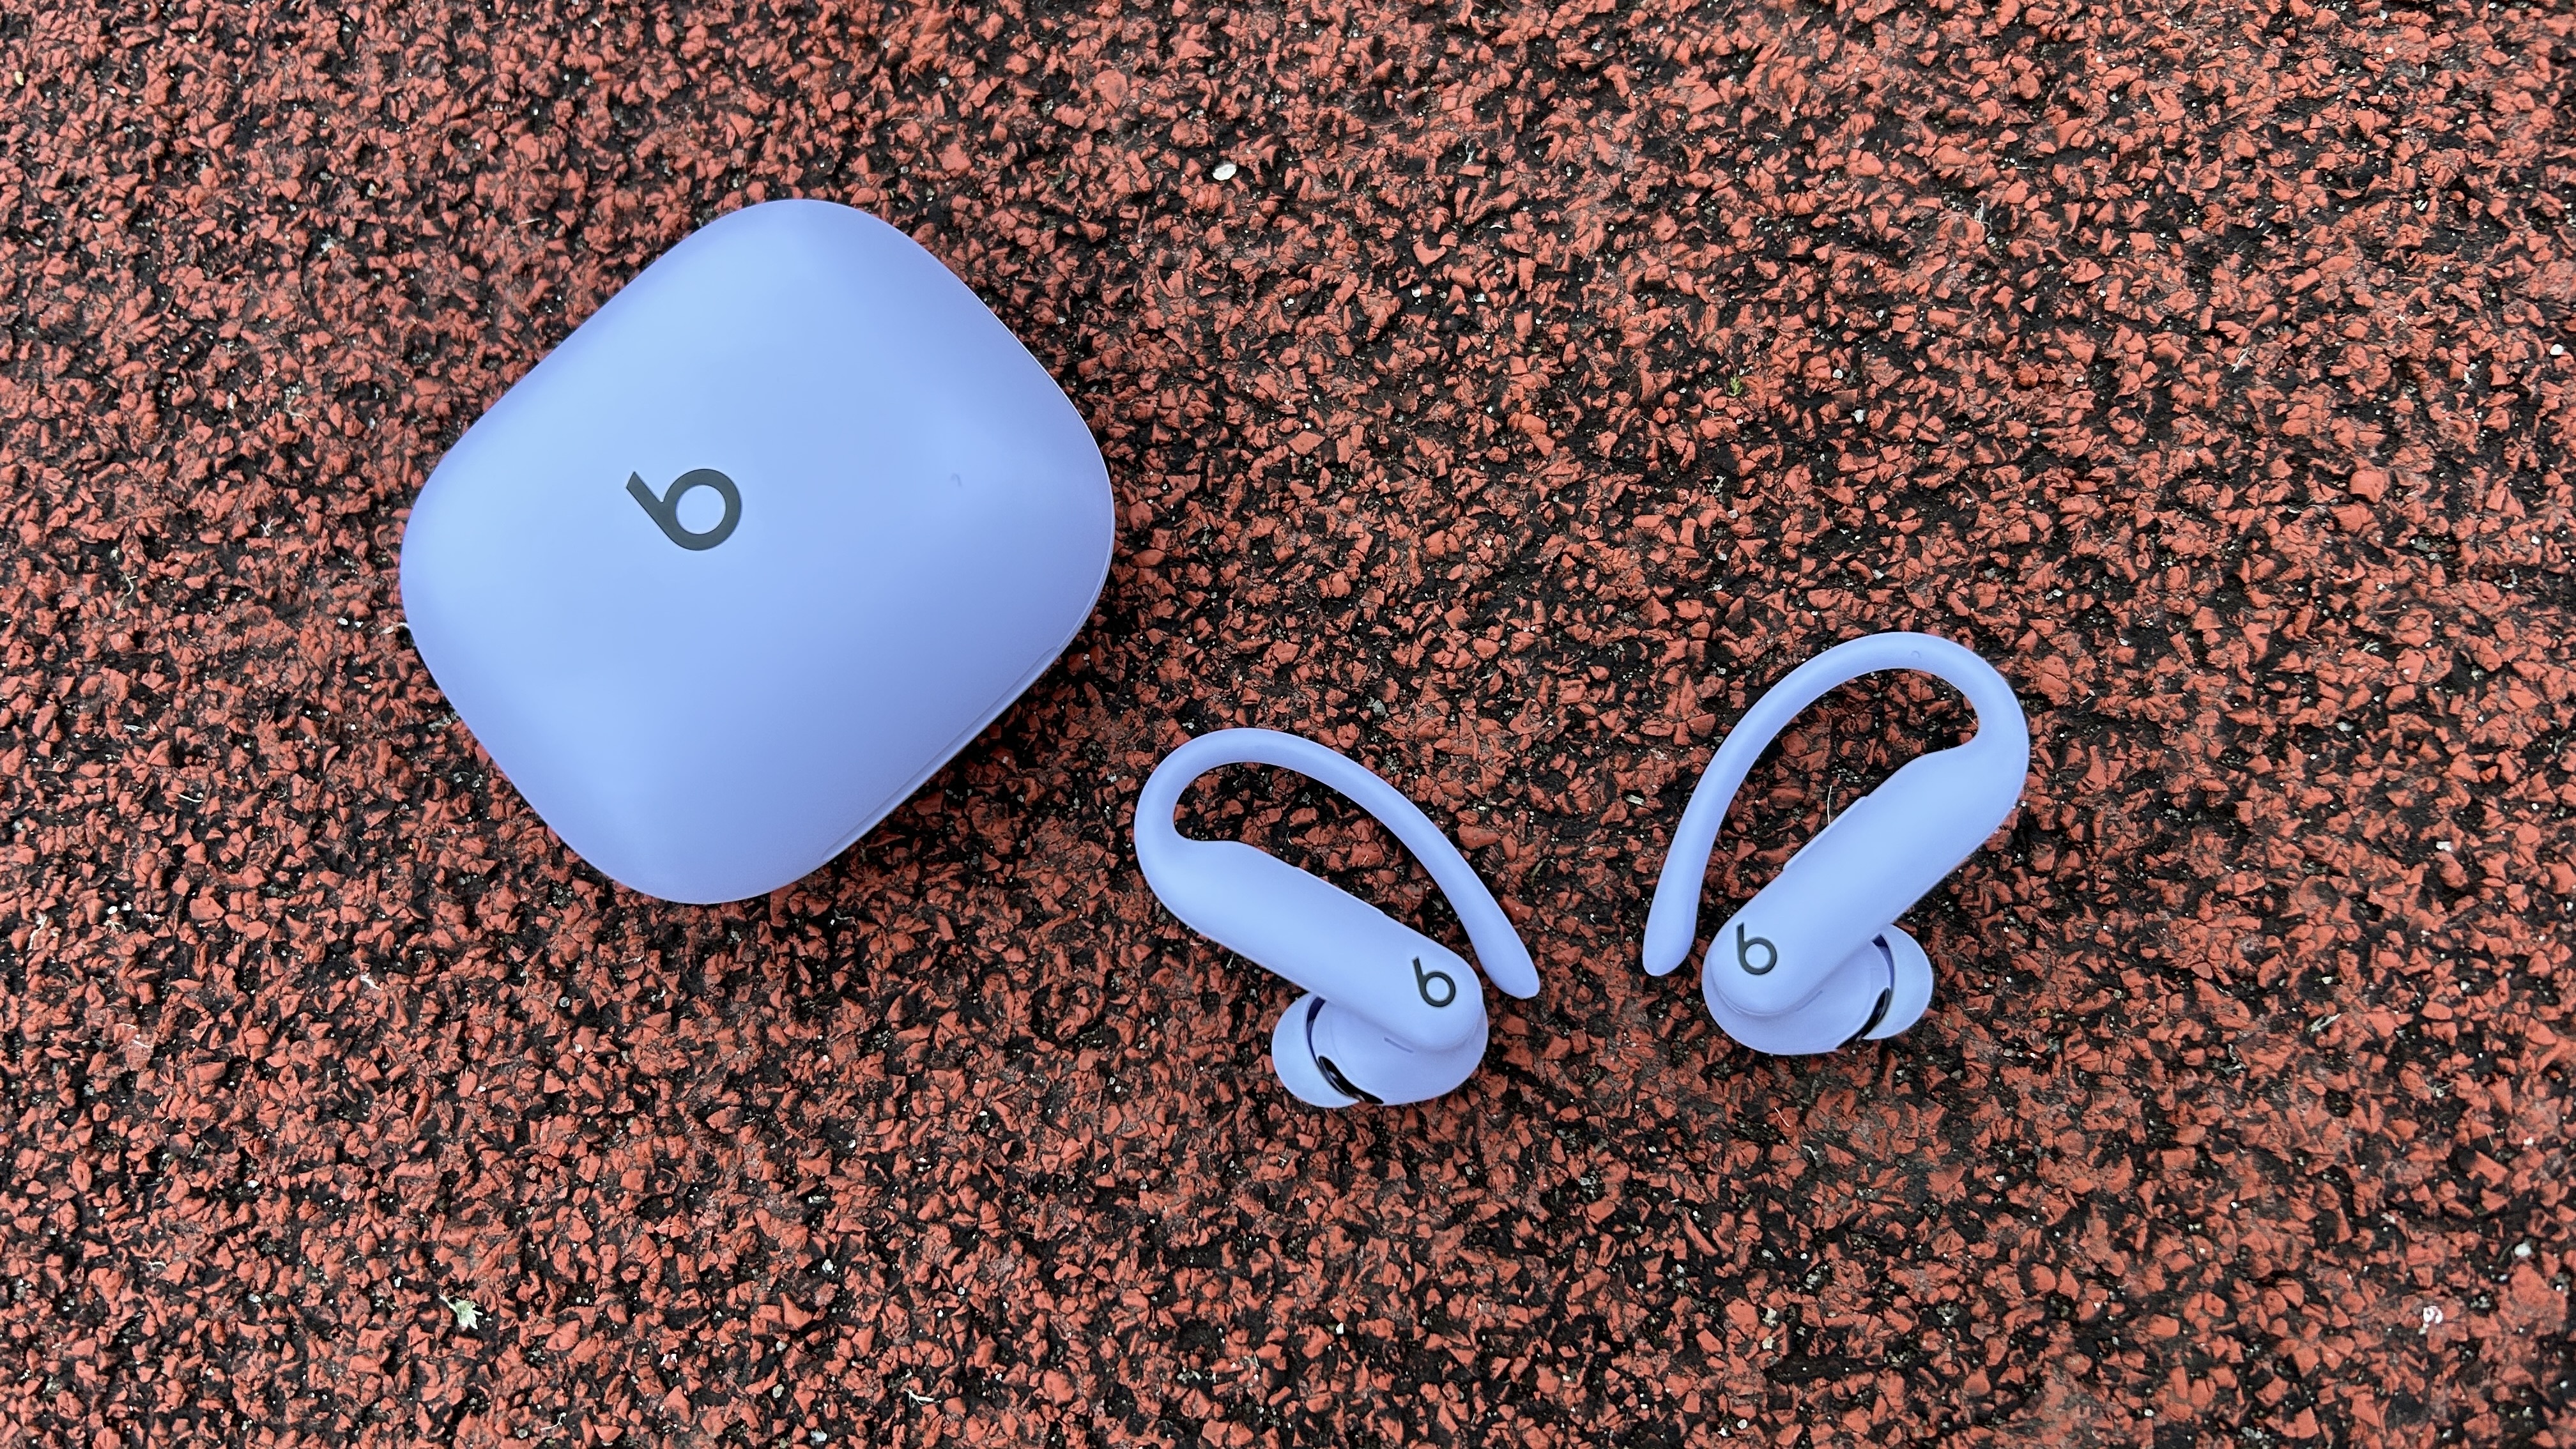
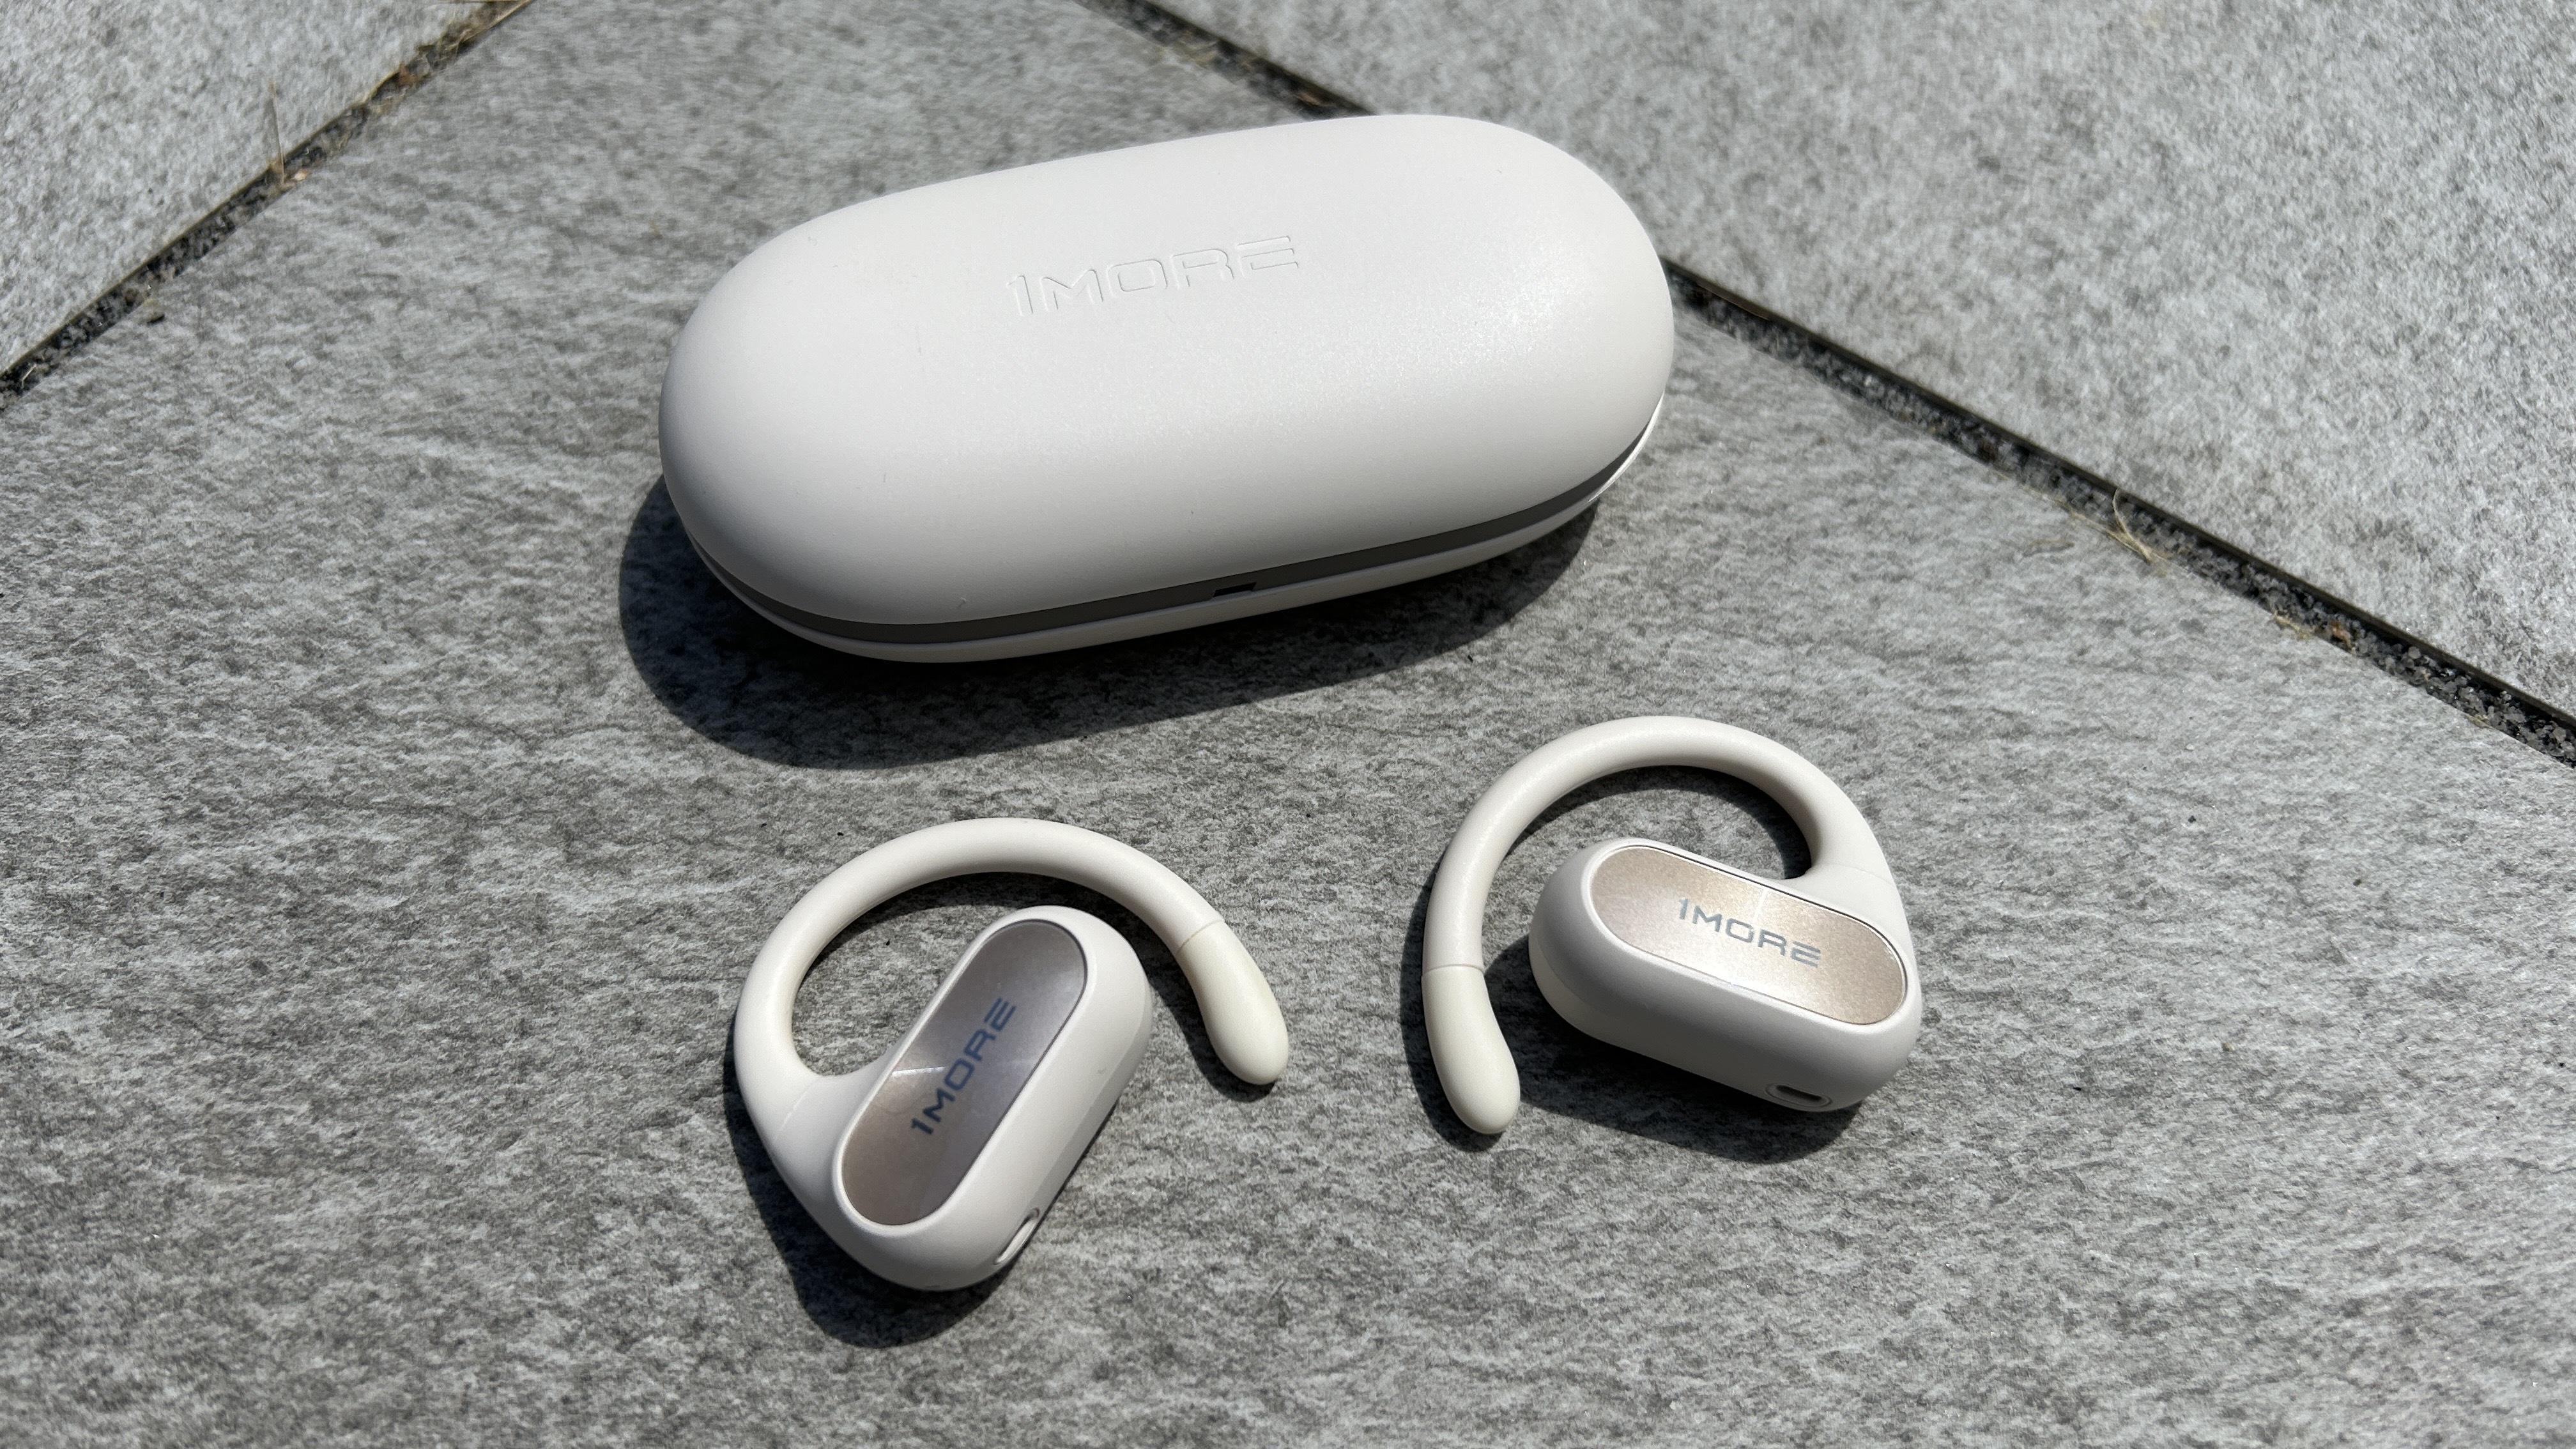
Some might even carryfoam tips, which provide a better fit, noise isolation, and sweat absorption.
Nonetheless, every bang out of ear bud must be thoroughly cleaned.

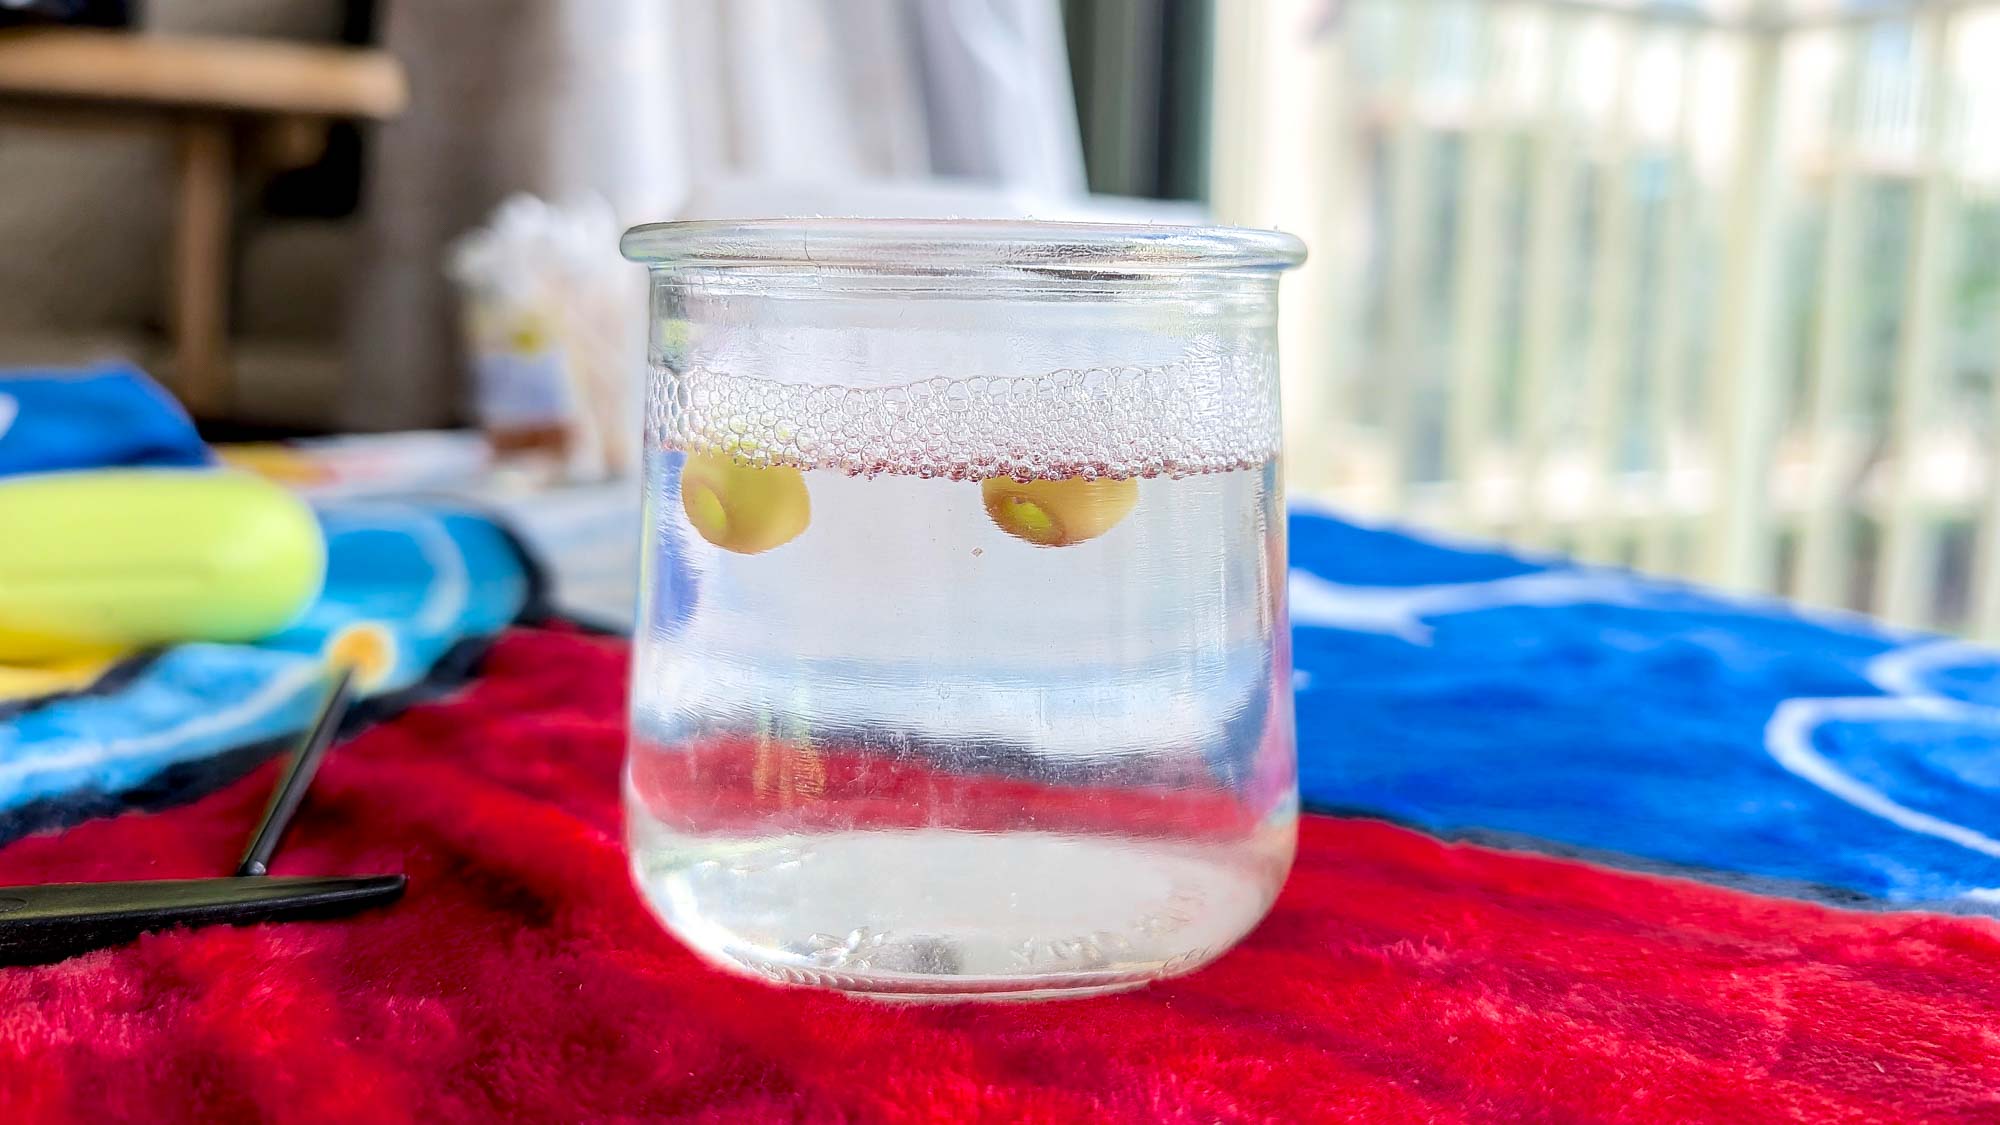
Start by removing and soaking the tips in warm, soapy water for 30 minutes.
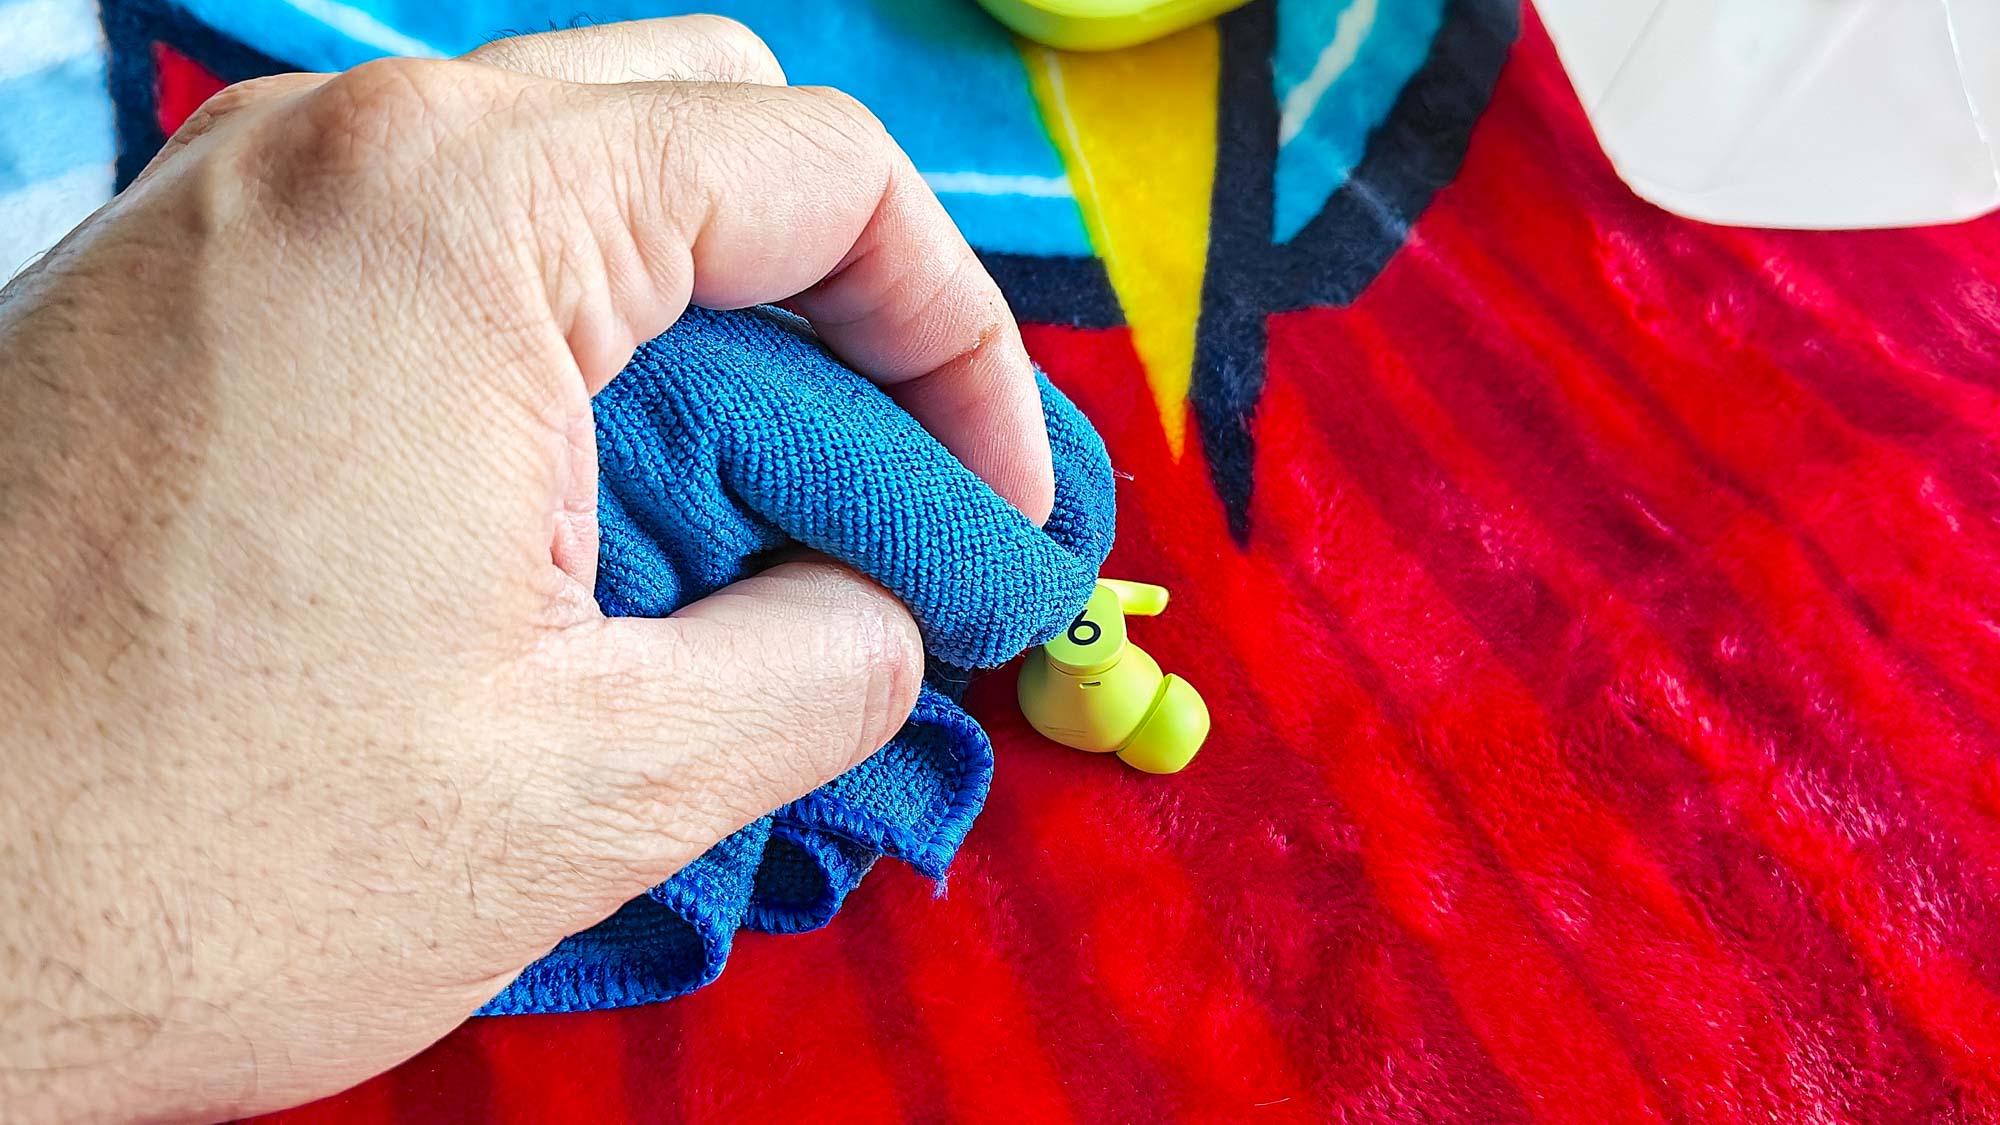
Then use a microfiber cloth to remove or wipe off any dirt.
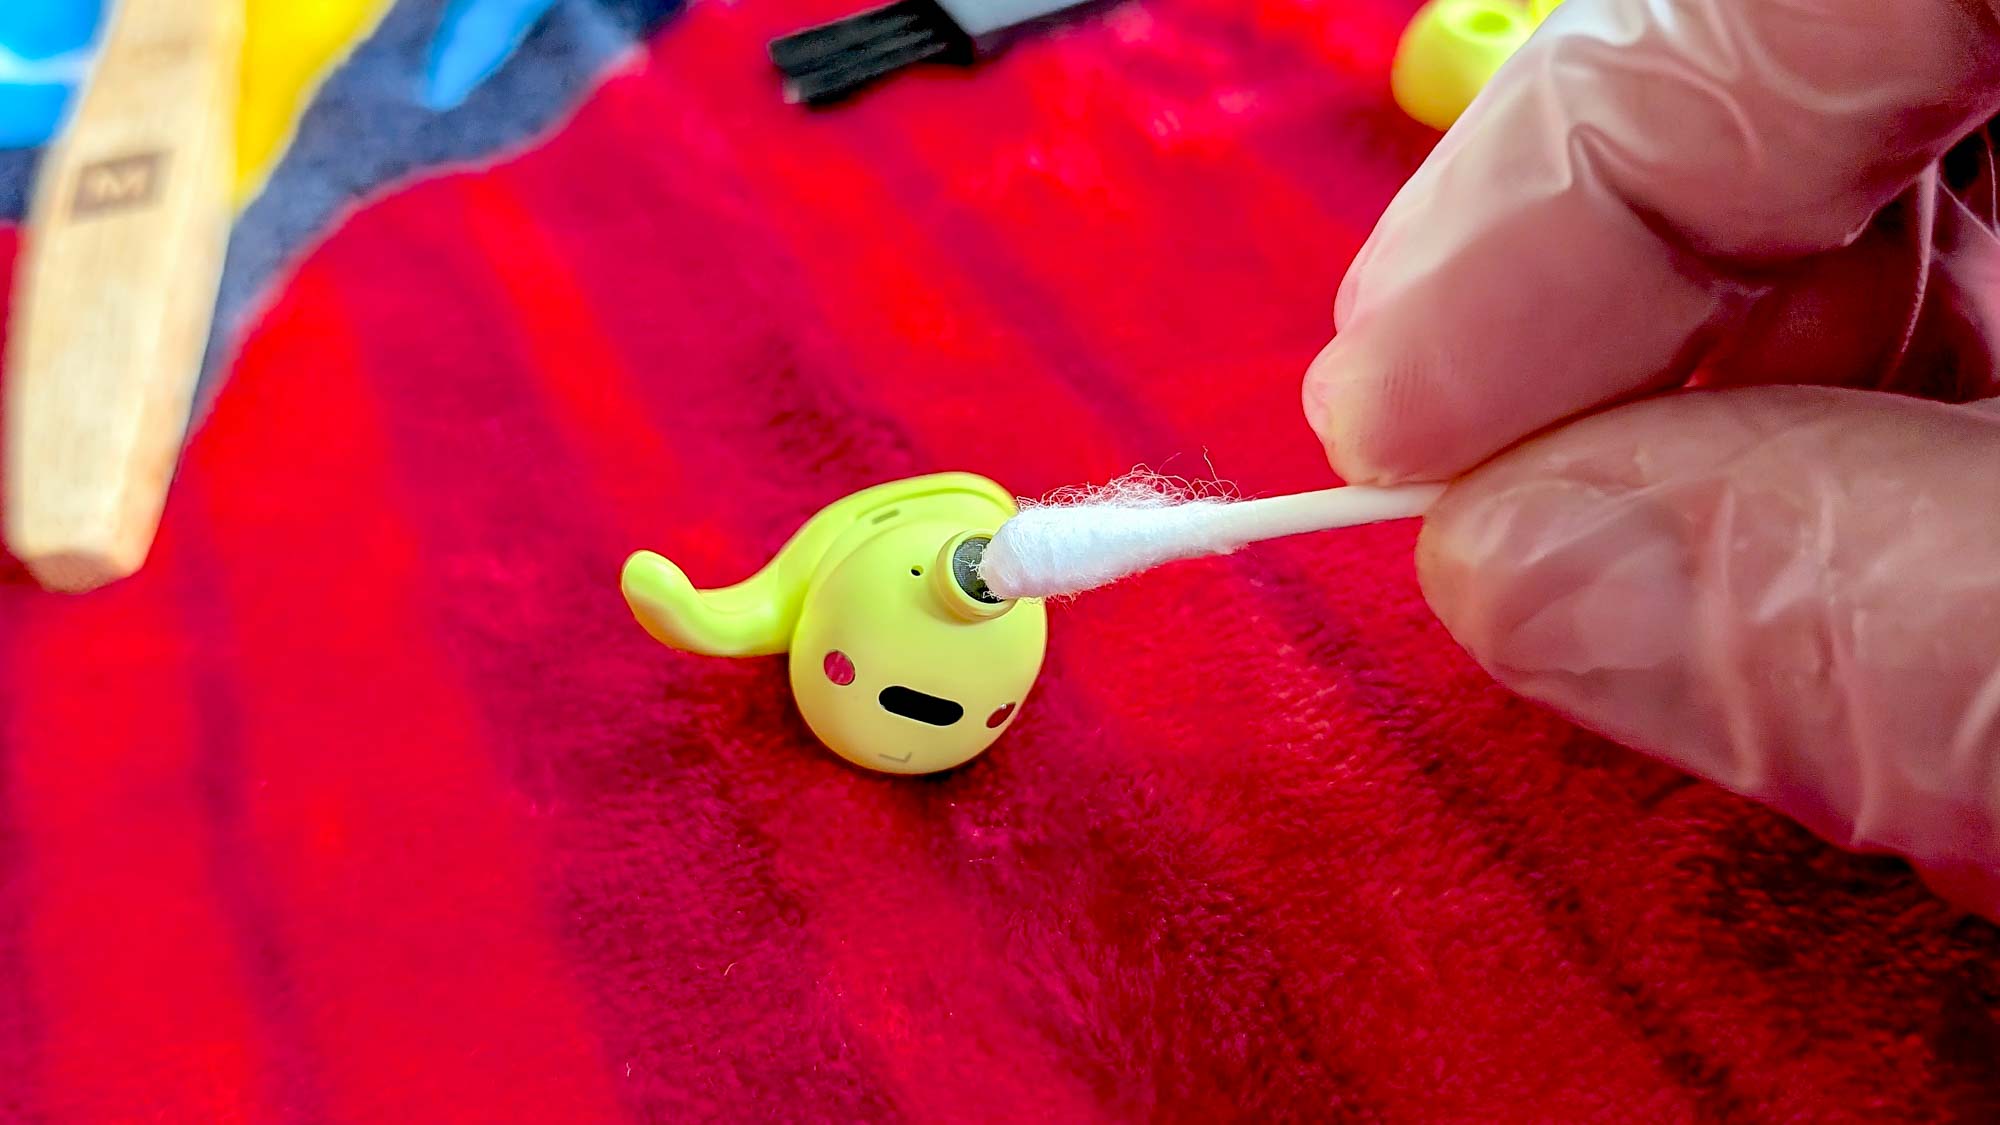
Swab the mesh grilles
The mesh grilles on your buds draw a lot of gunk.

Wet a cotton swab with rubbing alcohol and gently wipe down the grilles.
Dont apply too much pressure because the screen will break and expose internal components to moisture.
Once completed, reinstall the tips after they have been dried.

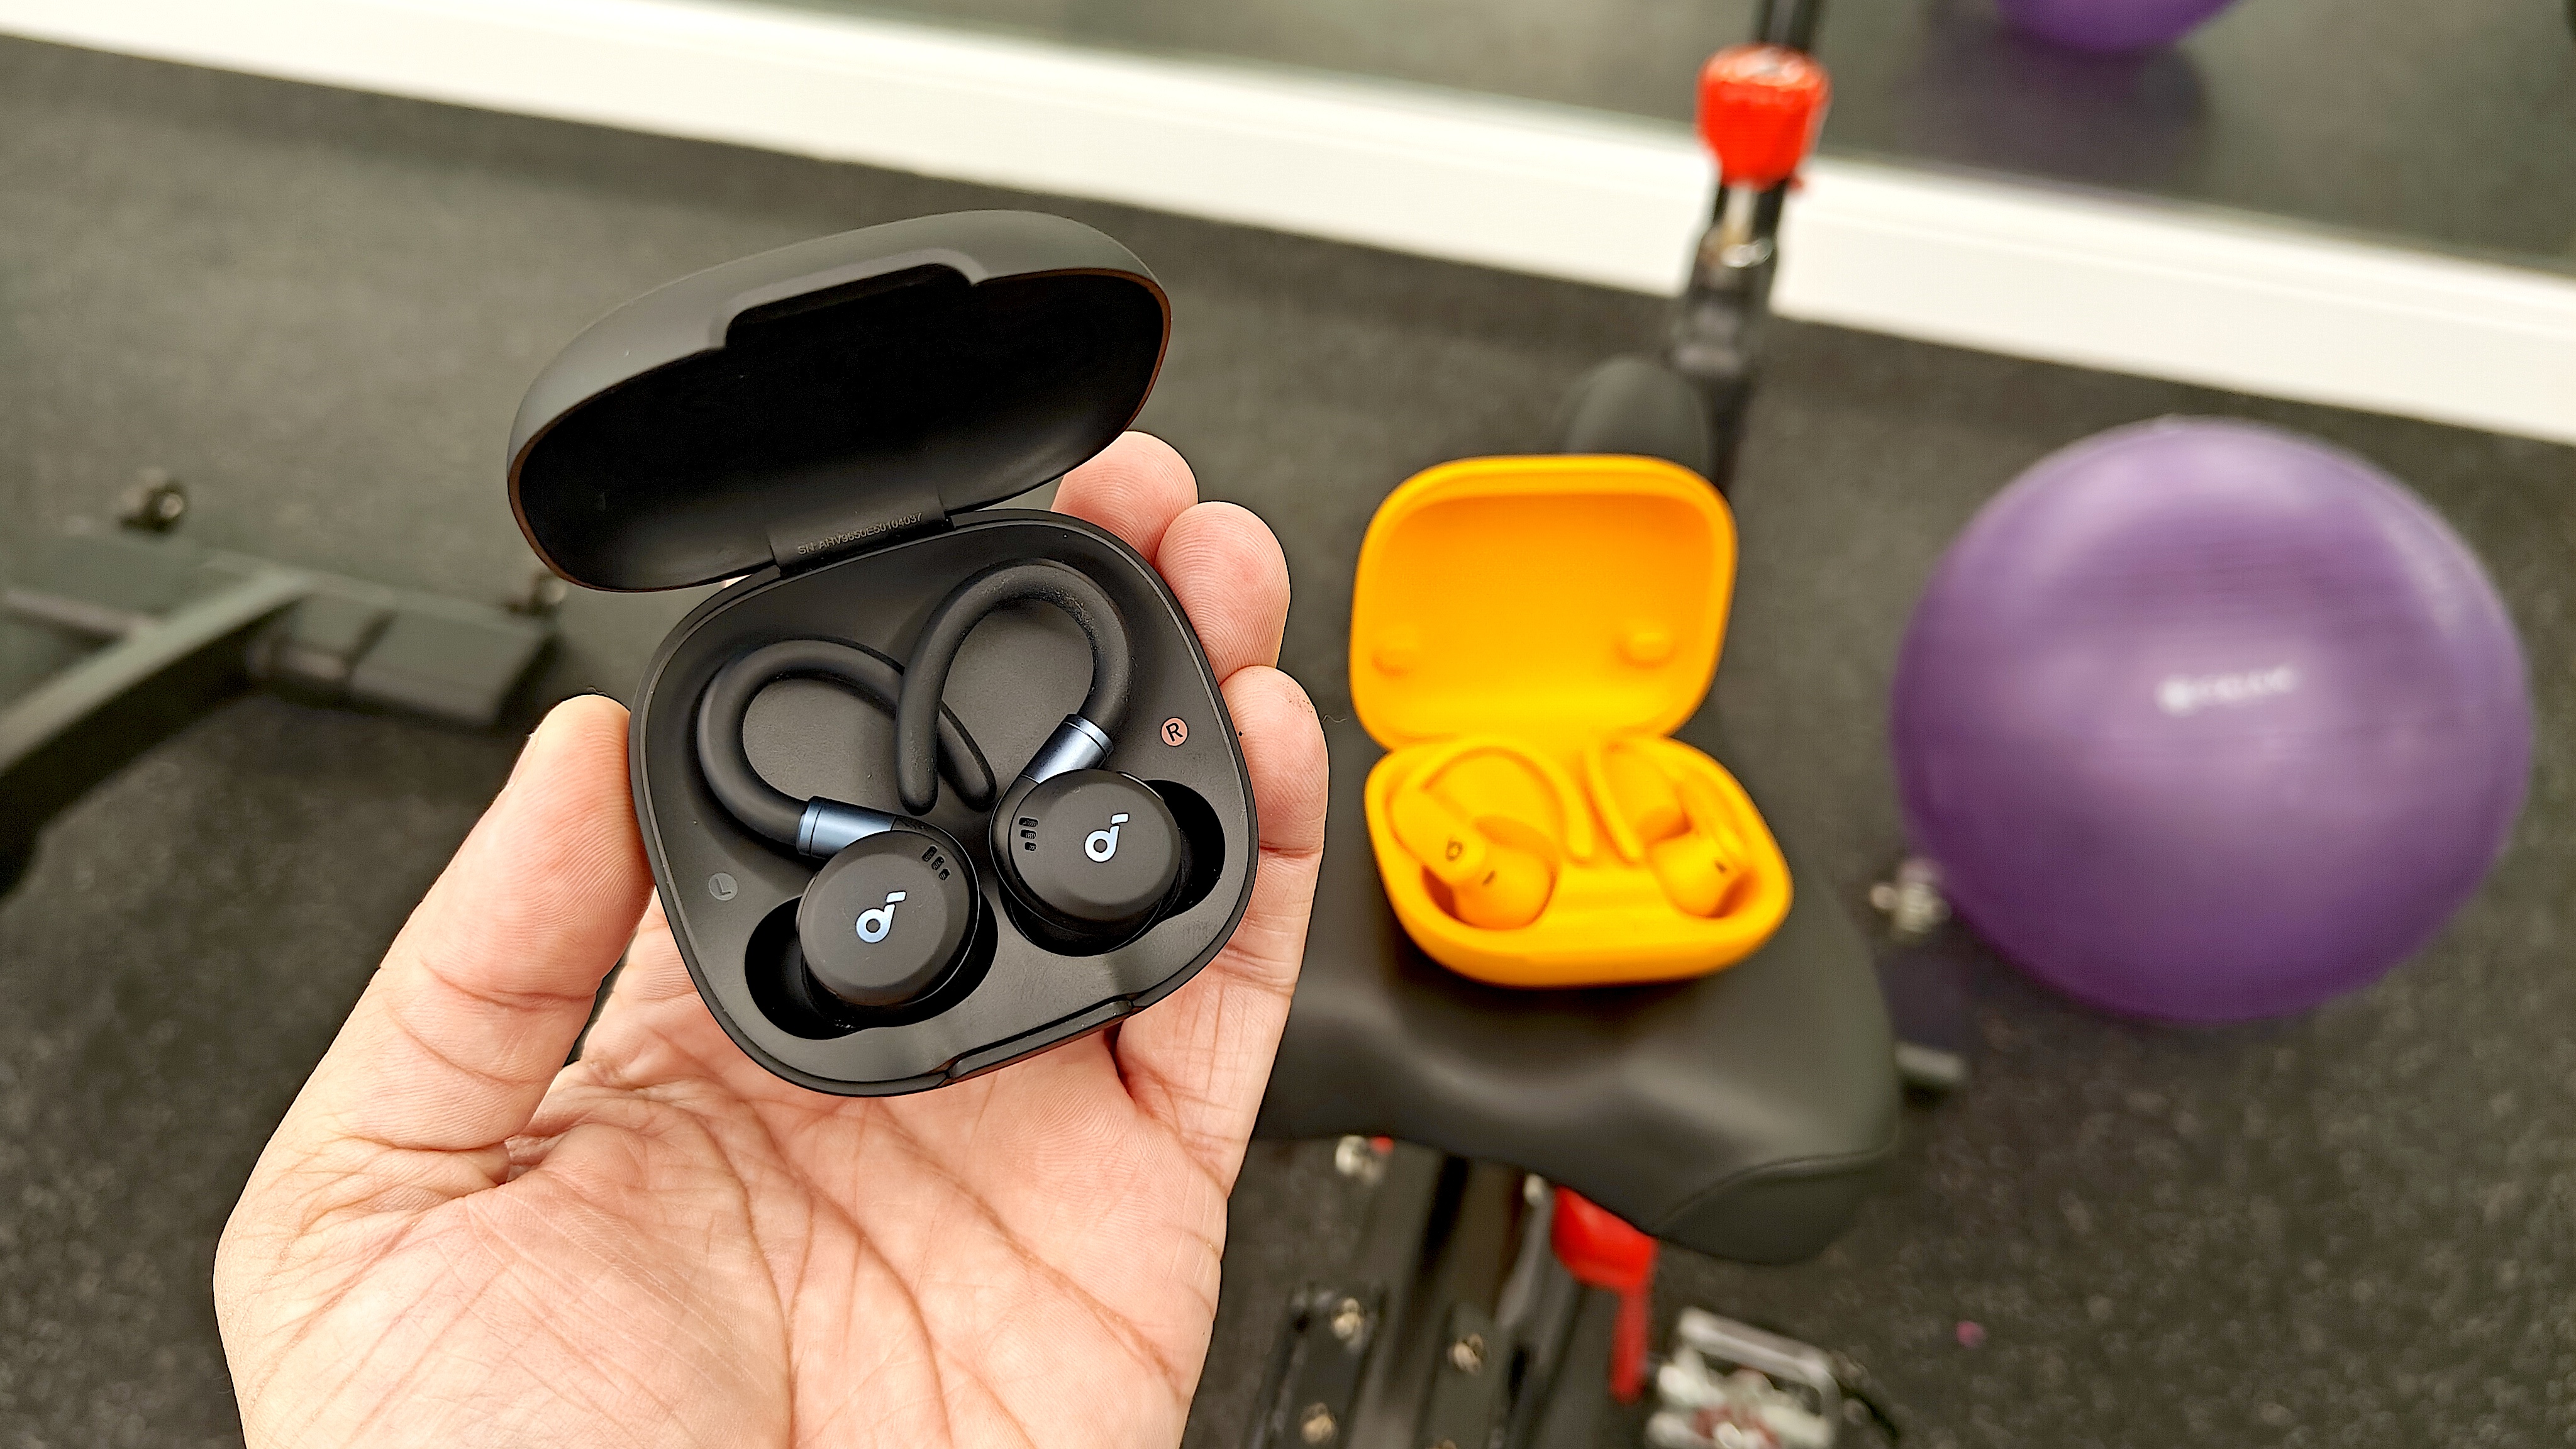
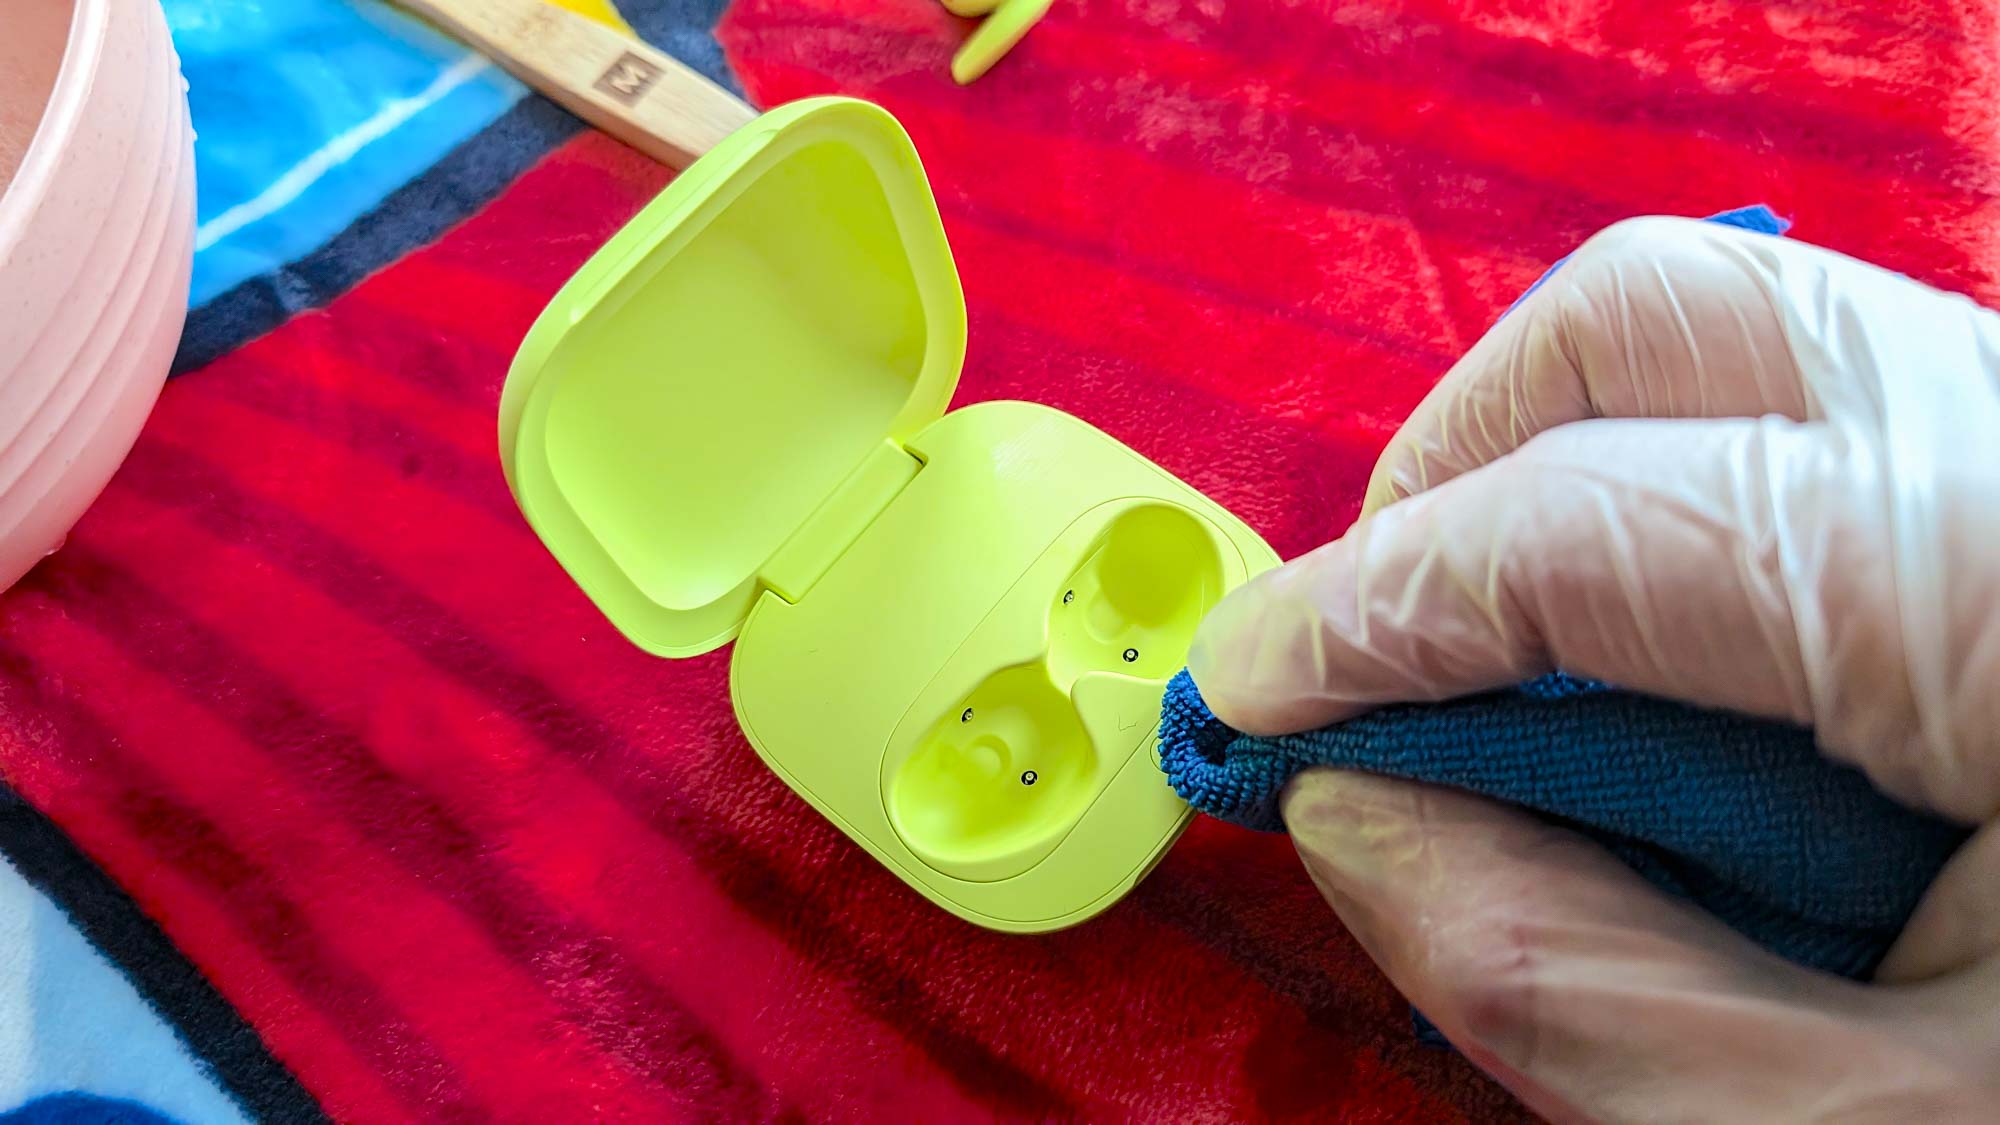
Give the charging case similar treatment
Both the inside and outside of your charging case are infested with germs.
Use a dry cloth to wipe off any visible dirt.
Dampen a microfiber cloth with your cleaning solution of choice and take care of the outside.

The inside requires more precision.
Youll want to avoid spilling any liquid onto the charging ports.
Take a wet cotton swab and remove unwanted grime from all nooks and crannies.

During that time, expect to commit a couple of no-nos.
Keep these safety suggestions in the back of your mind before jumping into action.